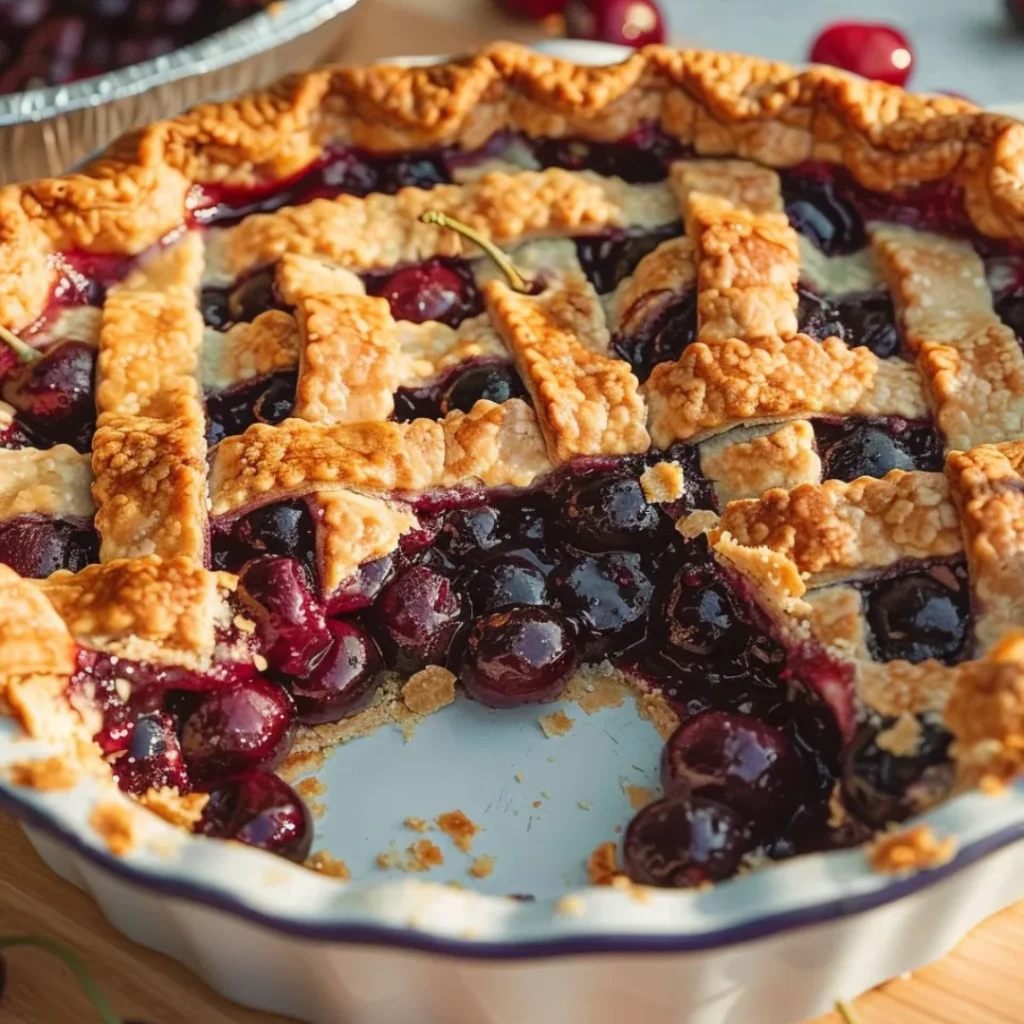
There’s something about cherry pie that takes you back to simpler times. The sweet, slightly tart filling enclosed in a flaky, golden crust is a dessert that has stood the test of time. Whether served at family gatherings or enjoyed as a cozy treat on a rainy afternoon, cherry pie is a classic that resonates with many. In this article, we will walk you through a delightful cherry pie recipe that will soon become a cherished favorite.
Why You’ll Love This Recipe
This cherry pie recipe is straightforward and yields impressive results. With fresh or frozen cherries, you have the flexibility to whip up this dessert year-round. You’ll love how the cherries burst with flavor in each bite, complemented by a perfectly baked crust that adds an irresistible crunch. This recipe not only brings joy to your taste buds but also fills your home with an enchanting aroma that makes everyone feel welcomed.
- Quick and easy preparation
- Perfect blend of sweet and tart flavors
- Versatile with fresh or frozen cherries
- A beloved recipe for gatherings and celebrations
Ingredients You’ll Need
Gathering your ingredients is the first step in creating this heartwarming cherry pie. Here’s what you’ll need:
- 2 cups fresh or frozen cherries, pitted
- 1 cup granulated sugar
- 2 tablespoons cornstarch
- 1 tablespoon lemon juice
- 1 teaspoon vanilla extract
- 1/4 teaspoon almond extract (optional)
- 1/4 teaspoon salt
- 1 tablespoon butter, cut into small pieces
- 1 package refrigerated pie crusts (or homemade, if you prefer)
- 1 egg, beaten (for egg wash)
Step-by-Step Instructions
Follow these simple steps to craft a show-stopping cherry pie:
1. Prepare the Filling
In a medium saucepan, combine the cherries, sugar, cornstarch, lemon juice, vanilla extract, almond extract, and salt. Cook over medium heat, stirring gently until the mixture starts to bubble and thicken, about 5 to 8 minutes. Once thickened, remove from heat and let it cool slightly.
2. Preheat the Oven
While your filling cools, preheat your oven to 425°F (220°C). This temperature ensures a crispy crust and perfectly cooked filling.
3. Roll Out the Pie Crust
On a lightly floured surface, roll out one of the pie crusts to fit a 9-inch pie pan. Carefully transfer the crust to the pan and trim any excess hanging over the edges.
4. Add the Filling
Pour the cooled cherry mixture into the prepared crust, and dot with pieces of butter on top for added richness.
5. Create the Top Crust
Roll out the second pie crust, then place it over the filling. You can either cut slits into the top crust for a lattice design or simply place it whole on top. If opting for the latter, make sure to cut a few vent holes to allow steam to escape.
6. Seal the Edges
Press the edges of the top crust into the bottom crust to seal, then crimp or flute the edges for a decorative touch. Brush the top with a beaten egg to give it a beautiful golden color when baked.
7. Bake the Pie
Bake the pie in the preheated oven for 25 to 30 minutes, or until the crust is golden brown and the filling is bubbly. You may want to place a baking sheet underneath to catch any spills.
8. Cool Before Serving
Once baked, take the pie out of the oven and allow it to cool for at least one hour. This cooling time helps the filling to set perfectly.
Serving and Storage Tips
Cherry pie is a versatile treat that can be enjoyed in multiple ways. Here’s how you can serve and store it:
1. Serving Suggestions
- Serve warm with a scoop of vanilla ice cream for a classic pairing.
- Top with whipped cream for an extra festive look.
- Enjoy it with a cup of coffee or tea for a delightful afternoon snack.
2. Storage Tips
Cherry pie can be stored at room temperature for up to two days. If you want to keep it fresh longer, cover it and place it in the refrigerator where it will last up to five days. For longer storage, consider freezing individual slices for a quick dessert option later on.
Helpful Tips
Every baking endeavor has its little secrets. Here are some helpful tips to make your cherry pie experience even better:
- Make sure your cherries are ripe for the best flavor.
- If using frozen cherries, thaw them and drain excess moisture before adding to the filling.
- Feel free to mix in other fruits like blueberries for added depth of flavor.
Frequently Asked Questions (FAQ)
What kind of cherries are best for pie?
Sweet cherries like Bing or Rainier are excellent choices, but tart cherries give that classic tang that many people love in a cherry pie.
Can I use canned cherries instead?
Yes, canned cherries can be used, but be sure to drain them well and adjust the sugar in the filling if they’re already sweetened.
How do I know when my cherry pie is done baking?
Your pie is done when the crust is golden brown, and the filling is bubbling. The bubbling typically indicates that the filling is cooked through.
Can I make the filling ahead of time?
Absolutely! You can prepare the filling a day ahead and refrigerate it until you’re ready to assemble the pie.
What can I do if my pie crust is too wet?
If your crust is too wet, it may be due to excess moisture from the filling. Ensure that your filling is not too watery before pouring it into the crust, and consider using a bit more cornstarch to help thicken it up.
Conclusion
Making a cherry pie from scratch is a rewarding experience that combines simple ingredients into something truly special. The perfect blend of sweet and tart flavors enclosed in a buttery crust can bring a smile to anyone’s face. Be it a casual family gathering or a festive celebration, this cherry pie recipe is sure to impress. So gather your ingredients, roll up your sleeves, and prepare to create a beloved dessert that will be enjoyed for generations to come.
Print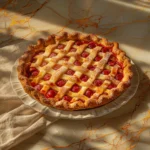
Irresistible Cherry Pie Recipe Bake the Perfect Dessert Today
- Total Time: 45 minutes
- Yield: 8 servings 1x
Description
Discover our irresistible cherry pie recipe Bake the perfect dessert today and delight your taste buds with this classic fruity treat
Ingredients
Instructions
- Prep Time: 15 minutes
- hour: 1
- Cook Time: 30 minutes
- Category: Dessert
- Cuisine: American
Nutrition
- Calories: 250 calories
- Sugar: 20 grams
- Fat: 10 grams
- Saturated Fat: 10 grams
- Carbohydrates: 36 grams
- Fiber: 2 grams
- Protein: 2 grams