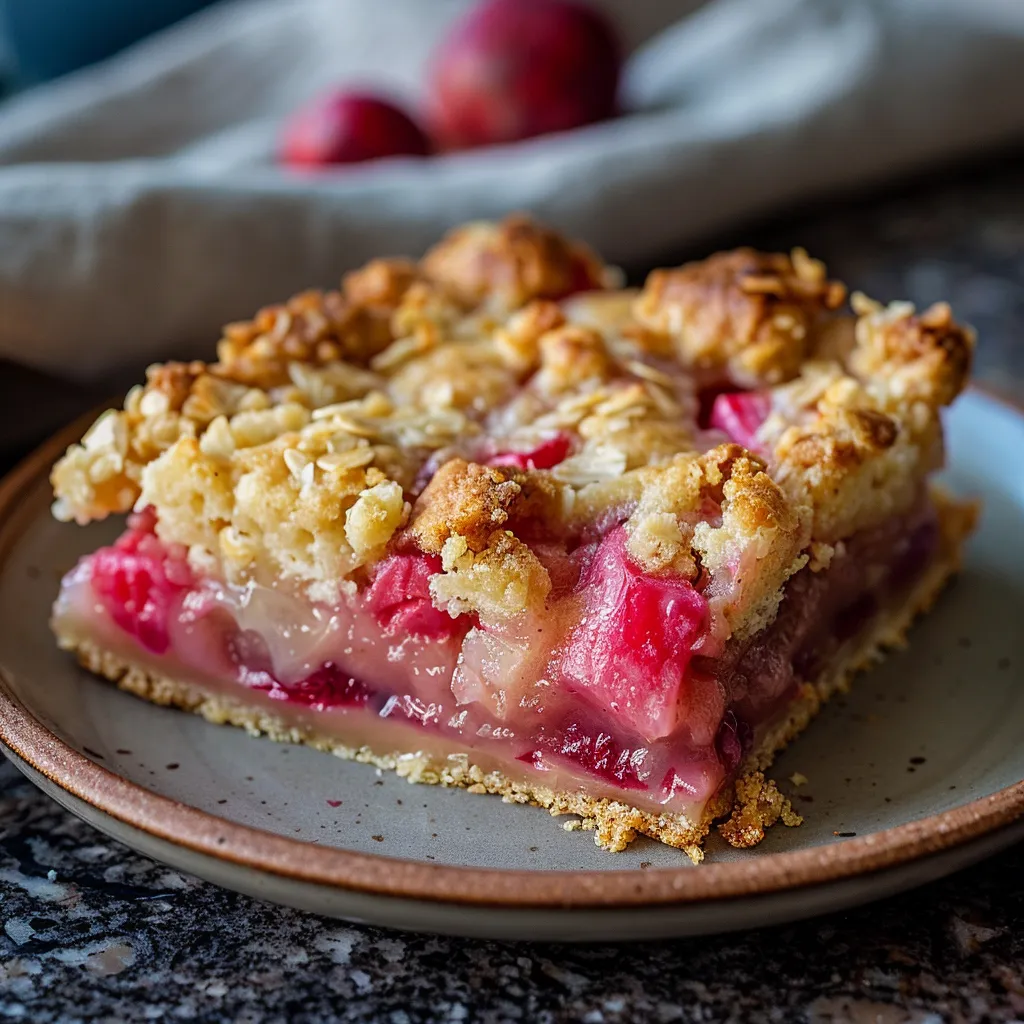
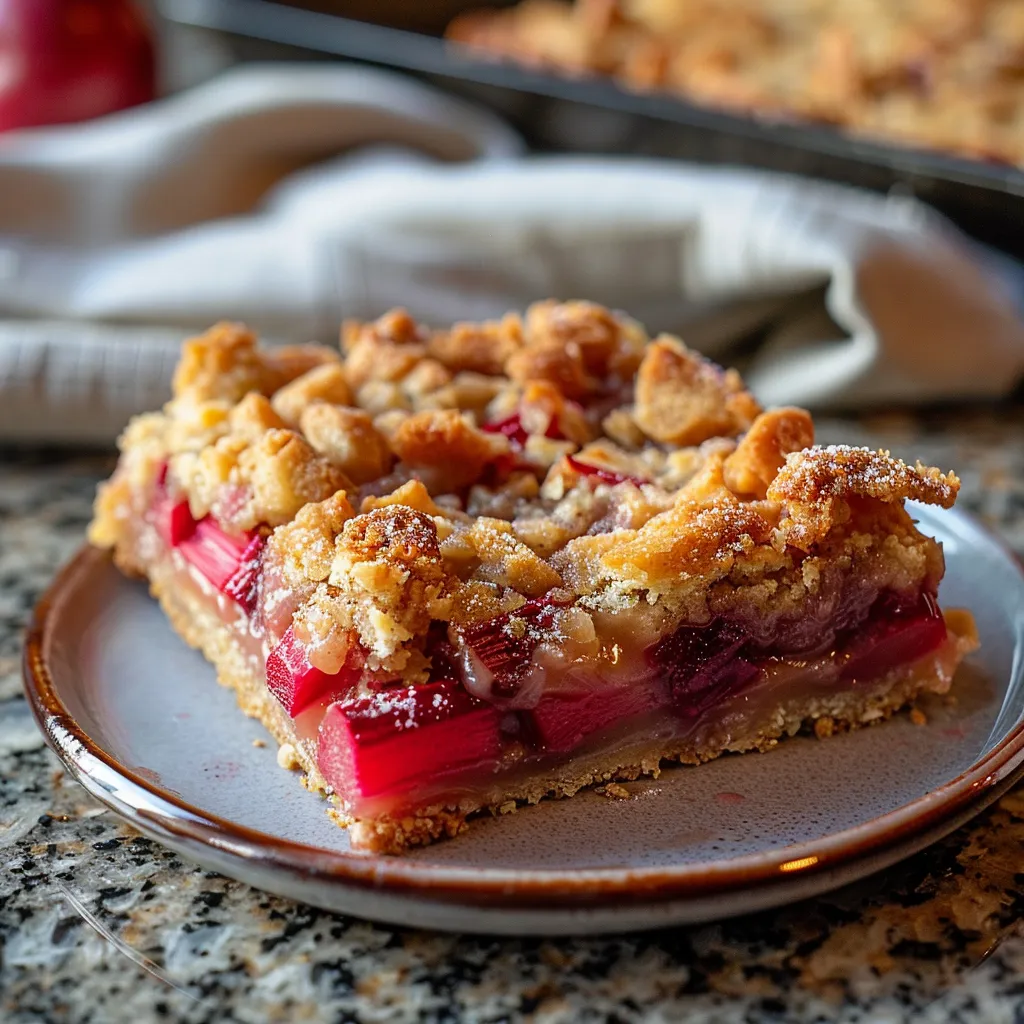
Spring is a magical time when gardens burst into color, and one of the standout stars of the season is rhubarb. With its tartness and bright hue, it’s perfect for creating scrumptious desserts. In this article, we’ll dive into a delightful treat that captures the essence of spring: Rhubarb Dream Bars. Whether you’re a seasoned baker or just starting, these bars are easy to make and perfectly balance sweet and tart, creating a dessert that everyone will love. Let’s get started!
Why You’ll Love This Recipe
Rhubarb Dream Bars are not just another dessert; they are a celebration of flavors and textures. Here are a few reasons why this recipe is sure to please:
- Flavor Combination: The sweet crust combined with tangy rhubarb filling creates a delightful bite that tantalizes your taste buds.
- Easy to Make: With simple ingredients and straightforward steps, this recipe is manageable for bakers of all skill levels.
- Perfect for Any Occasion: Whether it’s a family gathering, picnic, or just a treat for yourself, these bars fit right in.
- Visual Appeal: The vibrant pink of rhubarb makes these bars a stunning addition to any dessert table.
Ingredients You’ll Need
To whip up these delightful Rhubarb Dream Bars, you’ll need the following ingredients:
- For the crust:
- 1 cup all-purpose flour
- ⅓ cup powdered sugar
- ½ cup unsalted butter, softened
- ¼ teaspoon salt
- For the filling:
- 2 cups rhubarb, chopped
- 1 cup granulated sugar
- ⅓ cup all-purpose flour
- 2 large eggs
- 1 teaspoon vanilla extract
- ½ teaspoon baking powder
- ½ teaspoon salt
Step-by-Step Instructions
Now that you have all your ingredients ready, let’s walk through the steps to create these scrumptious bars:
1. Preheat the Oven
Start by preheating your oven to 350°F (175°C) and line a 9×9-inch baking pan with parchment paper, leaving some overhang to lift the bars out later.
2. Make the Crust
In a mixing bowl, cream together the softened butter and powdered sugar until light and fluffy. Gradually stir in the flour and salt until combined. Press this mixture evenly into the bottom of your prepared baking pan to form the crust.
3. Bake the Crust
Bake the crust in your preheated oven for about 15 minutes or until it’s lightly golden. Remove it from the oven and let it cool slightly while you prepare the filling.
4. Prepare the Filling
In another bowl, combine the chopped rhubarb, granulated sugar, flour, eggs, vanilla extract, baking powder, and salt. Stir until everything is well incorporated. This filling should be somewhat thick.
5. Assemble and Bake
Pour the rhubarb filling over the pre-baked crust, spreading it evenly. Bake for an additional 25-30 minutes until the filling is set and the top is slightly golden. You can test the filling by gently shaking the pan—if it jiggles too much, give it a few more minutes.
6. Cool and Slice
Once baked, remove the pan from the oven and allow it to cool on a wire rack. After it’s completely cool, lift the bars out of the pan using the parchment paper. Cut into squares or rectangles, and they’re ready to serve!
Serving and Storage Tips
Serving Suggestions
These Rhubarb Dream Bars are fantastic served fresh, but they also pair well with a scoop of vanilla ice cream or a dollop of whipped cream. For an extra touch, sprinkle some powdered sugar on top before serving for a beautiful finish.
Storage Tips
To keep your delicious bars fresh, store them in an airtight container in the refrigerator for up to one week. You can also freeze them for longer storage; just wrap them tightly in plastic wrap and then aluminum foil. They’ll be good for up to three months in the freezer.
Helpful Tips
- Choosing Rhubarb: Select firm, brightly-colored rhubarb stalks when shopping. Avoid any that are wilting or browning.
- Sweetness Adjustment: Taste your rhubarb before making the filling. Some rhubarb can be more tart than others, so adjust the sugar accordingly.
- Serving Freshness: These bars are best eaten within a few days of baking. If they start to dry out, simply serve with ice cream to restore some moisture!
- Personalize Your Recipe: Feel free to add a touch of cinnamon or ginger to the filling for an added flavor boost.
Frequently Asked Questions
Can I use frozen rhubarb?
Yes, you can use frozen rhubarb! Just make sure to thaw it completely and drain any excess liquid before using it in your filling to avoid a soggy texture.
Can I substitute other fruits for rhubarb?
Absolutely! You can experiment with fruits like strawberries, raspberries, or even a mixture, but keep in mind that they will have different sweetness levels, so adjust sugar accordingly.
How do I know when the bars are done baking?
The bars are done baking when the filling is set and the top is slightly golden. You can perform a gentle shake test—if the center jiggles minimally, it’s ready!
Why are my bars soggy?
Soggy bars may be due to excess moisture in the rhubarb or underbaking. Make sure to drain any liquid from frozen rhubarb and bake the bars until they’re set.
Can I use a different type of flour?
While all-purpose flour gives the best results, you can experiment with alternatives like almond flour for a gluten-free option. Just remember that the texture and flavor may vary a bit.
Conclusion
Rhubarb Dream Bars are more than just a dessert; they encapsulate the beauty of spring in every bite. With their easy preparation, delightful flavor, and stunning appearance, they are perfect for any gathering or just a cozy night in. So grab your ingredients and whip up a batch of these bars, your taste buds will thank you! Happy baking!
Print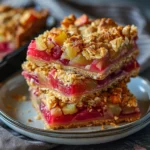
Irresistible Rhubarb Dream Bars A MustTry Dessert Delight
- Total Time: 1 hour
- Yield: 12 bars 1x
Description
Savor the irresistible Rhubarb Dream Bars an unforgettable dessert delight blending tart rhubarb with a creamy topping A musttry for every sweet lover
Ingredients
Instructions
- Prep Time: 20 minutes
- Cook Time: 40 minutes
- Category: Dessert
- Method: Baking
- Cuisine: American