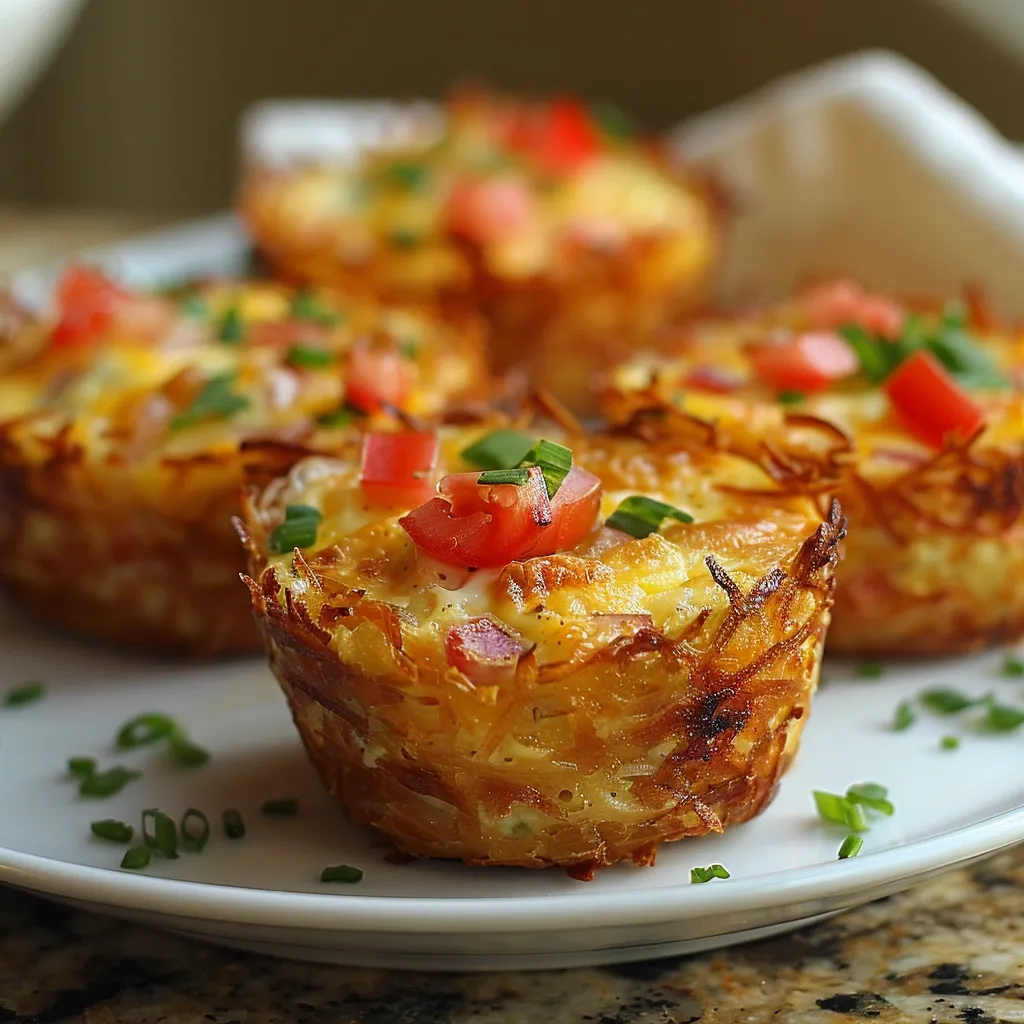
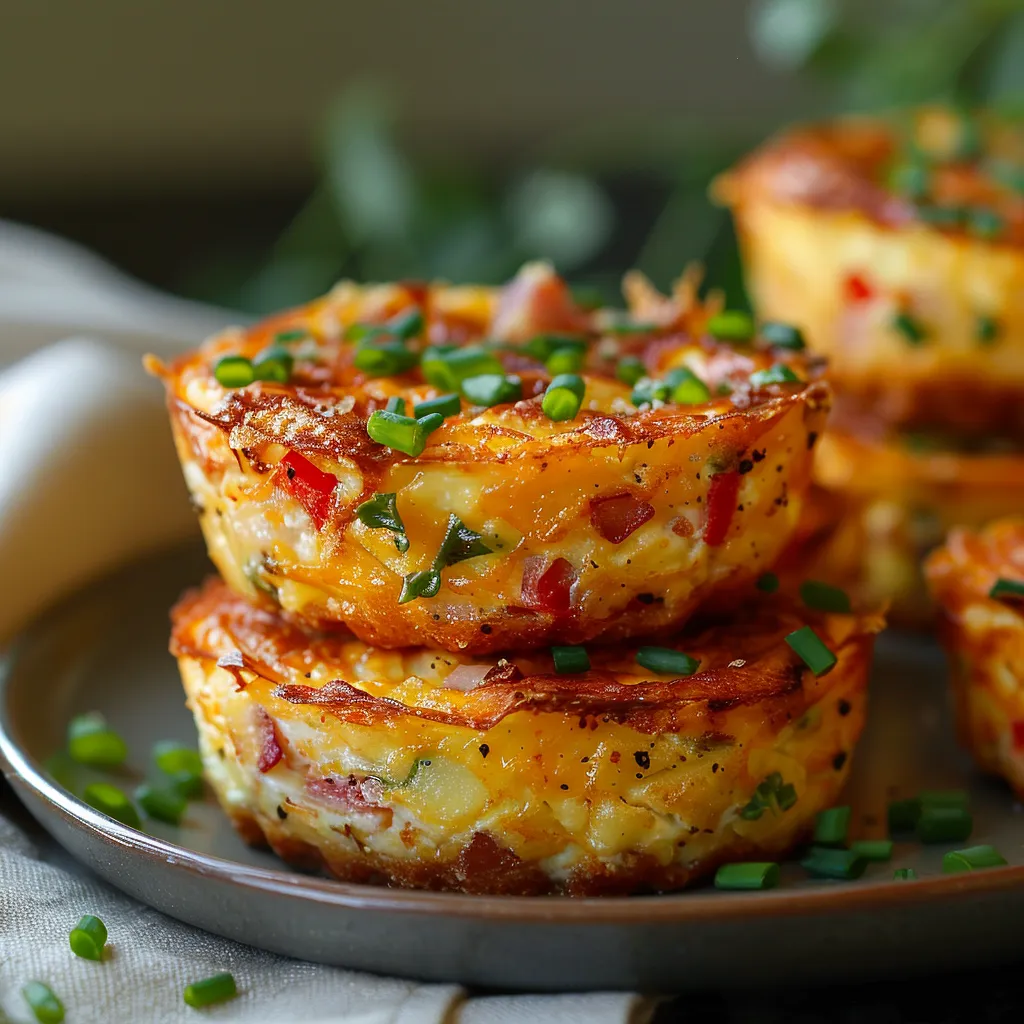
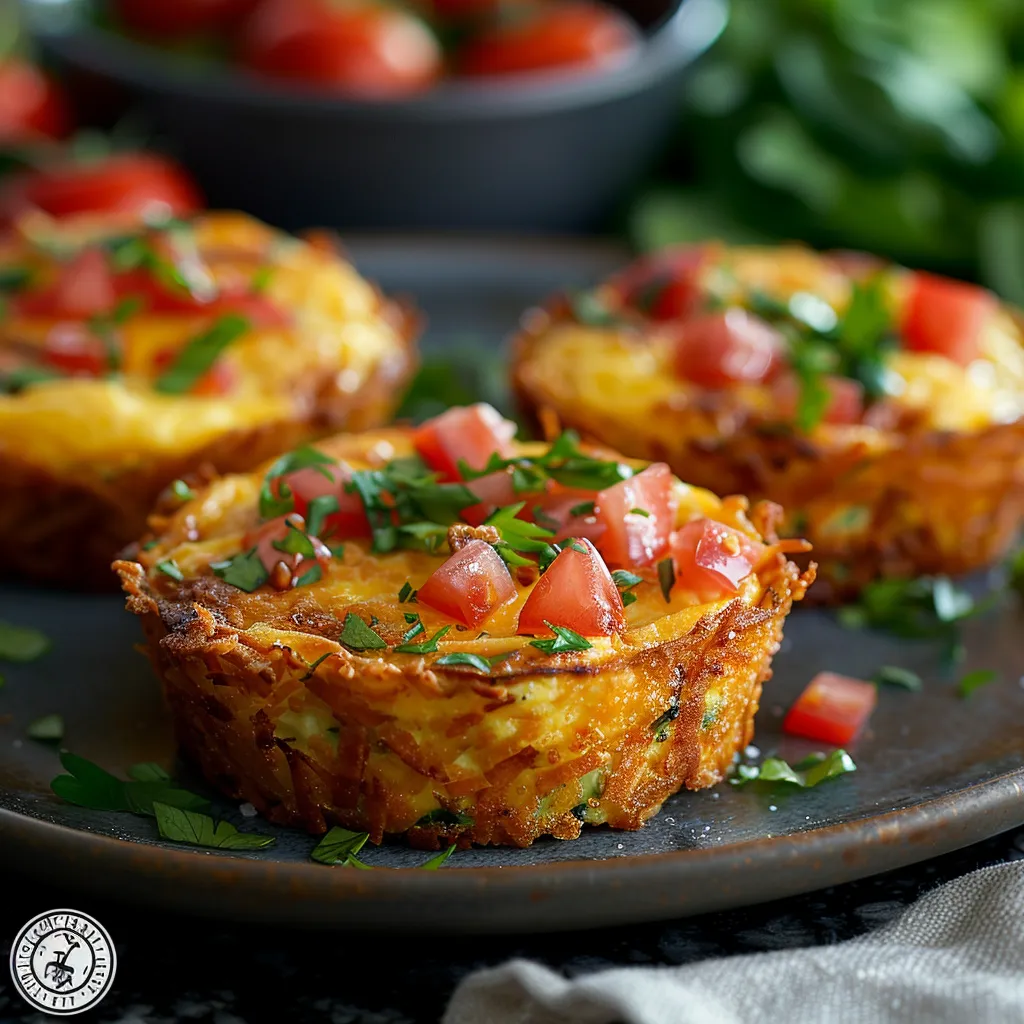
Are you looking for a delicious and convenient way to start your day? Look no further than mini quiches with hashbrown crust! These delightful bites are packed with flavors and perfect for brunch, breakfast on the go, or even an elegant appetizer for your next gathering. With their crispy hashbrown crust and savory filling, they’re bound to become a favorite in your household.
Why You’ll Love This Recipe
There’s a lot to love about mini quiches with a hashbrown crust. For starters, they’re incredibly versatile! You can customize the fillings based on your preferences or what you have on hand. Think of them as a blank canvas where you can express your culinary creativity. Add in your favorite vegetables, meats, and cheeses to craft the perfect quiche that suits your taste buds.
- Easy to Make: Even beginner cooks can whip these up quickly!
- Perfect for Meal Prep: They store well and can be eaten throughout the week.
- Gluten-Free Option: The hashbrown crust is naturally gluten-free, making this dish accessible to more people.
- Kid-Friendly: Mini portions make it easy for kids to enjoy their meal.
Whether you’re hosting a brunch or simply want to try something new, these mini quiches are a winning choice. Plus, they’re baked to perfection, allowing those flavors to meld beautifully in every bite.
Ingredients You’ll Need
Before we dive into the cooking process, let’s gather all the ingredients you’ll need to make these scrumptious mini quiches:
- 2 cups of frozen hashbrowns, thawed
- 1 cup of shredded cheese (cheddar, Swiss, or your choice)
- 4 large eggs
- 1 cup of milk
- 1 cup of chopped vegetables (bell peppers, spinach, onions, etc.)
- 1 cup of cooked protein (bacon, ham, sausage, or left-over chicken)
- Salt and pepper to taste
- Cooking spray or olive oil for greasing the muffin tin
With everything handy, you’re ready to bring this delicious recipe to life!
Step-by-Step Instructions
1. Preheat Your Oven
Start by preheating your oven to 425°F (220°C). This step is crucial for achieving a perfectly crispy hashbrown crust.
2. Prepare the Hashbrown Crust
In a mixing bowl, combine the thawed hashbrowns with a pinch of salt and pepper. Spray a muffin tin with cooking spray or oil to prevent sticking. Press the hashbrown mixture firmly into the bottom and up the sides of each muffin cup. Aim for an even layer to create a nice crust. This is where the magic begins!

3. Bake the Hashbrown Crust
Place the muffin tin in the oven and bake for about 15 minutes, or until the edges are golden brown. This initial baking will help the crust hold its shape when you add the filling.
4. Prepare the Egg Mixture
While the crust is baking, whisk together the eggs and milk in a large bowl. Add in salt and pepper to taste. This egg mixture is what binds everything together, so be sure it’s well combined.
5. Add Fillings
Once the hashbrown crust is ready, remove it from the oven and start adding your fillings. Begin by sprinkling the cheese at the bottom, followed by your chosen vegetables and cooked protein. Pour the egg mixture over the top until it reaches just below the rim of the crust. Don’t overfill, or you’ll have a mess in your oven!

6. Bake the Mini Quiches
Return the muffin tin to the oven and bake for an additional 20-25 minutes, or until the egg is set and the tops are slightly golden. You want that firm texture, so give them a few minutes longer if needed.
7. Cool and Serve
Once done, let the mini quiches cool in the tin for a few minutes before carefully removing them. A butter knife works well for loosening the edges. Serve warm or allow to cool completely if you’re prepping for later.
Serving and Storage Tips
Mini quiches with hashbrown crust are best served warm, but they also taste delightful at room temperature. Here are some tips for serving and storing your creations:
- Serving: Pair them with an arugula salad or serve alongside fresh fruit to balance out the meal.
- Storing: Store leftovers in an airtight container in the fridge for up to 4 days.
- Freezing: These mini quiches freeze incredibly well! Simply wrap them tightly in plastic wrap and store in a freezer-safe bag for up to 3 months. Reheat in the oven or microwave when ready to enjoy.
Helpful Tips
- Use a variety of colors in your vegetables for a visually appealing dish.
- Experiment with different cheese blends for added flavor.
- Make mini quiches ahead of time for busy mornings or unexpected guests.
Frequently Asked Questions (FAQ)
Can I use fresh hashbrowns instead of frozen?
Yes, you can grate fresh potatoes and prepare them the same way. Just make sure to wring out any excess moisture to avoid a soggy crust.
What can I substitute for eggs to make it vegan?
You can use a combination of silken tofu and plant-based milk as a substitute for eggs. For each egg, use 1/4 cup of blended silken tofu combined with 1 tablespoon of nutritional yeast to mimic the flavor.
How long can I keep these mini quiches in the refrigerator?
These mini quiches can be stored in the refrigerator for up to four days. Just make sure they’re in an airtight container to keep them fresh!
Can I make these mini quiches without crust?
Absolutely! You can skip the hashbrown crust and simply pour the egg mixture filled with your favorite add-ins into greased muffin tins.
What are some good filling combinations?
Some delicious combos include spinach and feta, bacon and cheddar, and mushroom with Swiss cheese. The options are endless!
Conclusion
Mini quiches with hashbrown crust are a fun and versatile dish that everyone can enjoy. Whether you’re prepping for a busy week ahead or planning a memorable brunch, these delightful bites will satisfy. With the ability to customize your fillings and the simple process to make them, you’ll find yourself reaching for this recipe again and again. Give them a try and watch how quickly they disappear!
Print
Irresistible Mini Quiche with Hashbrown Crust Recipe Ideas
- Total Time: 55 minutes
- Yield: 12 servings 1x
Description
Discover delicious Mini Quiche with Hashbrown Crust recipe ideas that redefine brunch Easy crispy and irresistibly tasty for any occasion
Ingredients
Instructions
- Prep Time: 15 minutes
- Cook Time: 40 minutes
- Category: Breakfast
- Cuisine: American
Nutrition
- Calories: 250 calories
- Sugar: 1 gram
- Saturated Fat: 15 grams
- Carbohydrates: 20 grams
- Fiber: 2 grams
- Protein: 12 grams

