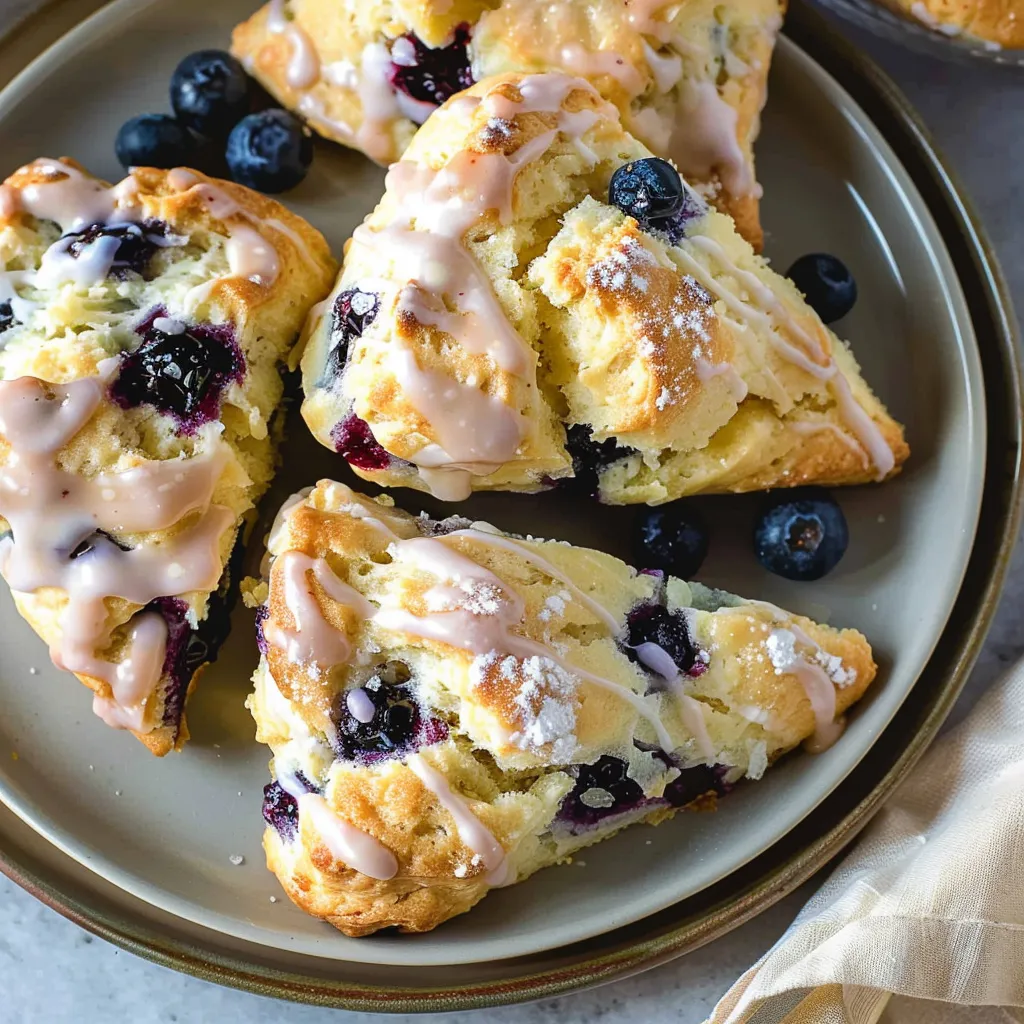
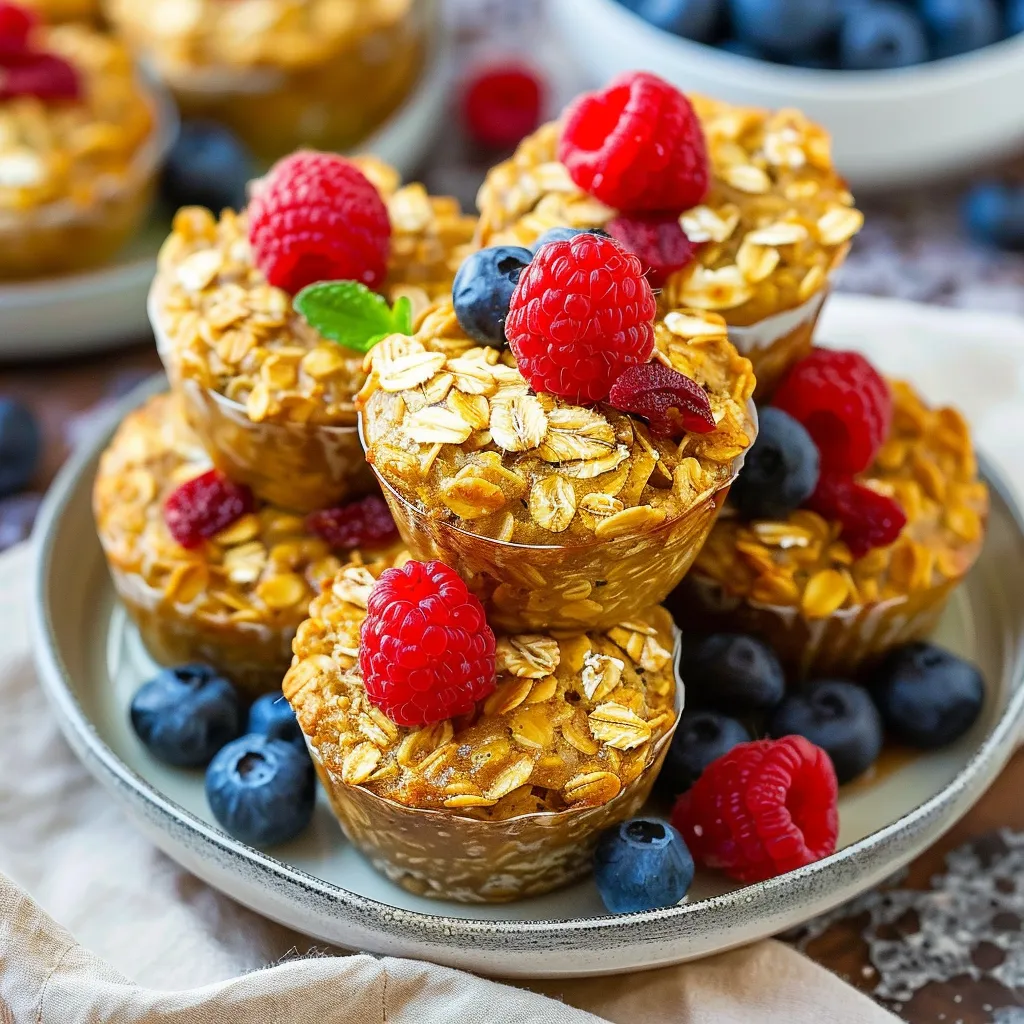
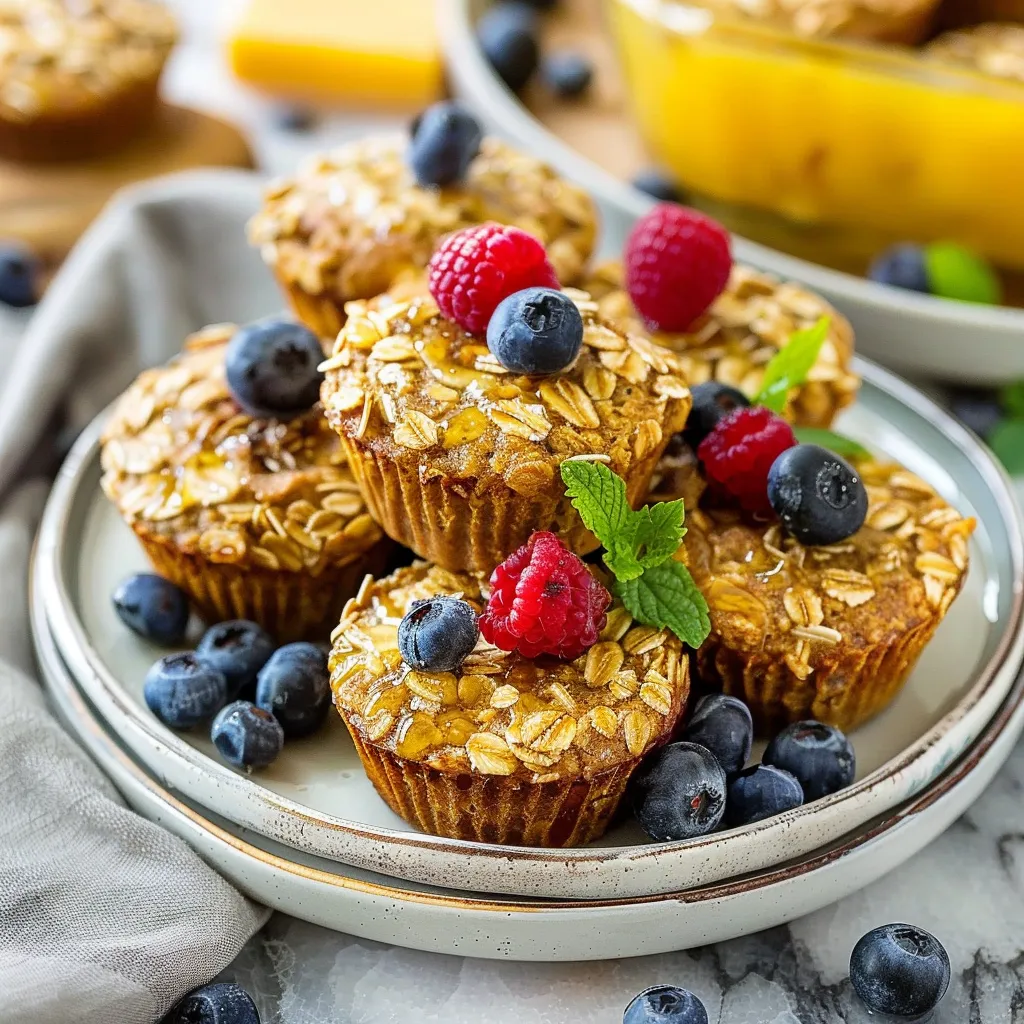
Picture this: the sun is just curling behind the horizon, casting a warm glow over your kitchen, while the sweet, nutty aroma of baked oatmeal wafts through the air. You’re five minutes into your favorite show, cozy socks on and mug of tea in hand, when suddenly, the oven timer dings. It’s not just any ordinary evening; it’s a time to wrap your hands around a warm cup of oatmeal goodness that reminds you of lazy Sunday mornings. That’s exactly what these Baked Oatmeal Cups have always meant to me—a simple yet heartwarming treat, perfect for a cozy gathering or a delightful breakfast on-the-go.
This recipe was born from my quest to find healthy snacks that are both quick and satisfying, and oh boy, did I hit the jackpot! It’s a favorite mostly because they’re so incredibly forgiving, adaptable, and deliciously wholesome. With just a few pantry staples and a bit of love, you can whip these up and impress family or friends. Plus, they freeze beautifully, which means you can savor the warmth even on the busiest of mornings. Let’s dive into the world of baked oatmeal cups!
Why You’ll Love This Recipe
Let’s be honest—sometimes, a fruit-filled muffin just doesn’t cut it. Maybe it’s the crunchy texture of the oats or those bursts of sweet berries, but there’s just something about these tiny cups that are heartwarming. Here’s why you should give them a go:
- Time-Saver: Make a batch ahead of time, and you’ll be set for a delicious breakfast all week long. Just pop them in the microwave, and voilà!
- Customizable: Feel free to swap in your favorite fruits, nuts, or spices, making it your own little masterpiece every time.
- Wholesome Goodness: Packed with fiber and nutrients, they make you feel good inside without sacrificing flavor.
- Fun to Make: Get the kids involved! They’ll love mixing and filling their cups with fun toppings.
What It Tastes Like
From the first bite, you’ll experience a comforting embrace of flavors—like a warm hug from your childhood. Imagine the earthy goodness of oats combined with a hint of vanilla, a pop of sweetness from your chosen fruits, and just the right amount of spice dancing on your palate. Each cup is soft yet harmonious, with a golden, slightly crisp top that invites you to take another bite. It’s akin to the familiar feel of snuggling under a blanket on a chilly day, bringing back memories of laughter shared around the dining table. It’s the taste of home—simple, satisfying, and utterly delightful.
Ingredients You’ll Need
Ready to gather the goods? Here’s what you’ll need to create these scrumptious baked oatmeal cups:
- 2 cups rolled oats: The heart of this recipe, providing a chewy texture.
- 1/2 cup milk or nut milk: Adds creaminess—feel free to use your favorite variety!
- 1/4 cup honey or maple syrup: For that touch of sweetness that balances everything out.
- 2 ripe bananas, mashed: These not only sweeten the mix but also keep the oatmeal moist.
- 1 teaspoon baking powder: Transforms our batter into tender, puffy cups.
- 1 teaspoon vanilla extract: Who doesn’t love a hint of vanilla in their breakfast?
- 1 teaspoon cinnamon: This adds warmth and depth to your flavor experience.
- 1/2 cup mix-ins (berries, nuts, chocolate chips, etc.): This step is where you let your creativity shine! Customize to your heart’s content.
Optional Additions:
- Chopped apples or pears for a seasonal twist.
- Greek yogurt for added protein!
- A sprinkle of chia seeds for a nutritional boost.
Special Garnishes:
- A dollop of yogurt or a drizzle of honey right before serving.
- Fresh fruit on top for a pop of color!
Step-by-Step Instructions
Time to get your hands (slightly) messy! Set your oven to preheat to 350°F (175°C) while you gather your bowls and measuring cups.
- Mix the Wet Ingredients: In a large bowl, mash those bananas into a gooey mix. Add in the milk, honey (or maple syrup), and vanilla extract. Combine until it’s smooth like a dreamy milkshake—don’t rush this step—it’s where the magic happens!
- Stir in the Dry Ingredients: Now, add the rolled oats, baking powder, and cinnamon to your banana potion. Fold the ingredients together just until combined; you’ll want to see a bit of banana goodness peeking through. Remember, overmixing is a common culprit for dense baked goods!
- Mix-in Time: Gently fold in your choice of berries, nuts, or even chocolate chips, if you’re feeling rebellious. Just be careful not to break them apart too much!
- Prepare Your Muffin Tin: Lightly grease a muffin tin or line it with muffin cups. If you’re using a silicone mold, you can skip the greasing step. Fill each cup about two-thirds full. Take a moment to admire those beautiful scoops!
- Bake and Smile: Pop the tray into your preheated oven and let it work its magic for about 20-25 minutes, or until the tops are golden brown and a toothpick comes out clean.
- Cool and Enjoy: Once they’re ready, let them cool for a few minutes in the tin. Then carefully transfer them to a wire rack (hey, no one likes a soggy bottom!). Serve warm or store for later snacking.
Recipe Variations
Don’t let the creative juices stop flowing! Here are a few fun ideas to switch things up:
- Chocolate Lovers: Add cocoa powder to the mix, and toss in a handful of dark chocolate chips.
- Fruit Fiesta: Try mixing in diced peaches or strawberries, topped with a sprinkle of coconut flakes.
- Nutty Delight: Swap in almond butter instead of honey for a nutty twist! Just take it easy on the liquid to keep the right consistency.
Serving & Storage Tips
These baked oatmeal cups can stand proudly in your fridge for about a week, and believe me, the more they sit, the more flavors they develop. Just pop them in the microwave or oven to warm them up again; a sprinkle of water before heating will help keep them moist. If you want to extend their shelf life, they freeze beautifully! Just wrap them individually and toss them in a freezer bag. Breakfast or snack is just minutes away!
As for those delightful leftovers? Slice them in half and slather with yogurt or nut butter, or crumble them over your favorite smoothie bowl for added crunch!
Helpful Tips
- Check your baking powder for freshness—we don’t want any sad, flat oatmeal cups!
- Don’t skip the cooling step. They may smell irresistible, but allowing them to cool will enhance the flavor and texture.
- If you’ve got picky eaters, start with classic mix-ins like chocolate chips or blueberries and gradually introduce new flavors.
- Keep a notepad nearby! Jot down your improvisations, so you can recreate those lucky flukes again!
Special Equipment
- Muffin Tin: For the perfect portioning (because no one likes sharing their baked goods!).
- Silicone Muffin Cups: Great for easy popping out and no mess when serving; you’ll be able to savor every bite without the hassle of scrubbing.
- Mixing Bowls: Having a good set helps with everything, from our wet ingredients to our dry ones—plus, they look pretty stacked!
- Measuring Cups and Spoons: Accurate measurements are key; trust me, nobody enjoys a lumpy baked cup!
Frequently Asked Questions
Can I make these baked oatmeal cups vegan?
Definitely! Just swap the honey for maple syrup and use plant-based milk to make it a fully vegan treat!
What if I don’t have ripe bananas?
No worries! You can use applesauce as a substitute or even Greek yogurt—to keep the moisture intact without the banana flavor.
Can I double this recipe?
<pAbsolutely! Just be sure to use more baking pans or bake in batches—these will disappear quicker than a magician’s rabbit!
Can I add protein powder to these cups?
Yes! A scoop of your favorite protein powder can easily be mixed into the dry ingredients without affecting the overall consistency too much.
How do I make these cups gluten-free?
Swap in gluten-free oats and double-check your baking powder to ensure it’s gluten-free. Easy peasy!
Conclusion
So there you have it—my beloved Baked Oatmeal Cups that have quite practically taken over my mornings. Whether you’re reaching for a quick breakfast before work or enjoying a leisurely brunch with loved ones, these little cups of warmth bring both joy and nourishment. They remind me that sometimes, all we need is a little sweetness to smooth out the rough edges of life.
I can’t wait for you to try making these! Please share your variations, stories, or any questions in the comments below. Let’s keep this beautiful food journey alive together!
Print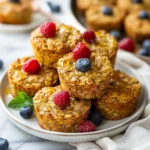
Delicious Baked Oatmeal Cups for a Nutritious Breakfast Boost
- Total Time: 40 minutes
- Yield: 12 servings 1x
Description
Savor these nutritious baked oatmeal cups, perfect for a quick breakfast. Easy to make and packed with flavor, they’ll kickstart your day right!
Ingredients
Instructions
Notes
These Baked Oatmeal Cups are a heartwarming treat that are quick, satisfying, and customizable. Perfect for breakfast on-the-go or a cozy gathering.
- Prep Time: 15 minutes
- Cook Time: 25 minutes
- Category: Breakfast
- Cuisine: American
Nutrition
- Serving Size: 12 servings
- Calories: 150
- Sugar: 8 grams
- Fat: 3 grams
- Carbohydrates: 30 grams
- Fiber: 5 grams
- Protein: 4 grams