Picture a cozy Sunday morning with the sun streaming through your kitchen window, filling the air with the irresistible aroma of freshly baked pastries. The warmth of a good cup of coffee pairs perfectly with the flaky layers of this Chocolate Cream Cheese Danish, making it the ultimate treat for any leisurely breakfast or brunch. This delightful recipe is rooted in the Danish tradition, where cream cheese and chocolate dance harmoniously between crispy pastry layers, bringing comfort and joy to every bite.
Inspired by family gatherings and cherished holiday memories, this Danish is not just a pastry; it’s an experience meant to be shared. What sets it apart is its simplicity combined with the luxurious flavors of rich chocolate and creamy cheese, all brought together in a way that is easy enough for any home baker to recreate. With just a few ingredients and straightforward steps, you’re on your way to impressing friends and family alike!
Why You’ll Love This Recipe
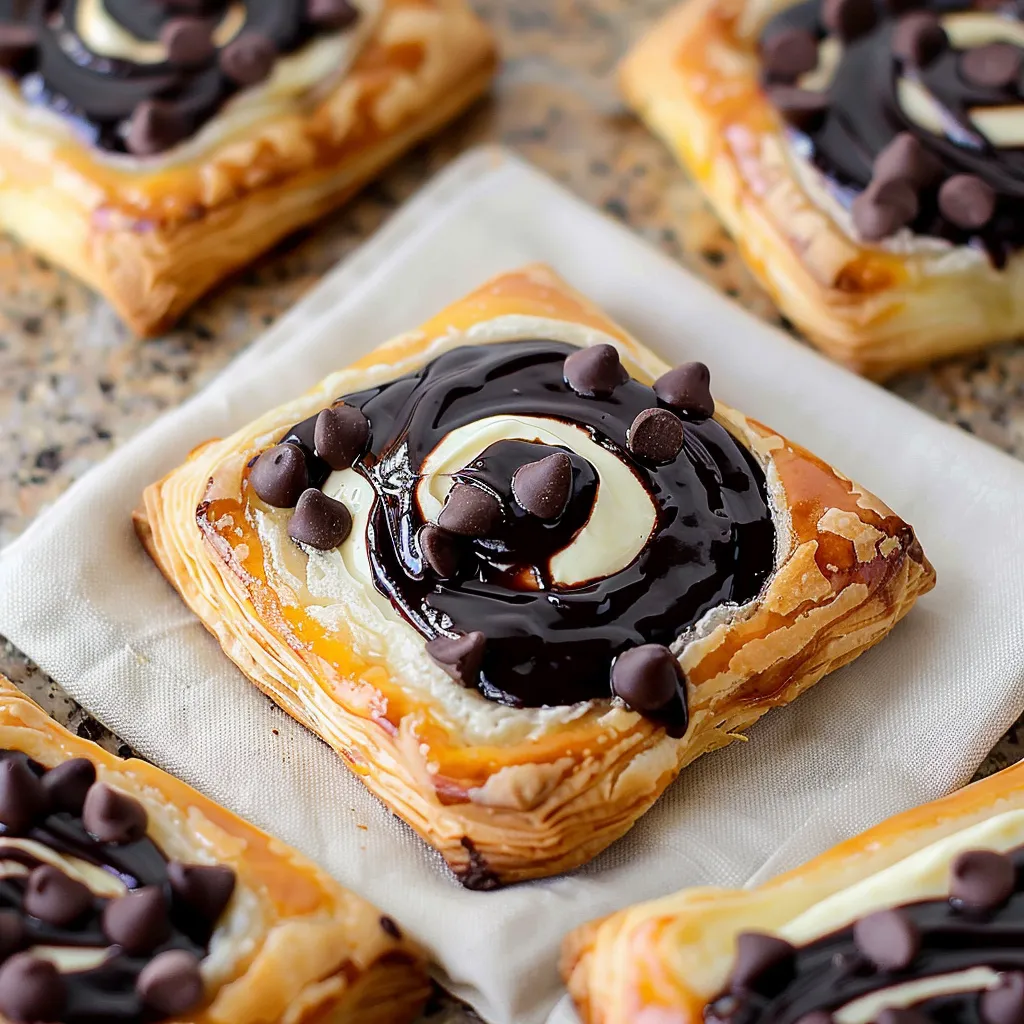
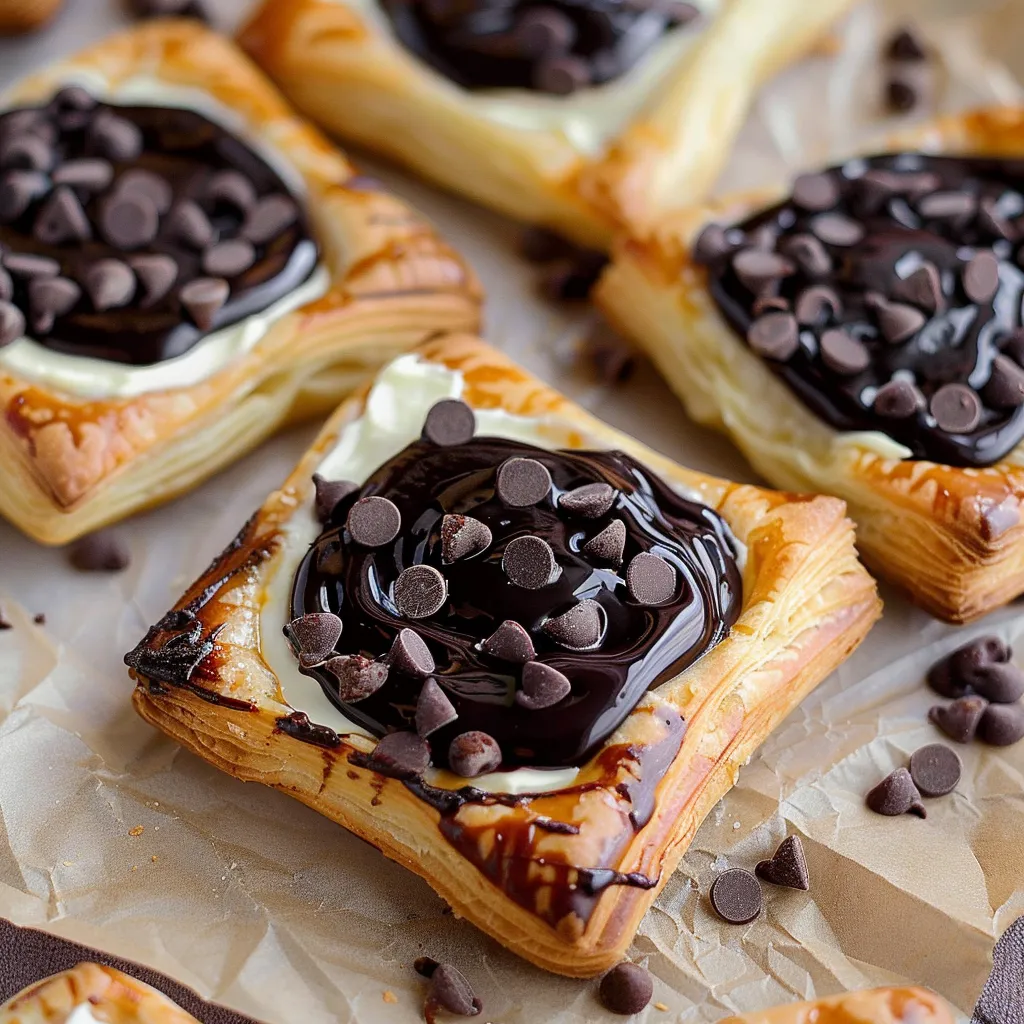
This Chocolate Cream Cheese Danish is every bit a crowd-pleaser, and it’s easy to see why. First off, it’s a visual masterpiece; the glossy chocolate against the golden-brown pastry is tempting even before you take a bite. But what you’ll truly love is the taste—the rich creaminess of the cheese pairs beautifully with the decadent chocolate, creating a flavor that is both comforting and satisfying.
The ease of preparation is also a game changer. With just a handful of ingredients and minimal kitchen equipment, you can whip up a batch without spending all day in the kitchen. Whether it’s breakfast in bed for someone special, a festive holiday brunch, or a simple afternoon treat, this Danish checks all the boxes.
What Does The Recipe Taste Like
Imagine biting into a perfectly flaky pastry shell that instantly melts in your mouth. The initial crunch gives way to the smooth, creamy layer of sweetened cream cheese, complemented by the lush, rich depth of chocolate. Each bite strikes a balance between sweet and savory, making it utterly addictive. It’s a delightful symphony of flavors and textures: from the crispy exterior to the luscious filling, this Danish offers an unforgettable tasting experience that leaves you wanting more!
Ingredients You’ll Need
Creating your own Chocolate Cream Cheese Danish is as simple as gathering a few essential ingredients that come together to create a delectable pastry. Here’s what you’ll need:
Main Ingredients
- 1 package of puff pastry (thawed): This forms the base of our Danish, bringing that flaky texture everyone loves.
- 8 oz cream cheese (softened): Provides a creamy, tangy filling and creates that classic Danish flavor.
- ½ cup powdered sugar: Sweetens the cream cheese while also giving it a light, fluffy texture.
- 1 cup semi-sweet chocolate chips: The star of the show, adding richness and a touch of indulgence.
- 1 egg (beaten): Acts as an egg wash, giving the pastry a golden, beautiful finish.
- 1 tsp vanilla extract: Enhances the overall flavor profile with its warm, inviting tones.
Optional Additions
Feel free to customize your Danish with the following options:
- Fruit: Add sliced strawberries or raspberries for a burst of freshness.
- Nuts: Chopped pecans or walnuts could introduce a pleasant crunch.
- Spices: A sprinkle of cinnamon or nutmeg can elevate the flavor profile.
Special Garnishes
To make your Danish even more eye-catching, consider garnishing with:
- Chocolate drizzle: Drizzle additional melted chocolate on top for extra decadence.
- Powdered sugar: A light dusting adds a perfect finishing touch.
- Fresh mint leaves: Add a hint of color and a refreshing taste.
Step-by-Step Instructions
Follow these detailed steps to create the perfect Chocolate Cream Cheese Danish:
- Preheat your oven to 400°F (200°C). Line a baking sheet with parchment paper.
- Roll out the thawed puff pastry sheet on a floured surface into a rectangle, about 1/4 inch thick.
- In a bowl, combine the softened cream cheese, powdered sugar, and vanilla extract. Mix until smooth and creamy.
- Spread the cream cheese mixture evenly on one half of the puff pastry rectangle.
- Sprinkle the semi-sweet chocolate chips over the cream cheese layer.
- Fold the pastry over to create a pocket, sealing the edges by pressing down with a fork.
- Brush the top of the pastry with the beaten egg for a beautiful golden finish.
- Cut slits in the top of the Danish to allow steam to escape during baking.
- Bake in the preheated oven for 20-25 minutes, or until golden brown and puffed.
- Let it cool for a few minutes, then sprinkle with powdered sugar and add your desired garnishes before serving.

Recipe Variations
If you’re feeling adventurous, consider trying these variations:
- Nutella Danish: Substitute chocolate chips for Nutella, bringing an intense hazelnut flavor.
- Fruit Cream Cheese Danish: Swap out chocolate for fresh fruit mixed into your cream cheese filling.
- Maple Pecan Danish: Mix chopped pecans into the cream cheese and incorporate a splash of maple syrup.
Serving and Storage Tips
Your Chocolate Cream Cheese Danish is best enjoyed fresh out of the oven, but it can also be stored for later enjoyment. Here’s how:
- Serving: Slice your Danish and serve it warm with coffee or tea for the ultimate experience.
- Storing: Keep leftover Danish in an airtight container in the refrigerator for up to 3 days. Reheat in a toaster or oven before serving to revive the crunch.
Helpful Tips
Here are some additional tips to ensure your Danish turns out perfectly:
- Make sure your cream cheese is at room temperature for easy mixing.
- Don’t skip the egg wash! It’s key for achieving that golden finish.
- If you prefer a flakier texture, don’t over-handle the puff pastry.
Special Equipment
You won’t need an extensive inventory to create this delicious Danish, but a few kitchen tools can elevate your experience:
- Baking sheet: Essential for keeping your Danish flat and even while baking.
- Parchment paper: Prevents sticking and aids in even baking.
- Fork: Useful for sealing edges and creating a decorative pattern on top.
Frequently Asked Questions
Can I use store-bought cream cheese frosting instead of cream cheese?
While you can use cream cheese frosting in a pinch, it may add more sweetness than traditional cream cheese, altering the flavor slightly.
Is it okay to prepare the filling ahead of time?
Yes! You can prepare your cream cheese filling a day in advance and store it in the refrigerator. Just mix it fresh on the day you plan to bake the Danish.
Can I freeze the Danish after baking?
Absolutely! For the best results, let it cool completely, then wrap tightly in plastic wrap and freeze. Reheat in the oven when ready to serve.
Conclusion
Your journey to baking a stellar Chocolate Cream Cheese Danish is not just about creating a delicious pastry; it’s about crafting memories and joy-filled moments with loved ones. This recipe stands out not only for its distinct flavors and textures but also for the simplicity and happiness it brings. We encourage you to dive into this culinary adventure, share your experiences in the comments, and perhaps even customize it to make it your own.
As you savor each flaky, chocolatey bite, remember that the kitchen is where memories are made—so gather your favorite people, whip up this delightful Danish, and create your own stories to cherish!
Print
Delicious Chocolate Cream Cheese Danish Recipe for Breakfast Treats
- Total Time: 40 minutes
- Yield: 8 servings 1x
Description
Indulge in a delicious Chocolate Cream Cheese Danish recipe perfect for breakfast treats Easy to make these pastries will delight your morning
Ingredients
Instructions
- Prep Time: 15 minutes
- Cook Time: 25 minutes
- Category: Dessert
- Method: Baking
- Cuisine: Danish
Nutrition
- Serving Size: 1 Danish
- Calories: 250 calories
- Sugar: 10 grams
- Fat: 14 grams
- Saturated Fat: 14 grams
- Carbohydrates: 30 grams
- Fiber: 1 gram
- Protein: 4 grams


