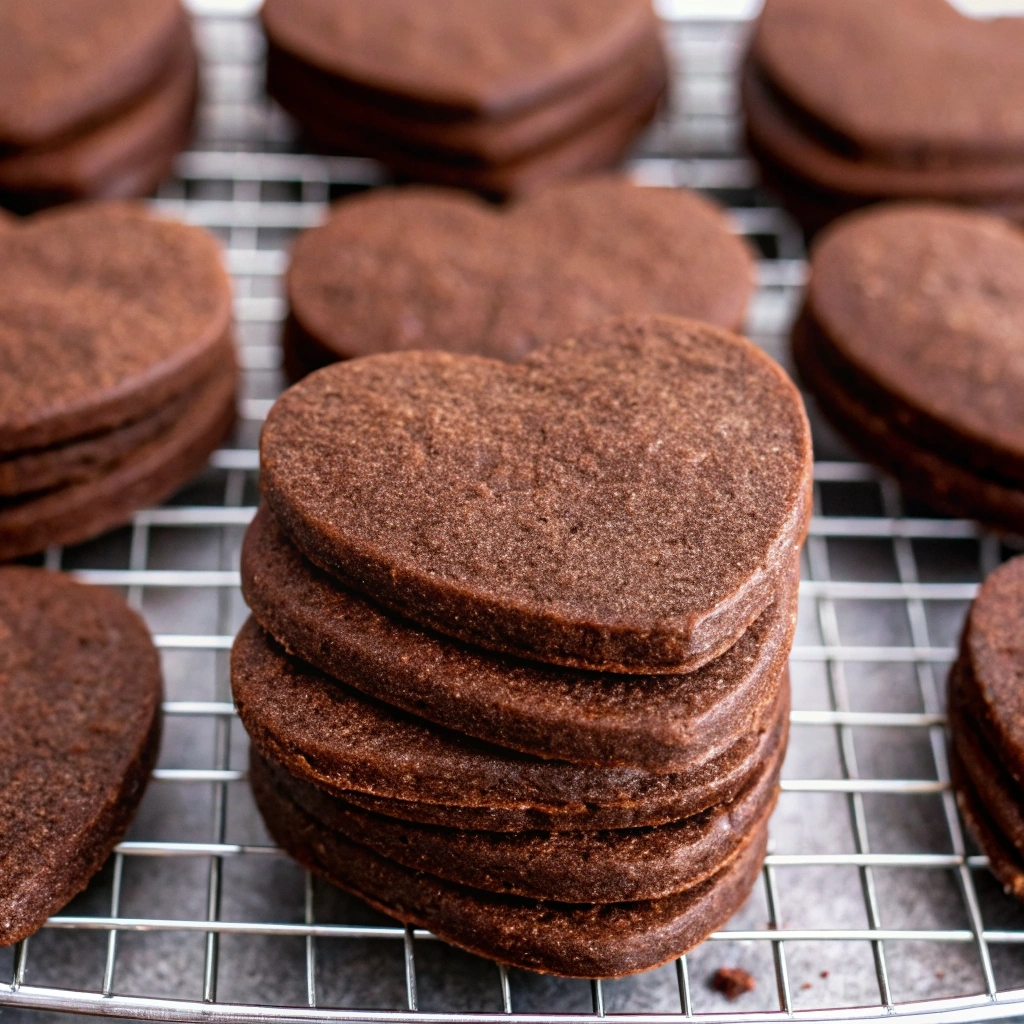
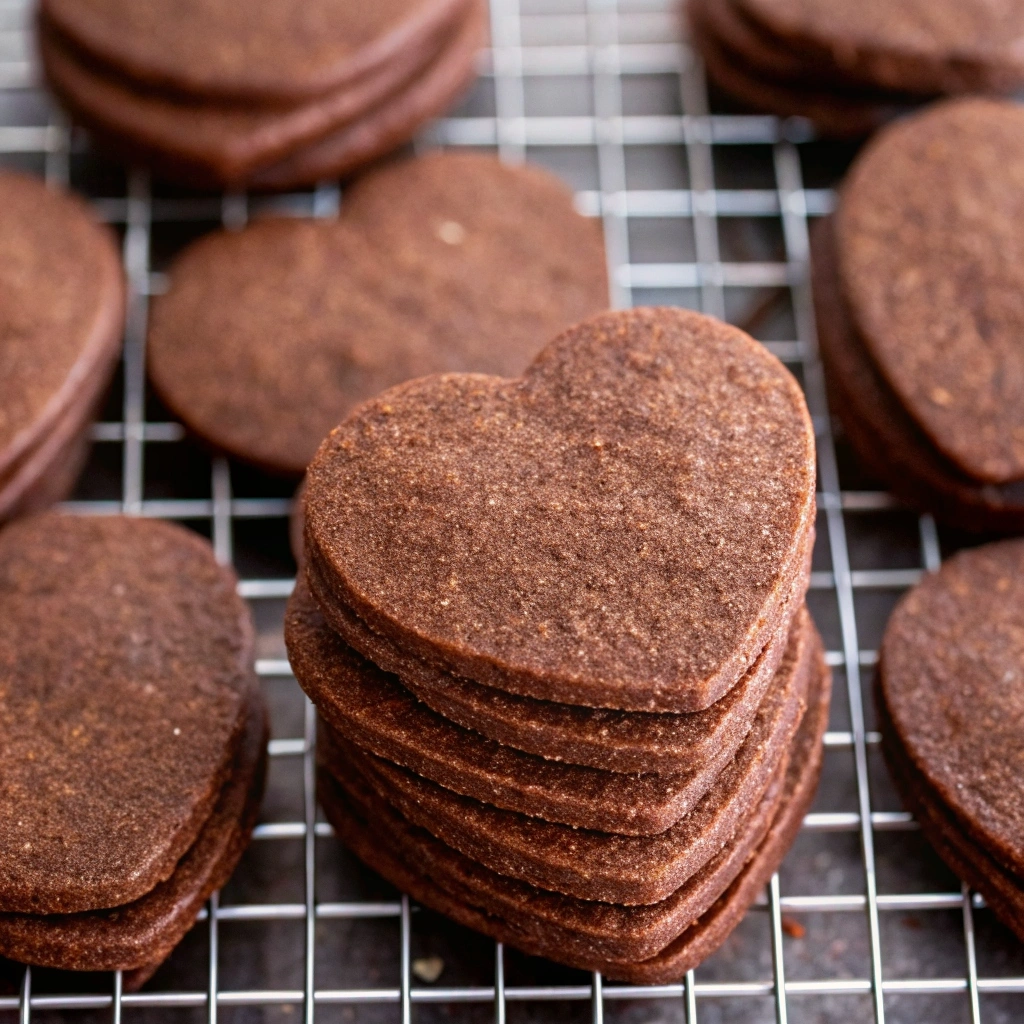
Chocolate Cut-Out Heart Cookies
Picture this: a bustling kitchen filled with laughter, the tantalizing scent of chocolate wafting through the air, and a sprinkle of flour dust dancing in the sunlight. This is the magic that happens when you decide to bake Chocolate Cut-Out Heart Cookies. These delightful treats aren’t just cookies; they carry memories—of cozy weekends spent with loved ones, of playful afternoons creating sweet shapes, and of every home’s joy during celebrations. They’re inspired by those whimsical days when I would be elbow-deep in flour, crafting something delicious while my little ones giggled at my messy hair and flour-speckled apron. These cookies are just perfect, whether you’re celebrating Valentine’s Day, a birthday, or simply sweetening up an ordinary Tuesday.
Why You’ll Love This Recipe
This recipe is a keeper for so many reasons! First off, who doesn’t love cookies? But these aren’t just any cookies. They have that perfect balance of rich chocolate flavor without being overly sweet, making them a delightful treat for both kids and adults alike. Truly, each bite is like getting a warm hug from a friend. Plus, they’re easy to whip up—no special skills required! Just gather your ingredients, roll up your sleeves, and let the magic happen. If you’re short on time, these tasty morsels can be made ahead and frozen, saving you from last-minute baking panic. It’s like having a secret stash of joy at the ready!
What It Tastes Like
Let’s talk taste—oh, where do I even begin? Imagine taking that first bite and being greeted by a crumbly cookie that melts softly in your mouth. The chocolate is rich, deeply satisfying, yet the sweetness is perfectly balanced, so it doesn’t leave you feeling overwhelmed. The subtle hint of vanilla dances playfully, teasing your taste buds and making you come back for another bite (and another!). It’s the kind of warmth and comfort that feels like your favorite childhood memory wrapped up in a delicious cookie. Think of a rainy afternoon, snuggled on the couch with a mug of hot cocoa, reading your favorite book, and indulging in a little something sweet. That’s how these cookies make you feel.
Ingredients You’ll Need
- 2 1/4 cups all-purpose flour: This is the base, giving the cookies structure and enabling you to cut them into lovely shapes.
- 1/2 cup unsweetened cocoa powder: For that deep chocolate flavor we all crave!
- 1 teaspoon baking powder: A little magic ingredient that gives the cookies a light lift.
- 1/2 teaspoon salt: Enhances the sweetness and balances the flavors.
- 1 cup unsalted butter, softened: Provides richness and helps create that melt-in-your-mouth texture.
- 1 cup granulated sugar: Sweetness, of course! It also helps to caramelize a bit and adds that gentle crunch.
- 1 large egg: This binds everything together, making the dough workable.
- 1 teaspoon pure vanilla extract: Just a touch to brighten everything up and bring harmony to our chocolatey goodness.
Optional Additions: You might consider adding peppermint extract for a festive twist or folding in some chocolate chips if you want to go all out. Nuts or dried fruits could also add a fun crunch!
Special Garnishes: A dusting of powdered sugar or a drizzle of white chocolate can transform these cookies into a beautiful treat perfect for sharing.
Step-by-Step Instructions
Ready to get started? Let’s roll up those sleeves and bring these cookies to life!
- Mixing the Dry Ingredients: In a medium bowl, whisk together the flour, cocoa powder, baking powder, and salt. This step is crucial; it ensures that everything is evenly distributed. Don’t rush this step—it’s where the magic happens!
- Creaming the Butter and Sugar: In a large mixing bowl, beat together the softened butter and granulated sugar until it’s light and fluffy. You’re aiming for that pale, creamy texture—approximately 2–3 minutes.
- Add the Egg and Vanilla: Mix in the egg and vanilla extract until well combined. This is the warm hug that binds everything together.
- Combine the Dry Ingredients: Gradually add the dry mixture to the wet ingredients, beating on low speed until just combined. This is where your kitchen is going to start smelling heavenly!
- Chill the Dough: Divide the dough into two discs, wrapping them in plastic wrap. Chill for at least 1 hour. I find this step helps the dough firm up, making it easier to roll out later.
- Preheat the Oven: While your dough chills, preheat your oven to 350°F (175°C). Line your baking sheets with parchment paper. It makes cleanup a breeze!
- Roll Out the Dough: On a lightly floured surface, roll out one disc of chilled dough to about 1/4 inch thick. Cut out heart shapes using your favorite cookie cutters. Try not to eat all the scraps; they’re delicious!
- Bake the Cookies: Transfer the cut-outs to your prepared baking sheets and bake for 10-12 minutes. The edges will set, but the centers will remain soft—just how we like them. Let them cool completely on a wire rack.
- Garnish: Once cooled, feel free to dust them with powdered sugar or drizzle with melted white chocolate for an extra special touch.
{{image}}
Recipe Variations
Why stick to just classic heart shapes? Consider some fun variations! Use different cookie cutters to create stars, circles, or even abstract shapes if you’re feeling adventurous. You can also swap in different flavors by using milk chocolate cocoa powder or adding a splash of almond extract instead of vanilla. Additionally, why not try a layer of raspberry jam between two cookies for a delightful surprise? The possibilities are endless!
Serving & Storage Tips
These cookies are best enjoyed fresh, but they can be stored in an airtight container at room temperature for about a week. And trust me, they won’t last long! If you want to keep them for longer, they can be frozen for up to three months. Just make sure they’re well-wrapped to prevent freezer burn. When you’re ready to enjoy a cookie, simply let it thaw at room temperature, or pop it in the microwave for a few seconds to warm it up. You’ll be transported back to that cozy kitchen in no time!
Helpful Tips
Now, let’s talk about a few things I’ve learned in my cookie-baking journey. One key tip is to measure your flour correctly—too much can lead to dry cookies. Spoon and level is the best method. Also, don’t take shortcuts; chilling the dough is vital, as it prevents the cookies from spreading too much while baking. And if you’re ever in doubt, try a test cookie! Make one before baking the whole batch to ensure you love the flavor and texture.
Special Equipment
- Mixing Bowls: A good set of mixing bowls will make your life a whole lot easier. I recommend using a glass or metal bowl that can withstand mixing without scratching.
- Cookie Cutters: Invest in a good set of cookie cutters. Heart shapes are standard for these cookies, but having a variety allows you to be creative!
- Baking Sheets: Non-stick or parchment-lined baking sheets are key. They help ensure that your cookies don’t stick and allow for even baking.
- Cooling Rack: This is essential for cooling the cookies properly. If you don’t let them cool completely, you’ll end up with a soggy bottom!
Frequently Asked Questions
How do I prevent my cookies from spreading too much?
Chilling the dough is crucial for this! It keeps the cookies from spreading too much in the oven. Make sure your butter is softened but not melting, and avoid overmixing once you add the dry ingredients.
Can I use whole wheat flour instead?
Absolutely! Whole wheat flour can work, but it may change the texture slightly. You might want to mix it with all-purpose flour for the best results!
Can I make these cookies ahead of time?
You bet! You can prepare the dough and store it in the fridge for a couple of days or freeze it for longer storage. Just make sure to wrap it tightly to keep it fresh.
What if I want to cut out shapes but don’t have cookie cutters?
No problem! You can use a clean glass, a knife, or even mold them with your hands. It’s all about creativity in the kitchen!
Conclusion
So there you have it—my recipe for Chocolate Cut-Out Heart Cookies that promise to steal not only your heart but the hearts of those you share them with. I love making these cookies when I’m feeling nostalgic or when I want to share joy with friends and family. Whether it’s for a holiday, a gathering, or just a regular day that needs a bit of sweetness, these cookies fit the bill perfectly. I can’t wait to hear your cookie-making stories or how you decided to jazz them up! So go ahead, roll up those sleeves, and bake some love into your kitchen.
Print
Decadent Chocolate Heart CutOut Cookies Irresistible Treats
- Total Time: 72 minutes
- Yield: 24 cookies 1x
Description
Savor the rich flavor of chocolate heart cutout cookies These irresistible treats are perfect for any occasion and sure to delight everyone
Ingredients
- 2 1/4 cups of all-purpose flour
- 1/2 cup of unsweetened cocoa powder
- 1 teaspoon of baking powder
- 1/2 teaspoon of salt
- 1 cup of unsalted butter, softened
- 1 cup of granulated sugar
- 1 large egg
- 1 teaspoon of pure vanilla extract
- Optional: Peppermint extract, chocolate chips, nuts, or dried fruits for variation.
Instructions
- In a medium bowl, whisk together the flour, cocoa powder, baking powder, and salt.
- In a large mixing bowl, beat together the softened butter and granulated sugar until light and fluffy.
- Mix in the egg and vanilla extract until well combined.
- Gradually add the dry mixture to the wet ingredients, beating on low speed until just combined.
- Divide the dough into two discs, wrap in plastic wrap, and chill for at least 1 hour.
- Preheat your oven to 350°F (175°C) and line your baking sheets with parchment paper.
- On a lightly floured surface, roll out one disc of chilled dough to about 1/4 inch thick and cut out heart shapes.
- Transfer the cut-outs to your prepared baking sheets and bake for 10-12 minutes.
- Once cooled, dust with powdered sugar or drizzle with melted white chocolate if desired.
Notes
Delightful Chocolate Cut-Out Heart Cookies that carry sweet memories and are perfect for any celebration.
- Prep Time: 60 minutes
- Cook Time: 12 minutes
- Category: Dessert
- Cuisine: American
Nutrition
- Serving Size: 24 cookies
- Calories: 120
- Sugar: 5g
- Fat: 7g
- Carbohydrates: 15g
- Fiber: 0.5g
- Protein: 1.5g


