There’s something utterly magical about biting into a chocolate lava cake. It’s like a cozy hug for your taste buds, isn’t it? The warm, gooey center oozes out as you poke your fork into the delicate exterior, and suddenly, all worries fade away. I remember the first time I had one—sitting in a small bistro on a rainy night, surrounded by friends. We shared laughter and stories, but when that little cake arrived, the world got a bit quieter as the rich aroma wrapped around us. It felt special, indulgent, and utterly delightful. That memory lived with me, and now, every time I whip up this simple yet sophisticated dessert, I’m reminded of that cozy evening. Let’s turn your kitchen into that restaurant experience with just a few ingredients and a sprinkle of love!
Why You’ll Love This Recipe
Okay, let’s be real. Who doesn’t love desserts that feel fancy but are actually pretty easy to whip up? These chocolate lava cakes are the perfect remedy for a busy day that deserves a sweet finish. You can have them prepped in under 20 minutes, baked in about 12, and voilà—dinner party worthy dessert that will leave your guests (or yourself—because I don’t judge) utterly impressed. The sheer joy of watching your family and friends dig into their cakes, their forks sinking into the molten center, is priceless. It’s like you’re serving up little edible smiles. These cakes bring the restaurant vibe home, and I can’t think of a better way to end a meal than with a scoop of vanilla ice cream perched on top, melting slightly into that warm chocolate goodness. Let’s dive in, shall we?
What It Tastes Like
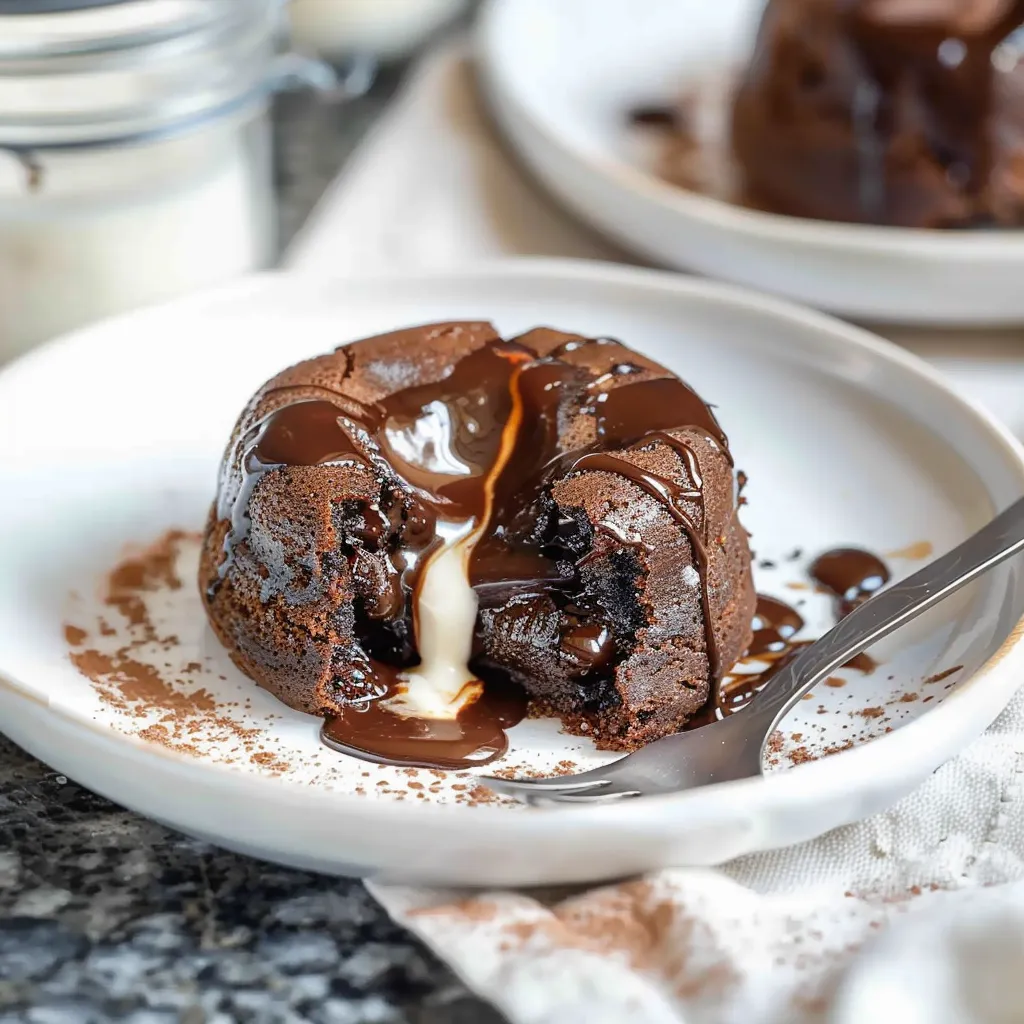
Imagine this: you take a forkful of the cake and bite into it. The outer layer has a slight crispiness that gives way to an irresistible, gooey chocolate center that flows like a river of rich cocoa goodness. It’s rich but not overwhelming, sweet but balanced by that little hint of bitterness. If chocolate has a voice, it murmurs in tones of comfort and warmth, making every forkful feel like a mini celebration. Pair it with cold vanilla ice cream, and you’ll experience that glorious contrast of temperatures that makes your taste buds dance. Honestly, it’s like that first warm bite of comfort after a long day—it envelops you in joy.
Ingredients You’ll Need
- ½ cup (115g) unsalted butter: This adds luscious creaminess and helps create that tender texture.
- 1 cup (170g) semi-sweet chocolate chips: These are the star of the show, creating that rich, molten center we crave.
- 2 large eggs: They help bind everything together and create that delightful cake structure.
- 2 large egg yolks: For an extra richness that enhances that molten texture.
- ½ cup (100g) granulated sugar: Sweetness is a must for any dessert, and it helps with the cake’s structure!
- ⅓ cup (40g) all-purpose flour: This gives the cake its structure and allows it to hold together.
- ½ teaspoon vanilla extract: A little flavor enhancer, because chocolate and vanilla are best friends.
- Pinch of salt: Enhances all the flavors—yes, even dessert needs seasoning!
Optional Additions:
- Espresso powder (1 tsp): A dash can deepen the chocolate flavor without tasting like coffee.
- Chili powder (a pinch): For those who like a bit of a kick, spice it up!
- Orange zest: Brightens up the chocolate with a zesty freshness.
Special Garnishes:
- Powdered sugar: A light dusting adds a touch of elegance.
- Fresh raspberries or strawberries: For a pop of color and a lovely tart contrast.
- A scoop of homemade vanilla ice cream: Because, really, who can resist ice cream?
Step-by-Step Instructions
Ready to bring some molten magic to your kitchen? Let’s get to it!
- Preheat your oven: Preheat to 450°F (232°C). While that’s warming up, it’s time to get our ingredients ready.
- Prep the ramekins: Butter four 6-ounce ramekins generously. Don’t skip this—no one wants a cake that refuses to come out to play! Dust them lightly with cocoa powder or flour to prevent sticking.
- Make the rich batter: In a medium saucepan over low heat, melt the butter and chocolate together, stirring until smooth. Be patient here—don’t rush this step; it’s where the magic happens! Once melted, set aside to cool slightly.
- Whisk those eggs: In a large mixing bowl, whisk together the eggs, egg yolks, and sugar until pale and slightly thickened (about 2-3 minutes). You want it light and airy, so don’t skip this part.
- Add chocolate mix: Slowly whisk in the slightly cooled chocolate mixture until well combined.
- Add dry ingredients: Sift in the flour, vanilla, and salt. Fold gently until just combined. Be careful not to overmix—lumps are your friends here!
- Pour into ramekins: Divide that glorious batter evenly into the prepared ramekins, filling each about ¾ full. You might want to taste-test the extra batter (a baker’s prerogative).
- Bake: Place the ramekins on a baking sheet and pop them into the oven. Bake for about 12-14 minutes, or until the edges are set and the center still looks soft. Remember, under-baked is the name of the game for that melty center!
- Cool slightly: Once done, remove them from the oven but let them cool for about 1-2 minutes. Run a knife around the edges to loosen them—but don’t get too cozy—these little gems won’t wait forever!
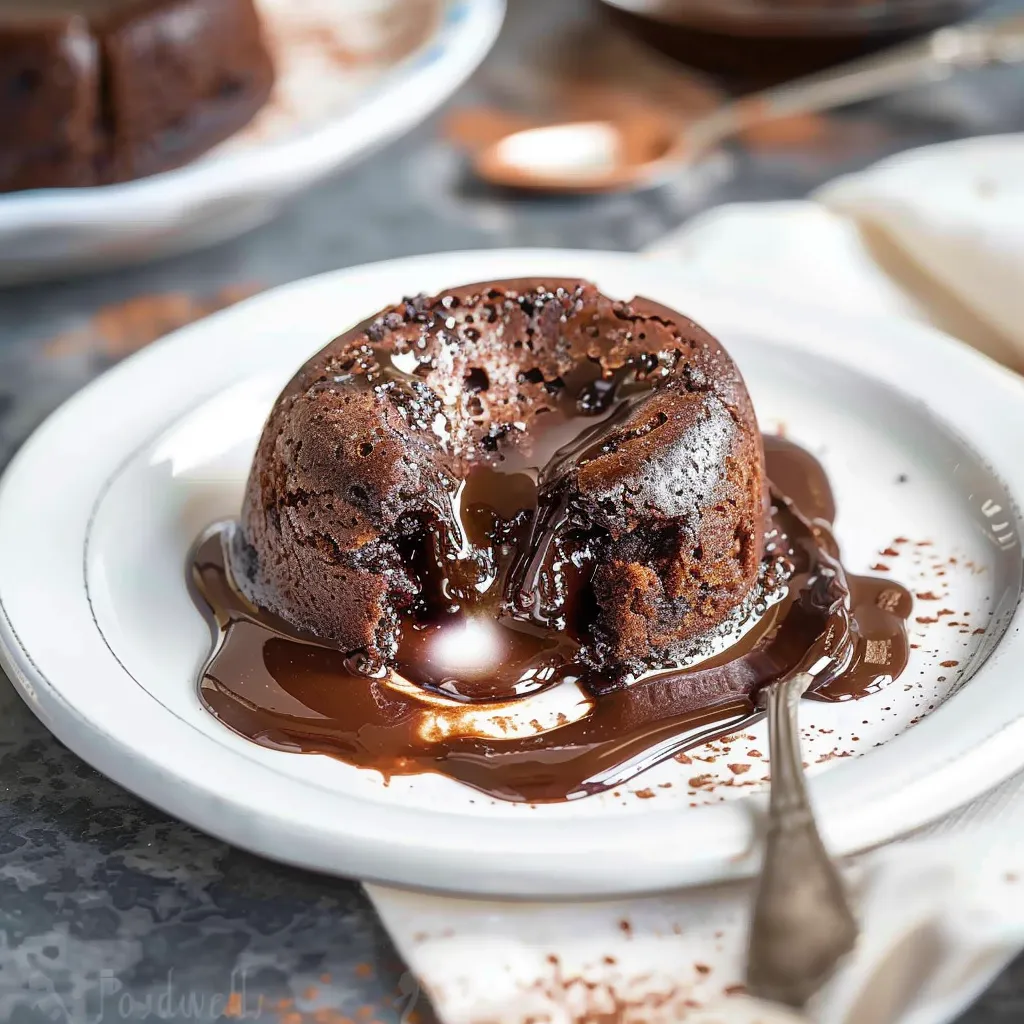
- Serve immediately: Carefully invert each ramekin onto a dessert plate. Dust with powdered sugar if you like, and add ice cream or fresh berries for that gorgeous finish. Then, just take a moment to appreciate your masterpiece!
Recipe Variations
Why stick to one recipe when you can mix things up? Here are a couple of fun variations:
- Nutty Surprise: Add chopped nuts (like walnuts or hazelnuts) into the batter to give it a delightful crunch.
- Minty Fresh: A few drops of peppermint extract instead of vanilla for a refreshing spin on the classic.
- Berry Goodness: Add crushed raspberries or other berries to the center before baking for a fruity explosion.
Serving & Storage Tips
These chocolate lava cakes are best served fresh straight from the oven. But if you have leftovers (which might be a bit of a miracle), store them in the fridge covered with plastic wrap for up to 2 days. Reheat them in the oven at 350°F (175°C) for about 5-7 minutes. Just keep an eye on them—no one wants a dried-out cake! Creative leftovers? Consider crumbling them over ice cream or using them as a chocolate base for a layered dessert!
Helpful Tips
Let me share a few little nuggets of wisdom learned through the glorious chaos of home baking:
- Don’t overbake! The key to lava cakes is that molten center—if they look too set, they might not ooze right.
- Room temperature eggs are easier to whisk; plus, they incorporate better into the batter.
- If you want to make these ahead of time, you can prepare the batter and store it in the fridge for up to two days before baking. Just remember to bring it back to room temperature before popping them in the oven.
Special Equipment
- Ramekins: Great for baking these individual cakes! They hold the cake’s shape and create those lovely edges. Plus, they’re cute!
- Baking Sheet: Needed for easy transfer to the oven and avoids spills (trust me on this one).
- Whisk and Mixing Bowls: Essential for creating that light batter. The whisk helps incorporate air, giving you that perfect rise.
- Sifter: For the flour! This helps to avoid lumps and ensures a light batter.
Frequently Asked Questions
Can I make these in advance?
Absolutely! Prepare the batter and store it in the fridge for up to 2 days. Just bring it to room temperature before baking. Easy peasy!
What if I don’t have ramekins?
You can use muffin tins or even small oven-safe dishes! Just make sure to adjust the baking time as needed. Keep an eye on them—tiny cakes may bake faster.
Can I freeze chocolate lava cakes?
Yes, you can! Bake them, let them cool, wrap them tightly, and freeze. When you’re ready to enjoy, just thaw in the fridge and reheat in the oven.
What’s the best way to know when they’re done?
The edges should be firm, while the center remains soft and jiggly. If they look too set, you might be in trouble—no one wants a dry lava cake!
Can I substitute dark chocolate?
Of course! Just keep in mind that the taste will be a bit richer. Check the sweetness level of the chocolate you’re using—feel free to adjust the sugar accordingly!
Conclusion
As you can see, making chocolate lava cakes is not only an enjoyable experience but also a delightful treat to share and savor. I love making these for special occasions, cozy nights in, or even on a whim when I need a little pick-me-up. The joy of watching someone take that first bite and reveal the molten center is just priceless. I can’t wait to hear how yours turns out! Please share your versions or any little twists you try in the comments. Happy baking!
Print
Irresistible Chocolate Lava Cakes Recipe for Ultimate Bliss
- Total Time: 34 minutes
- Yield: 4 servings 1x
Description
Satisfy your sweet tooth with this delicious chocolate lava cake recipe. Experience rich flavors and gooey centers for the perfect dessert treat!
Ingredients
Instructions
Notes
Indulge in the rich, gooey goodness of chocolate lava cakes, perfect for a sweet finish to any meal.
- Prep Time: 20 minutes
- Cook Time: 14 minutes
- Category: Dessert
- Cuisine: American
Nutrition
- Serving Size: 4 servings
- Calories: 300
- Sugar: 20g
- Fat: 20g
- Carbohydrates: 30g
- Fiber: 1g
- Protein: 6g


