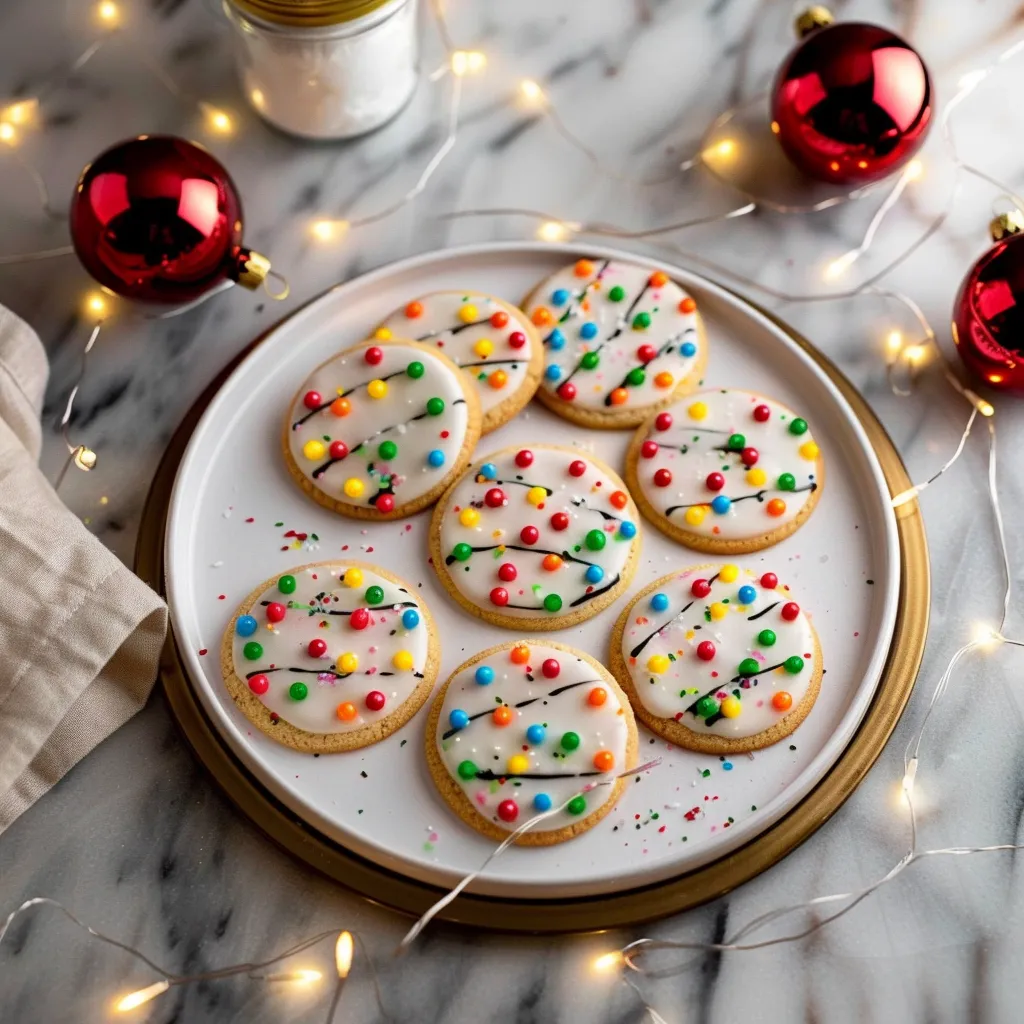
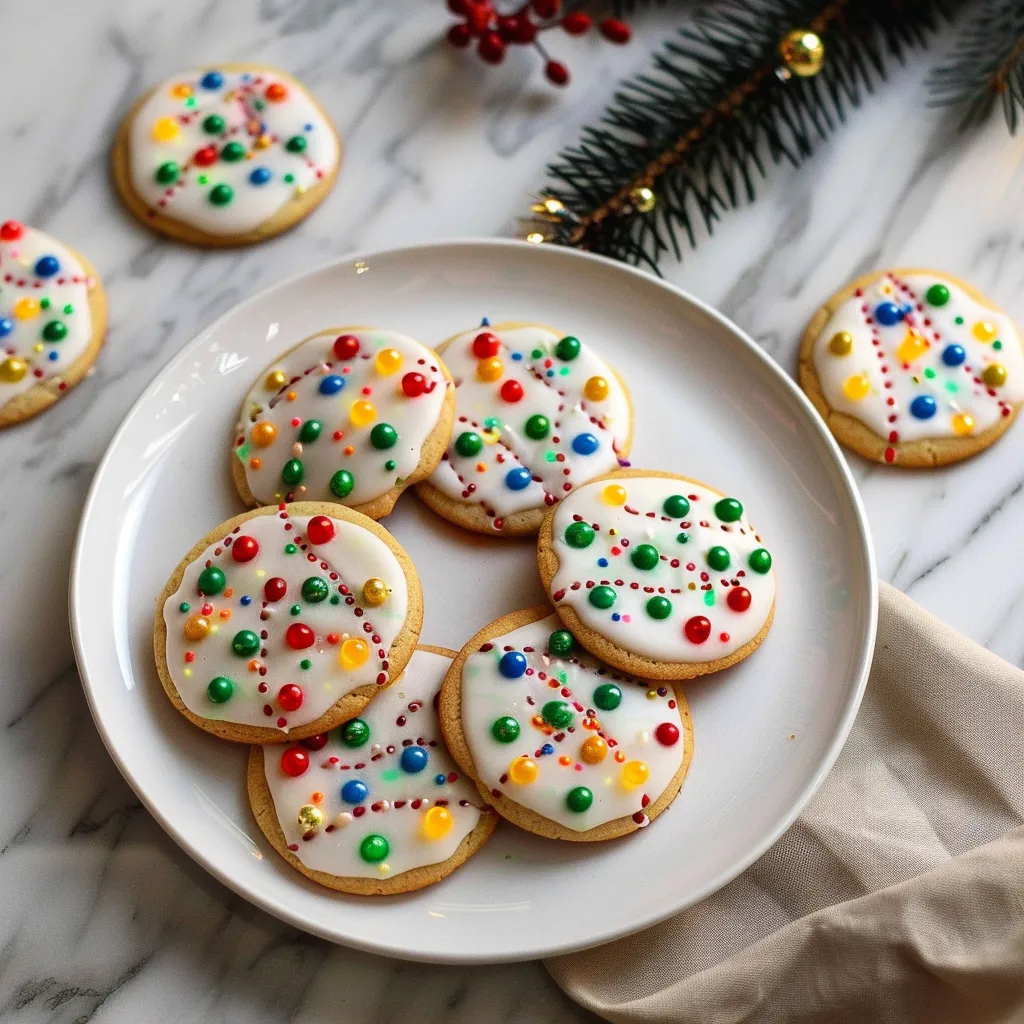
There’s something magical about the holiday season that brings families and friends together, isn’t there? I can still remember the twinkling lights, the joy in the air, and the delightful aroma wafting from my kitchen when I’d bake cookies with my family as a child. These Christmas Lights Cookies are inspired by those fond memories, a sweet treat to celebrate all the joy and warmth this season brings. With their colorful icing resembling festive holiday lights, these cookies are not just delicious; they spark joy with every bite and bring a smile to anyone who sees them. They’re perfect for holiday gatherings, cookie exchanges, or simply enjoying while wrapped in a warm blanket on a chilly evening. Let’s dive in and create some delicious memories together!
Why You’ll Love This Recipe
Now, let’s chat about why you absolutely need to try these cookies. Firstly, they’re not just cookies; they’re little bursts of joy that are bound to become a tradition in your home. You’ll be surprised at how simple they are to whip up, even amidst the holiday chaos. These cookies save time on busy nights and are sure to impress your guests – they taste like something straight out of a bakery but with that cozy, homemade touch. Plus, they’re fun to decorate, making them a great activity for kids and adults alike. Whether you’re crafting them for a festive party or just for yourself (because why not?), these cookies will fill your home with a delightful aroma and your heart with joy.
What It Tastes Like
Picture this: you take a bite, and the soft, buttery cookie melts in your mouth, perfectly complemented by the sweet, vibrant icing that adds just the right amount of festive cheer. The icing not only brightens the visual appeal but also brings a delightful sweetness that balances with the rich, buttery flavor of the cookie itself. Each cookie is like a cozy hug – they’re just the right amount of sweet to make you smile while not being overly sugary. It’s like that first warm sip of hot cocoa on a cold winter day, bringing comfort and nostalgia with every bite.
Ingredients You’ll Need
- 2 ¾ cups all-purpose flour: This forms the base of your cookie, giving it a lovely structure and chewiness.
- 1 teaspoon baking powder: This little ingredient is what gives your cookies that perfect rise so they don’t turn into pancake cookies!
- ½ teaspoon salt: Balances the sweetness of the sugar and brings out the flavors beautifully.
- 1 cup unsalted butter, softened: Adds richness and a lovely buttery flavor; be sure to get it to room temperature for easy mixing.
- 1 cup granulated sugar: Sweetness central! This gives your cookies that lovely crunchy exterior.
- 1 cup powdered sugar: Used for icing, adding a silky sweetness that’s just heavenly.
- 1 large egg: Helps bind everything together and adds richness.
- 1 teaspoon vanilla extract: A must-have for that comforting, warm flavor.
- Food coloring: Choose your favorite colors to create those beautiful lights!
Optional Additions:
- 1 teaspoon almond extract: For a twist on flavor that adds depth.
- Sprinkles or colored candy: To make your cookies even more festive!
Special Garnishes:
- Edible glitter: Because who doesn’t love a bit of sparkle during the holiday season?

Step-by-Step Instructions
Ready to get baking? Here’s how to make your own batch of Christmas Lights Cookies!
- Preheat your oven: Start by preheating your oven to 350°F (175°C). This is the first step to ensuring your cookies bake evenly and turn out just right.
- Mix dry ingredients: In a bowl, whisk together the flour, baking powder, and salt. Set this mix aside while you work on the wet ingredients.
- Cream butter and sugar: In a large bowl, cream the softened butter and granulated sugar together until it’s light and fluffy. This is where the magic happens—don’t rush it!
- Add egg and vanilla: Beat in the egg and vanilla extract until fully combined. The mixture should look smooth and creamy. Trust me, this will smell heavenly!
- Combine wet and dry: Gradually add the dry ingredient mixture to the wet ingredients, mixing gently until just combined. Resist the urge to over-mix—this helps keep your cookies tender!
- Chill the dough: Wrap the cookie dough in plastic wrap and chill in the fridge for about 30 minutes. This makes it easier to roll out later and helps the flavors meld together beautifully.
- Roll and cut: Once chilled, roll the dough out on a floured surface to about ¼ inch thick. Use your favorite cookie cutters to cut out festive shapes—think stars, trees, or even holiday lights!
- Bake the cookies: Place them on a parchment-lined baking sheet and bake for about 8-10 minutes, or until the edges are just golden. Keep an eye on them; you don’t want them to overbake!
- Cool completely: Let the cookies cool on a wire rack before decorating. This is key! If you try to ice them too early, you’ll have a melty, gooey mess—not the look we’re going for!
- Decorate: Once your cookies are cool, prepare your icing by mixing the powdered sugar with just enough water or milk to achieve a thick but spreadable consistency. Add food coloring as desired, and let your creativity shine as you decorate those cookies like beautiful Christmas lights!
Recipe Variations
These cookies are a canvas for your creativity! You can swap out the vanilla extract for almond or peppermint for a delightful twist. If you’re looking for a little texture, try adding mini chocolate chips or crushed nuts into the dough for a sweet surprise. Feel like making them extra festive? Drizzle some chocolate over the cookies after the icing has set, or add a sprinkle of colored sugar on top before the icing dries!
Serving & Storage Tips
Once your cookies are decorated and proudly displayed, they won’t last long! But if you do need to store them, keep them in an airtight container at room temperature. They can stay fresh for up to a week. If you have leftovers (or mystery cookies you just can’t remember decorating), consider tossing them into your morning yogurt or using them as a dessert topping for ice cream—because life is too short not to sprinkle cookies on everything!
Helpful Tips
Here are a few nuggets of wisdom I picked up while perfecting this recipe:
- Don’t skip the chilling step: It really makes a difference in texture! Even a short chill helps keep the cookies from spreading too much while baking.
- Be careful with your flour measurements: Use a spoon to scoop flour into your measuring cup and level it off with a knife. Avoid packing it down, as this can lead to dry cookies.
- Customize icing thickness: You can play with the consistency of your icing. Thicker icing will hold its shape better, while thinner icing can spread nicely over the cookie.
- Trial and error are okay: Not every cookie will come out perfect, and that’s okay! Embrace the imperfections—they often make the best stories!
Special Equipment
While you can make this recipe with standard kitchen tools, here are a few items I find particularly helpful:
- Stand mixer: This is invaluable for creaming butter and sugar effortlessly, giving you a smooth batter in no time.
- Baking sheet with a liner: Using parchment paper or silicone baking mats will help prevent your cookies from sticking and make for easy clean-up.
- Cookie cutters: Shapes bring so much fun to decorating. Invest in a good set that includes festive designs; they can turn a simple cookie into a piece of art!
- Cooling rack: Essential for ensuring that your cookies cool evenly without getting soggy on the bottom.
FAQ Section
Can I freeze the cookie dough?
Absolutely! You can freeze the dough before baking for up to three months. Just roll it out and wrap it tightly in plastic wrap, or form it into logs for easy slicing later! When you’re ready to bake, just let it thaw in the fridge overnight and bake as directed.
What can I use if I don’t have cookie cutters?
No worries! You can use a knife to cut the dough into squares or fun freeform shapes. A glass can also work for round cookies. The best part is that they’ll still taste fantastic, no matter the shape!
What if I want to skip the icing?
If icing isn’t your thing, you can dust the cooled cookies with powdered sugar for a simple, elegant touch or enjoy them plain. They’re delicious even without all the glitz!
How can I make these cookies gluten-free?
Using a 1:1 gluten-free flour blend works wonderfully! Just ensure it has xanthan gum in it, as that helps mimic the texture of regular flour.
Conclusion
These Christmas Lights Cookies aren’t just a treat; they’re a celebration of the season, a way to gather family and friends, and a reminder of the simple joys that cookies can bring. I can’t wait for you to create your own batch and share them with those you love. Picture it—stacking these vibrant cookies on a holiday platter, sharing laughter over decorating challenges, and savoring the taste of homemade goodness. That’s what it’s all about! I’d love to hear about your own cookie adventures and how your creations turned out, so feel free to share your stories and even a photo or two in the comments. Happy baking and merry cookie-making!
Print
Delicious Christmas Lights Cookies Festive Treats Youll Love
- Total Time: 40 minutes
- Yield: 24 cookies 1x
Description
Indulge in festive Christmas lights cookies These delightful treats will light up your holiday celebrations with their cheerful designs and flavors
Ingredients
Instructions
Notes
Delicious and festive Christmas Lights Cookies with colorful icing resembling holiday lights, perfect for gatherings and celebrations.
- Prep Time: 30 minutes
- Cook Time: 10 minutes
- Category: Dessert
- Cuisine: American
Nutrition
- Serving Size: 24 cookies
- Calories: 100 calories
- Sugar: 5g
- Fat: 4g
- Carbohydrates: 15g
- Fiber: 0g
- Protein: 1g


