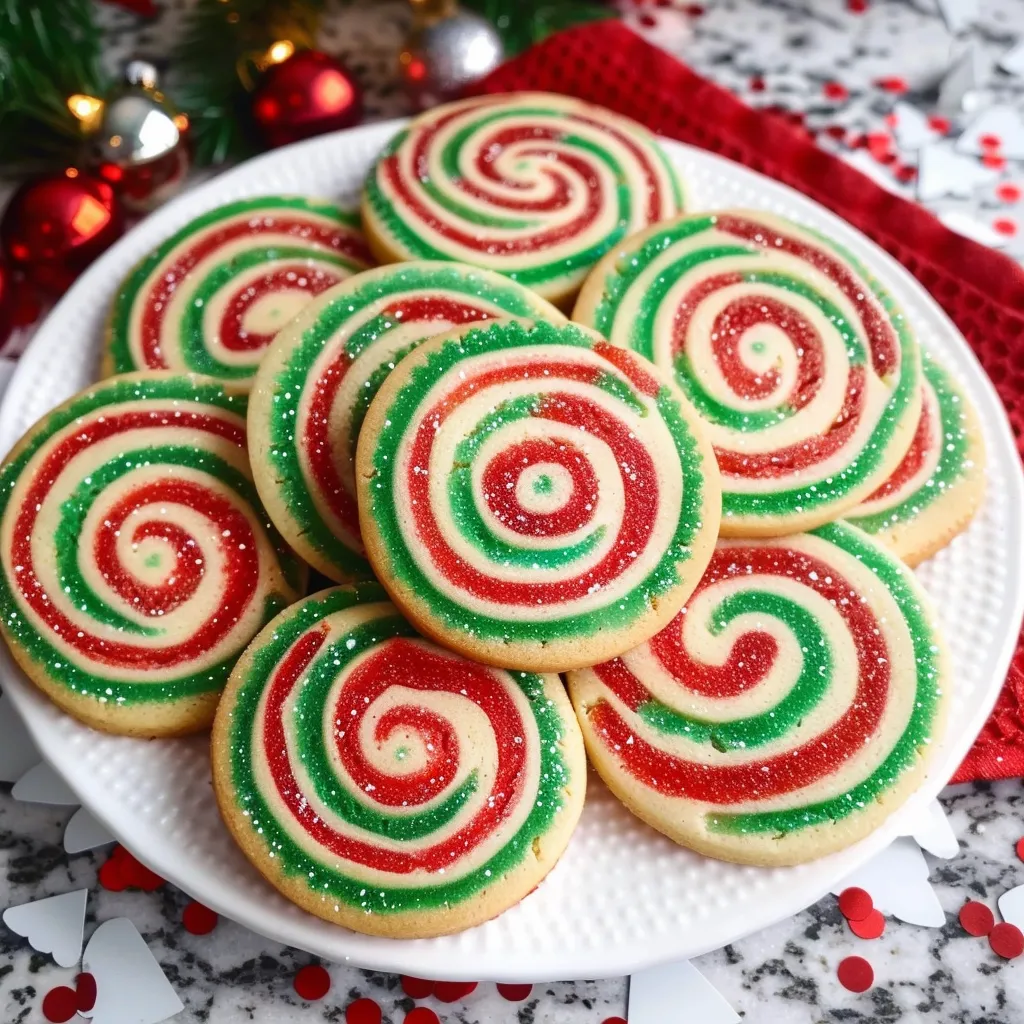
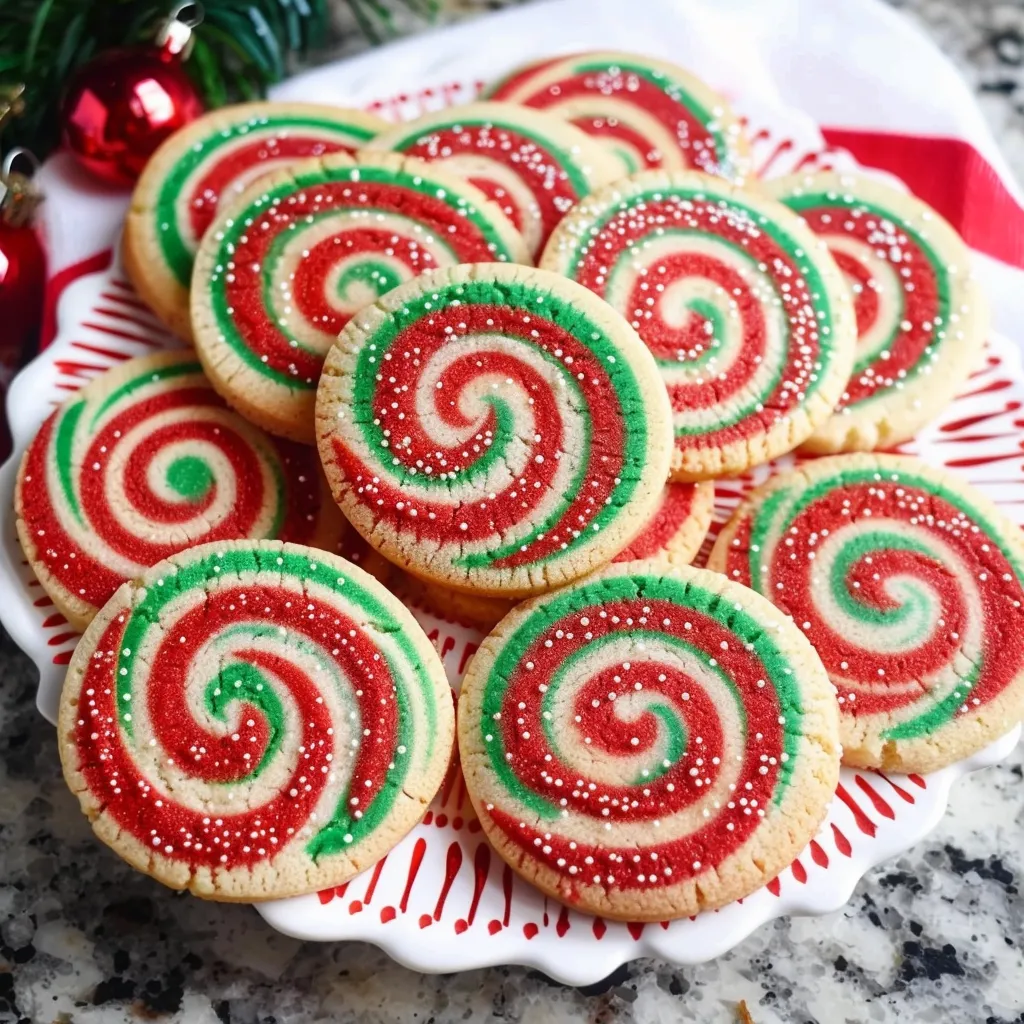
Christmas Pinwheel Cookies
As the holidays draw near, the air fills with excitement and a hint of magic – the kind that only comes once a year. It’s that delightful time when the aroma of spices and sweet treats wafts through the house, melding with laughter and stories shared around the kitchen table. Among the many beloved holiday traditions, one particularly holds a special place in my heart: making Christmas Pinwheel Cookies. These charming little cookies, with their vibrant colors and swirls, not only look festive but also tell a story with each bite. They remind me of cozy evenings spent in the kitchen with my mom, a swirl of green and red filling the space with cheer. Today, I want to share this cherished recipe with you, hoping to sprinkle a little extra joy into your holiday season.

Why You’ll Love This Recipe
Picture this: You invite your friends over for a holiday gathering, and as you set out a platter of Christmas Pinwheel Cookies, their eyes light up. They’re intrigued by the festive swirl and curious about the flavors each bite will reveal. These cookies are not just visually appealing; they are the taste of pure nostalgia, reminiscent of childhood kitchen escapades. What’s more, they are surprisingly simple to prepare, meaning you save time during those busy days leading up to the holidays. They feel like little works of art, and who doesn’t want to impress their guests with a cookie that looks like it belongs in a bakery display case? So roll up your sleeves and let’s dive into this scrumptious adventure!
What It Tastes Like
Imagine biting into a soft, buttery cookie that melts in your mouth, with the subtle sweetness of vanilla dancing on your taste buds. Then, as you savor it, the delicate crunch of the colorful sprinkles adds a delightful surprise, reminding you of the joy of childhood sweets. The swirls of red and green not only make these cookies festive but also provide a delightful contrast of flavors. The cinnamon swirls through the dough give a cozy warmth, evoking memories of winter afternoons spent snuggling up with loved ones. It’s like wrapping yourself in a cozy blanket while sipping on hot cocoa; these cookies are your holiday comfort, one delicious bite at a time.
Ingredients You’ll Need
This recipe is not only delicious but also forgiving, which is a big plus in my book! Here’s what you’ll need:
- 2 3/4 cups all-purpose flour: Forms the base of your dough, providing structure and texture.
- 1 teaspoon baking powder: Helps the cookies rise and gives them a tender crumb.
- 1/2 teaspoon salt: Balances the sweetness perfectly.
- 1 cup unsalted butter, softened: Adds that rich, creamy flavor that keeps you coming back for more.
- 1 cup granulated sugar: It sweetens the deal and helps create that beautiful golden color.
- 1 large egg: Provides moisture and binds everything together.
- 1 teaspoon vanilla extract: The magic ingredient that enhances all those lovely flavors.
- 1/2 teaspoon cinnamon: Adds a lovely warmth that whispers holiday cheer.
- Food coloring (red and green): To create those festive swirls that are oh-so-Instagram-worthy!
Optional Additions:
- Sprinkles: For added color and crunch.
- Cocoa powder: Replace some of the flour with cocoa powder for a chocolatey twist.
- Chopped nuts: If you’re feeling nutty, add in some finely chopped walnuts or pecans for extra texture.
Special Garnishes:
- Powdered sugar: A dusting on top gives a snowy finish.
- Dipped in chocolate: Because who doesn’t love a little chocolate?
Step-by-Step Instructions
Ready to get baking? Let’s walk through these steps like we’re in the cozy heart of a holiday kitchen:
- Prep the Oven: Preheat your oven to 350°F (175°C). It’s like getting your baking stage ready for showtime!
- Mix It Up: In a bowl, whisk together the flour, baking powder, and salt. In another bowl, cream the softened butter and sugar until fluffy, about 3-4 minutes. Think of it resembling fluffy clouds of sweetness!
- Add the Egg and Vanilla: Beat in the egg and vanilla, blending until smooth. Your mixture should start coming together nicely.
- Combine Dry and Wet: Gradually mix in the dry ingredients, letting them integrate until you’ve got a smooth dough. Don’t rush this step—it’s where the magic happens!
- Divide the Dough: Divide the dough in half and place each half in separate bowls. One will be colored red, and the other green. Add a few drops of food coloring to each and knead until fully incorporated.
- Roll ‘Em Out: On a lightly floured surface, roll out each colored dough individually into rectangles—approximately 1/8-inch thick. You want a neat, even surface.
- Layer and Roll: Place the green rectangle on top of the red. Starting from one end, roll them tightly into a log shape. Wrap in plastic wrap and chill in the refrigerator for at least 30 minutes to firm up the dough.
- Slice and Bake: Once chilled, remove from the fridge, and slice into 1/4-inch rounds. Place them on a lined baking sheet and bake for 10-12 minutes, or until the edges are lightly golden.
- Cool and Serve: Let the cookies cool on the baking sheet for a few minutes before transferring them to a wire rack. As they cool, you can sprinkle a bit of powdered sugar for that snowy effect or dip in chocolate if you’re feeling extra festive!
Just like that, you’ve created a beautiful batch of Christmas Pinwheel Cookies, ready to spread holiday cheer!
Recipe Variations
Feeling adventurous? Here are a few simple twists you can try:
- Chocolate Swirls: Use cocoa powder in one half of the dough, combining it with the red or green to create a chocolate pinwheel.
- Festive Filling: Spread a layer of jam or Nutella between the two colors before rolling them up for a sweet surprise.
- Holiday Scents: Mix in different spices like nutmeg or allspice for a unique flavor profile.
Serving & Storage Tips
These cookies are perfect for sharing, and they look so pretty arranged on a platter! Keep any leftovers (if there are any, let’s be honest) in an airtight container at room temperature for up to a week. They also freeze wonderfully—just make sure to place parchment paper between layers to keep them from sticking together. When you’re ready to enjoy them again, just let them thaw at room temperature, and they’ll be as good as new!
Got some cookies left over? Crumble them into ice cream for a delicious sundae, or mix with cream cheese for a quick and festive dessert dip!
Helpful Tips
Ah, the wisdom I’ve garnished over the years! Here are a few tips to help you along your baking journey:
- Make sure your butter is softened, but not melted! This helps create the tender texture.
- Don’t skip the chilling step. It makes the dough easier to work with and helps the cookies hold their shape.
- If the dough is too sticky to handle, add a bit more flour until it’s manageable.
- Experiment with your own flavor combinations; the sky’s the limit!
Special Equipment
No fancy gadgets needed, but a few tools can really make your baking experience smoother:
- Parchment paper: Perfect for lining your baking sheets. It prevents sticking and makes cleanup a breeze!
- Baking sheets: Good, sturdy ones will give your cookies an even bake.
- Rolling pin: An essential tool for rolling out the dough to an even thickness.
- Wire rack: Great for cooling your cookies evenly and preventing a soggy bottom!
FAQ
Can I make the dough in advance?
Absolutely! The dough can be made ahead of time and stored in the refrigerator for up to 48 hours. Just make sure to wrap it well so it doesn’t dry out.
What can I use instead of food coloring?
If you prefer natural options, beet juice for red and spinach or matcha powder for green can be good alternatives. Just keep in mind the colors may be less vibrant.
How do I know when my cookies are done baking?
The cookies are done when the edges are lightly golden. They’ll continue to firm up as they cool, so don’t worry if they seem a bit soft right out of the oven.
Can I substitute the butter with something else?
Yes, you can use a plant-based butter or shortening if you’re looking for a dairy-free option. Just keep in mind that it may slightly alter the flavor.
What do I do if the dough cracks while rolling?
If the dough cracks, it might be a bit too cold. Let it warm up slightly before continuing to roll it out. A little extra kneading can help bring it back together, too!
Conclusion
As you gather your loved ones around this season, I hope these Christmas Pinwheel Cookies become a delightful part of your holiday traditions. Each cookie is a swirl of happiness, bringing warmth and cheer to gatherings or quiet evenings at home. The simple act of baking together, sharing stories, and indulging in these festive bites is what the season is all about. I would love to hear your stories or see your colorful creations in the comments below. Here’s to creating sweet memories, one cookie at a time!
Print
Irresistible Christmas Pinwheel Cookies Festive Fun Recipe
- Total Time: 37 minutes
- Yield: 36 cookies 1x
Description
Delight in festive Christmas Pinwheel Cookies Discover this fun easy recipe for vibrant treats perfect for holiday gatherings
Ingredients
Instructions
Notes
Delightful Christmas Pinwheel Cookies that are visually appealing, nostalgic, and easy to make. Perfect for holiday gatherings.
- Prep Time: 25 minutes
- Cook Time: 12 minutes
- Category: Dessert
- Cuisine: American
Nutrition
- Serving Size: 36 cookies
- Calories: 100
- Sugar: 7g
- Fat: 5g
- Carbohydrates: 14g
- Fiber: 0g
- Protein: 1g


