Ah, Valentine’s Day! A day filled with love, sweet treats, and, of course, those adorable heart-shaped cakes that adorn supermarket shelves like tiny, cake-covered pieces of affection. I still remember the first time I had a Little Debbie Valentine Cake—it was during a cozy family gathering when I was a kid, and I felt like I had stumbled upon a treasure. The joy of peeling back that crinkly wrapper, revealing the soft cake and that irresistible, sugary frosting, is something that has stuck with me over the years. So, motivated by nostalgia and a sprinkle of creativity, I decided to recreate this lovely treat in my own kitchen. And let me tell you, it’s a sweet journey worth taking!
Why You’ll Love This Recipe
Let’s face it, who doesn’t love a little slice of nostalgia? TheseCopycat Little Debbie Valentine Cakes are not just a fun baking project—they’re a delightful way to infuse some sweetness into your day. Imagine cozying up with your loved ones over a plate of these heart-shaped wonders, or perhaps surprising a friend with a homemade treat that’s sure to warm their heart. Plus, this recipe is super straightforward! You don’t need a culinary degree, and it’s perfect for those weekday baking sessions when you need something quick yet impressive. Whether you’re a seasoned baker or just someone eager to dip their toes into the world of homemade desserts, this recipe is for you.
What It Tastes Like
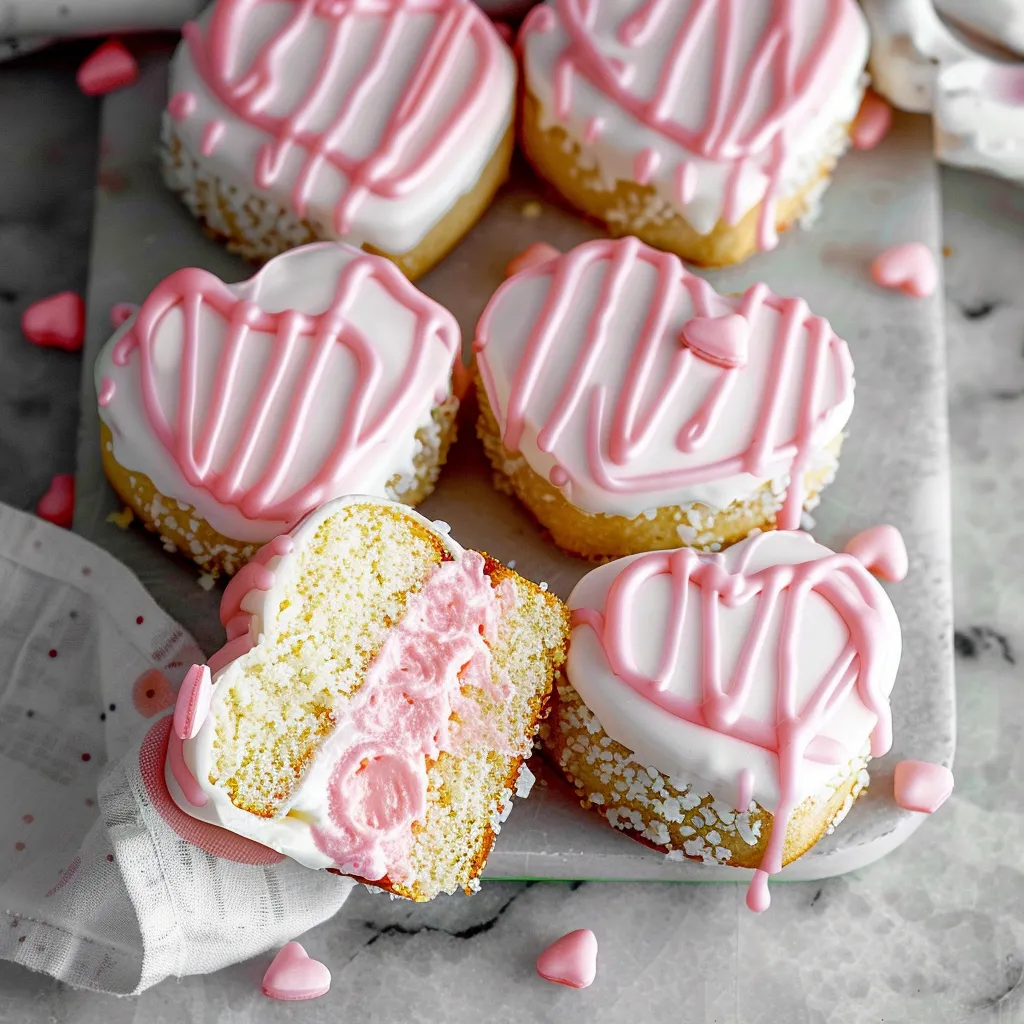
Picture this: a moist, fluffy cake that melts in your mouth, kissed with just the right sweetness from the frosting—like a hug from your favorite person after a long day. These cakes are a beautiful balance of flavors: the vanilla and butter create a cozy warmth in each bite while the frosting adds that delightful burst of sugary joy. Each layer is reminiscent of those childhood days, sparking memories as if you’re right back in your parents’ kitchen. Imagine pairing one with a cup of coffee or a glass of milk, leaving you floating in a cloud of happiness. Does it get any better? I think not!
Ingredients You’ll Need
- 1 ½ cups all-purpose flour: The building block of our cakes, giving them that tender crumb.
- 1 cup granulated sugar: Sweetness is the name of the game!
- ½ cup unsalted butter, softened: Adds richness and moisture to the cakes.
- 2 large eggs: The binding agent that helps our cakes rise and hold together.
- ½ cup milk: Enhances the cake’s texture, making it decadent and moist.
- 2 teaspoons baking powder: Our little magic powder that makes the cakes fluffy and light.
- 1 teaspoon vanilla extract: Aromatic, sweet notes that bring everything together.
- ¼ teaspoon salt: A pinch to elevate the flavors!
- 2 cups powdered sugar: For that luscious frosting—sweet and creamy, just like we remember.
- 2 tablespoons milk (for frosting): This helps achieve the perfect consistency for spreading.
- Red food coloring: Essential for that delightful pink hue fitting for Valentine’s Day!
Optional Additions
- Sprinkles: Perfect for an extra festive touch!
- Chocolate chips: To mix things up if you want a chocolatey twist.
- Coconut flakes: Adding a tropical flair to your cakes.
Special Garnishes
- Extra sprinkles or edible glitter: A whimsical touch that’s oh-so-fun!
- Heart-shaped candies: To be festive and adorable, of course!
Step-by-Step Instructions
Let’s dive into baking! Grab your apron, and let’s get started! It’s like a sweet little adventure waiting to happen.
- Preheat your oven: Get that oven warmed up to 350°F (175°C). This is crucial because we want those cakes to bake evenly.
- Prepare your pans: Grease a heart-shaped cake pan or two standard round pans if you’re feeling traditional. Dust them lightly with flour to prevent sticking.
- Mix the dry ingredients: In a bowl, whisk together the flour, baking powder, and salt. This helps to ensure everything is evenly distributed.
- Cream the butter and sugar: In a large mixing bowl, beat the softened butter and sugar together until it’s light and fluffy. Don’t rush this step—it’s where the magic happens!
- Add eggs and vanilla: Beat in the eggs, one at a time, followed by the vanilla extract until just combined.
- Combine wet and dry elements: Alternately add the flour mixture and milk to the butter and sugar mixture, starting and ending with the flour. Mix until just combined; don’t overdo it!
- Color it up: If you’re feeling festive, add a few drops of red food coloring and mix until you achieve your desired pink hue.
- Fill the pans: Pour the batter into the prepared pans, filling them about halfway to allow room for rising.
- Bake! Pop those beauties in the oven and bake for 25-30 minutes, or until a toothpick inserted comes out clean. The smell is going to be incredible!
- Cool the cakes: Let them cool in the pans for about 10 minutes before transferring to a wire rack to cool completely.
Recipe Variations
Feeling adventurous? Here are a few fun variations you can try. You can swap out vanilla for almond extract for a nutty twist, or even serve the cakes layered with whipped cream and fresh berries for a delightful spin on the classic. If you want a rich chocolate version, simply replace some dry ingredients with cocoa powder and adjust the sugar accordingly. Playing around with flavors can add a whole new layer of fun to your baking sessions! Don’t be afraid to get creative; that’s half the joy of baking.
Serving & Storage Tips
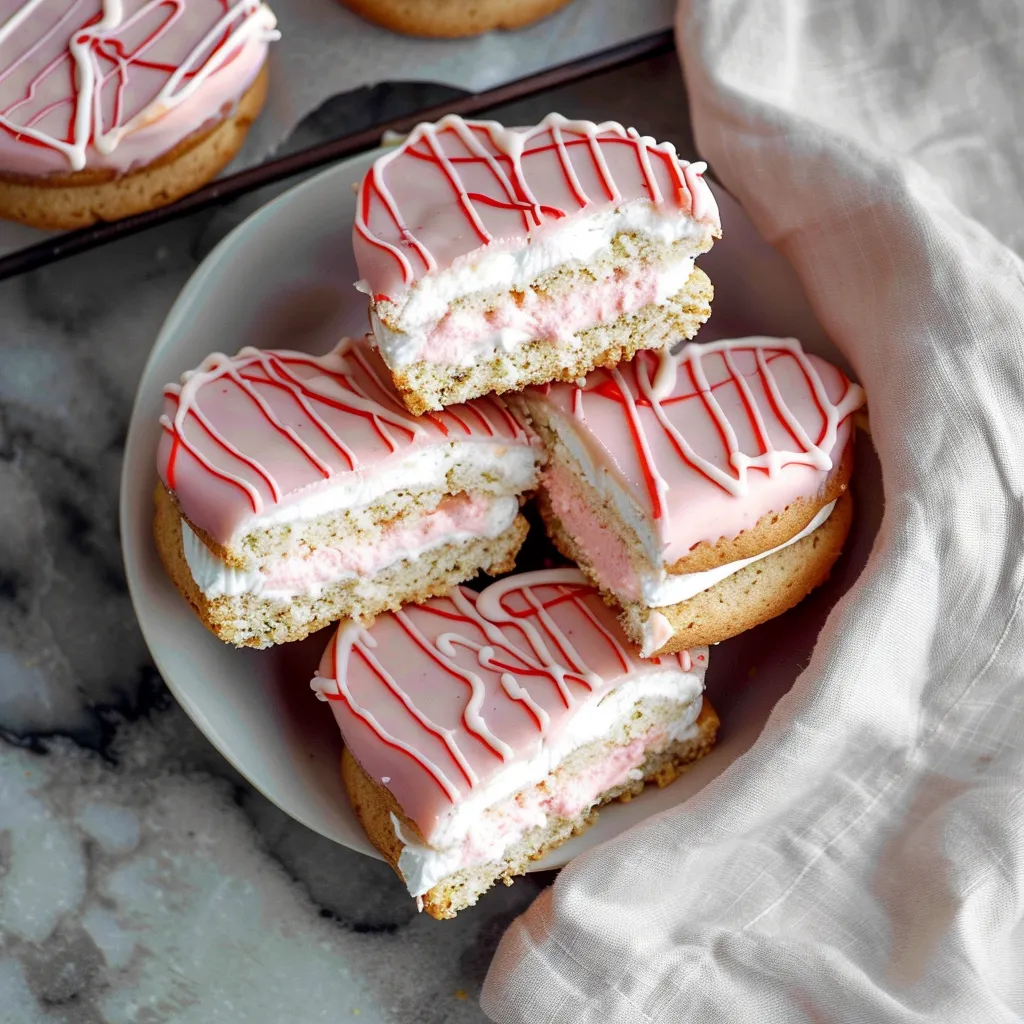
Your Copycat Little Debbie Valentine Cakes deserve to be enjoyed at their best. For serving, I recommend cutting them into slices and displaying them on a cute dessert plate, perhaps with a sprinkle of powdered sugar on top or a dollop of whipped cream. They make a charming addition to any gathering!
To store your cakes, keep them in an airtight container at room temperature for up to three days (if they last that long!). Alternatively, they can be refrigerated for about a week. If you happen to have any leftover slices (which I doubt!), consider crumbling them up as a topping for ice cream or yogurt—trust me, it’s a delightful treat!
Helpful Tips
Here are some personal nuggets of wisdom I’ve picked up along the way:
- Don’t rush the cooling process! If you try to frost the cakes before they’re completely cool, the frosting will melt into a gooey mess. Not great.
- Use a toothpick to test for doneness—if it comes out with just a few moist crumbs, you’re golden. Not too early, not too late!
- Teaching kids or friends to bake? This recipe is great for sharing, but make sure to keep an eye on the mixing speed. Trust me; you don’t want a frosting explosion!
Special Equipment
While you can get by with the basics, a few handy gadgets can make your baking experience a breeze:
- Stand mixer or hand mixer: A must-have for whipping up that fluffy butter and sugar mixture. Trust me; your arms will thank you!
- Spatula: For smooth frosting and scraping, you’ll need a good spatula to make sure you get every bit of that sweet goodness out of the bowl.
- Heart-shaped cake pan: Makes shaping the cakes a breeze! Plus, it adds that charming touch perfect for Valentine’s Day.
- Wire rack: Essential for cooling, a wire rack ensures that your cakes cool evenly and prevent sogginess.
FAQ
Can I use a different pan size?
Absolutely! Just keep an eye on the baking time as larger or smaller pans may require adjustments. A cupcake tin could work too—how cute would mini heart cakes be?
Can I freeze these cakes?
Yes! They freeze beautifully. Just make sure they’re wrapped tightly in plastic wrap and then placed in a freezer-safe bag. They’ll last up to three months!
What should I do if my cakes come out dry?
Overbaking can lead to dryness. Always check them a few minutes before the timer goes off. And if you’re working with different ovens, every one can be a tad quirky!
Can I make this recipe gluten-free?
Sure! Swap all-purpose flour with a 1:1 gluten-free baking blend for a gluten-free version. Just keep an eye out for the texture!
What’s the best way to decorate these cakes?
Simple is best! A sprinkle of powdered sugar on top or some fresh fruit can be adorable. You can also go all out with elaborate frosting designs!
Conclusion
There you have it! A heartfelt recipe that captures the very essence of love and nostalgia—Copycat Little Debbie Valentine Cakes. Whether you’re baking for a special someone, your family, or just for yourself (because self-love is important too!), these little heart-shaped treats are sure to bring smiles all around. I can’t wait to hear how yours turn out or what creative twists you add. Baking has this beautiful power to connect us, and there’s something about making our favorite treats that feels like home. So, let’s bake these cakes and spread some love!
Print
Irresistible Copycat Little Debbie Valentine Cakes Recipe
Description
Recreate delicious Little Debbie Valentine cakes with this easy copycat recipe perfect for sharing love and sweetness on special occasions


