Spring brings with it a sense of renewal, warmth, and, of course, sweets. As winter reluctantly gives way to blooming flowers and longer days, I find myself dreaming of delightful treats that capture the essence of the season. Enter the Easter No-Bake Mini Egg Cheesecake—a dessert that holds a special place in my heart while evoking nostalgia for sunny days spent with family. There’s something about the vibrant chocolate mini eggs that twinkle in the sunlight, making this cheesecake not only a feast for the tastebuds but also a visual treat. Inspired by my childhood love for chocolate and creaminess, this recipe has become a staple in my kitchen. Not only is it surprisingly easy to whip up, but it also magically brings smiles to everyone’s faces. So, pull up a chair, grab a cup of coffee, and let’s dive into this no-bake wonder!
Why You’ll Love This Recipe
Ah, the beauty of a no-bake cheesecake! It’s like the little black dress of desserts—always chic, effortlessly elegant, and works for any occasion. This Easter No-Bake Mini Egg Cheesecake doesn’t just scream “Spring”; it shouts it from the rooftops! Here’s why you’ll adore this recipe:
- No Baking Required: That’s right! Just mix, spread, and chill. This is perfect for those busy nights when you want a show-stopping dessert without the heat of the oven.
- Kid-Friendly Fun: This recipe can easily turn into a family affair. Get the kids involved in crushing the biscuits and decorating—they’ll love it!
- Ah-Mazing Flavor: Picture creamy, dreamy cheesecake with a crunchy base and bursts of chocolate mini eggs. It’s a flavor combo that’s hard to resist!
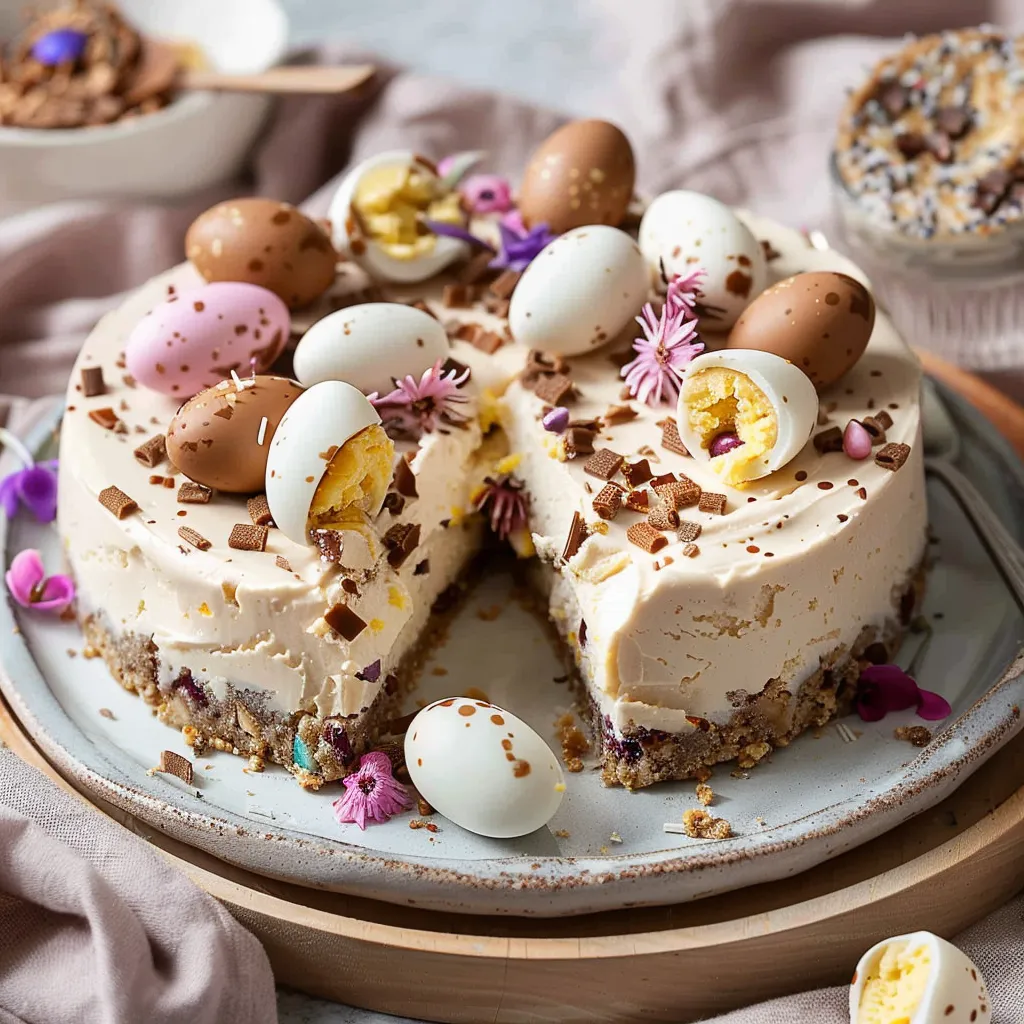
- Beautiful Presentation: Serve these mini cheesecakes in individual cups or small jars, and watch everyone’s eyes light up as you bring them to the table.
What It Tastes Like
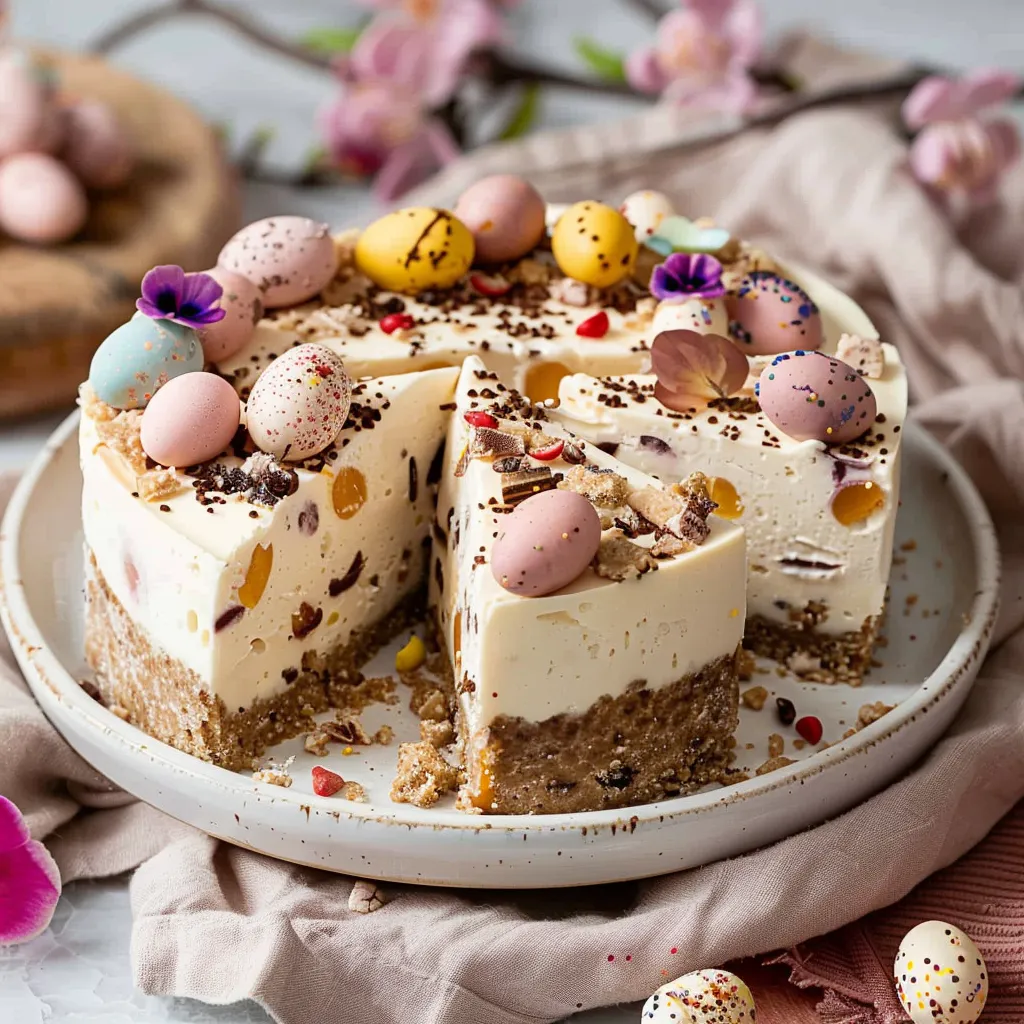
Picturing the first bite of this mini egg cheesecake? Let me tantalize your taste buds. The silky smooth cheesecake is a cloud-like embrace on your tongue, contrasting beautifully with the crunchy biscuit base beneath—think of your favorite chocolate-covered Easter egg meeting a light, luscious creaminess. The pieces of mini eggs nestled throughout bring an exciting little pop of sweetness and playful texture. It’s like a celebration of spring—a joyous harmony of flavors that manages to feel both decadent and refreshing at once. And dare I say, it’s the kind of dessert that makes you want to devour every last crumb. Trust me, it’s hard to stop at just one!
Ingredients You’ll Need
Gathering the ingredients for this mini cheesecake is as delightful as the dish itself! Here’s what you’ll need:
- 200g Digestive Biscuits: These create a crunchy base that complements the creamy topping perfectly.
- 100g Unsalted Butter, melted: This binds the biscuit crumbs and adds richness.
- 300g Cream Cheese: The star of our cheesecake—creamy and rich!
- 100g Powdered Sugar: For just the right amount of sweetness—no one likes a too-sweet cheesecake!
- 200ml Whipping Cream: Lightened up the cheesecake and makes it irresistibly fluffy.
- 1 tsp Vanilla Extract: Adds a lovely depth of flavor—don’t skimp on quality here!
- 150g Mini Chocolate Eggs: These are not just for decoration; they add unexpected bursts of chocolatey goodness throughout.
Optional Additions:
- Add 50g of cream cheese frosting for an extra sweet layer.
- Incorporate crushed berries like strawberries or raspberries into the mix for a fruity twist.
Special Garnishes:
- More Mini Eggs for decoration.
- A drizzle of chocolate sauce for an elegant finish.
- Shaved chocolate or fresh mint leaves for that extra pop.
Step-by-Step Instructions
Now, let’s roll up our sleeves and put this beauty together. Don’t worry; I’ll be right here, guiding you step by step!
- Prepare the Base: Start by crushing the digestive biscuits into fine crumbs in a mixing bowl. You can do this by hand with a rolling pin (a very satisfying task) or use a food processor for speed. Add the melted butter to the crumbs and mix until everything is well combined. It should resemble damp sand.
- Layer the Base: Spoon the biscuit mixture into the bottom of serving cups or a springform pan, pressing down firmly to create an even layer. Don’t rush this step—it’s where the magic happens! Pop it in the fridge to set while you prepare the filling.
- Make the Cheesecake Filling: In a large bowl, beat the cream cheese and powdered sugar together until it’s smooth and fluffy (about 3-4 minutes). Scrape the sides occasionally to ensure an even texture.
- Add the Cream: In a separate bowl, whip the cream until you form stiff peaks (you want that beautiful, airy texture here!). Gently fold this whipped cream into the cream cheese mixture using a spatula. Go slow; this will keep your cheesecake light! Fold in the vanilla extract and most of the mini chocolate eggs, leaving a few for decoration.
- Fill the Cups: Spoon the cheesecake filling over the biscuit base in your cups or pan. Smooth the tops with a spatula to make them nice and even. Pop them back in the fridge and let them chill for at least 4 hours (or overnight for best results).
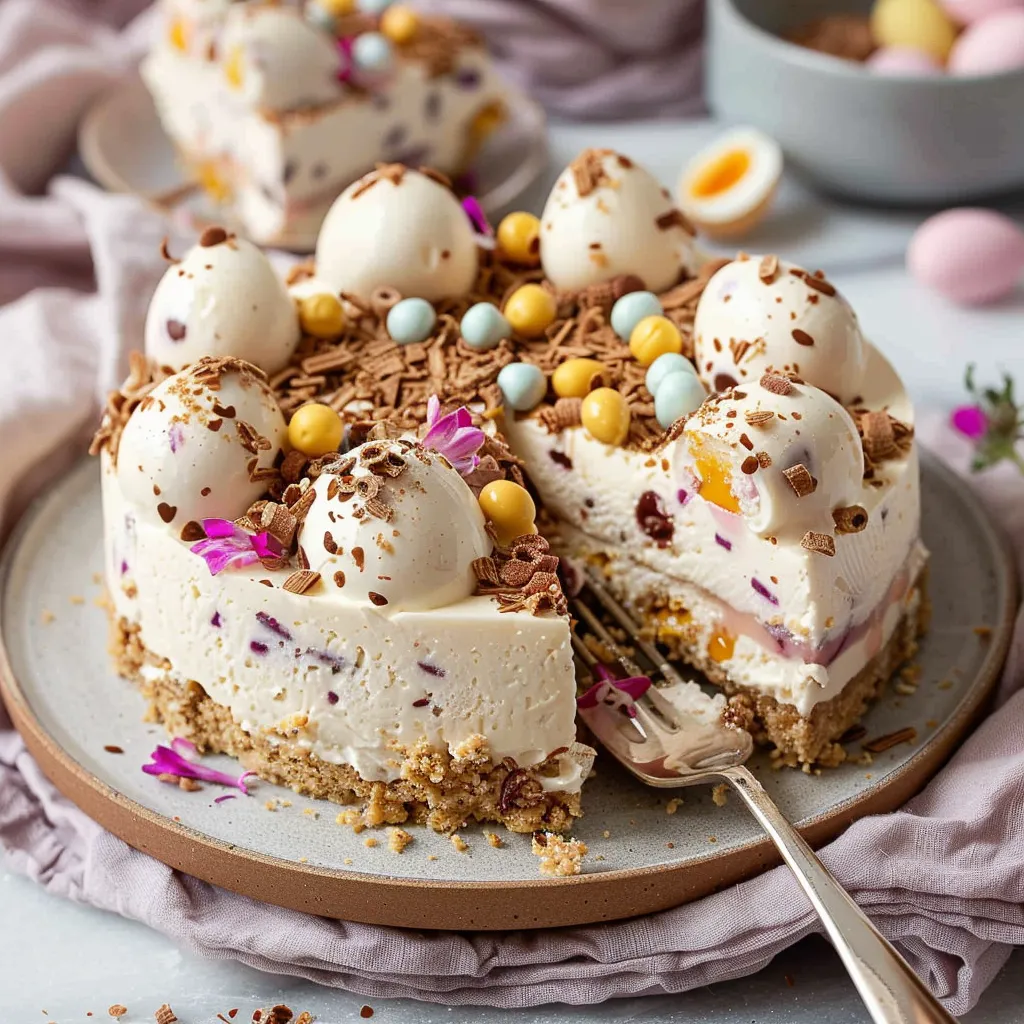
- Add the Finishing Touches: Before serving, take your mini cheesecakes out of the fridge and sprinkle the remaining mini eggs on top. You can also drizzle them with chocolate sauce for a little indulgence.
Recipe Variations
Feel free to let your creativity shine! Here are some easy variations you might want to consider:
- Flavor Swaps: Substitute the vanilla extract with almond or lemon zest for a unique flavor twist.
- Different Chocolates: Use white chocolate or milk chocolate mini eggs for variations in sweetness and richness.
- Mini Cheesecakes in Different Flavors: Want to mix it up? Use different fillings like key lime or pumpkin spice for seasonal touches!
Serving & Storage Tips
This cheesecake can be prepared a day ahead, making it a perfect make-ahead dessert for your Easter gatherings. Store the mini cheesecakes in the refrigerator, covered with plastic wrap or in an airtight container, for up to three days. If you have leftovers (which is rare, but it could happen!), simply keep them chilled and enjoy them the next day—if they last that long! You can also send guests home with leftovers as a sweet parting gift, though I’d recommend preparing small to-go containers for that.
Helpful Tips
Here are a few little nuggets of wisdom from my kitchen to yours:
- Avoid overmixing the cream cheese before adding the whipped cream; you want it fluffy, not dense!
- When folding in the whipped cream, go for a gentle, folding motion to preserve that airy texture.
- Don’t hesitate to play with new flavors. If you can dream it, it might just work!
Special Equipment
While this cheesecake is simple to make, a few tools can really make your life easier:
- Food Processor: For effortlessly turning biscuits into crumbs (and oh, so satisfying to use).
- Whisk or Electric Mixer: To achieve that perfect whipped cream texture; trust me, your arm will thank you later!
- Spatula: A sturdy spatula is essential for both mixing and smoothing out your cheesecake filling.
Frequently Asked Questions
Can I prepare these mini cheesecakes in advance?
Absolutely! They are perfect for make-ahead preparations. Just get them ready a day in advance, and they’ll be good to go when your guests arrive!
How long do they need to chill?
For best results, let them chill for at least 4 hours. Overnight is even better, allowing those flavors to meld beautifully.
What if I can’t find mini eggs?
No problem! You can substitute with any chocolate candy such as M&M’s, Snickers, or even crushed Oreos for an entirely different taste profile.
Can I freeze these cheesecakes?
It’s not recommended since the texture could be affected, but if you must, ensure they are stored properly in an airtight container. Just expect some textural changes once thawed.
Conclusion
This Easter No-Bake Mini Egg Cheesecake is more than just a dessert; it’s a sweet reminder of spring, a celebration of flavors, and a comforting hug after a long day. The excitement of sharing it with friends and family brings tears to my eyes (the happy kind, of course). I can picture the smiles when they take that first bite—it’s pure magic! I hope you feel inspired to create this delectable treat and share your version in the comments below. Tell me your stories, the laughter, and the joy this cheesecake brings to your gatherings. After all, isn’t that what the kitchen is all about? Happy baking, and may your Easter be as sweet as this cheesecake!
Print
Easter No-Bake Mini Egg Cheesecake
- Total Time: 4 hours 30 minutes
- Yield: 6 Servings 1x
Description
Satisfy your sweet tooth with this easy Easter No-Bake Mini Egg Cheesecake recipe. Perfect for spring celebrations and no baking required!
Ingredients
Instructions
Notes
This Easter No-Bake Mini Egg Cheesecake is a delightful, creamy dessert that captures the essence of spring with its vibrant flavors and beautiful presentation.
- Prep Time: 30 minutes
- Category: Dessert
- Cuisine: American
Nutrition
- Serving Size: 6 Servings
- Calories: 350
- Sugar: 15g
- Fat: 25g
- Carbohydrates: 28g
- Fiber: 1g
- Protein: 4g