There’s something wonderfully comforting about the smell of freshly baked bread wafting through the house, and when that bread is infused with the rich, savory aroma of garlic butter, it’s nearly impossible to resist. I remember my first attempt at making dinner rolls, standing in my cozy kitchen on a rainy Sunday afternoon. It was a little messy, and I may have had flour in places I didn’t know existed, but the moment I pulled those golden, pillowy rolls from the oven, I knew I had discovered something special.
This recipe for Garlic Butter Dinner Rolls is not just a staple at my dinner table; it’s a warm reminder of family gatherings, lazy weekends, and that irresistible feeling of home. Each fluffy roll, brushed generously with garlic-infused butter, is best enjoyed fresh, often disappearing within moments of making them. Trust me, you’re going to want to keep this recipe close.
Why You’ll Love This Recipe
Now, I can practically hear you asking why you should even bother making dinner rolls when you can just run to the store and grab a bag. Oh, dear friend, let me tell you why! First off, these rolls are the ultimate comfort food; they save you time on busy nights while making your meals feel just a bit more special. They taste like something you’d find in a cozy restaurant but made right in your home kitchen. The beauty of homemade rolls is the warm, inviting atmosphere they create as soon as you pull them out of the oven.
Plus, there’s something rewarding about pouring love and a bit of flour into the process. You get to decide how garlicky you want them, and there’s pure satisfaction in kneading the dough with your own two hands, knowing that each roll is crafted with care. Believe me, nothing beats the joy of breaking open a roll, watching the steam rise, and smearing it with a pat of butter. If you’re hosting a dinner, these rolls will make your guests swoon. Or, you know, they could be the perfect little snack while you’re binge-watching your latest favorite show!
What It Tastes Like
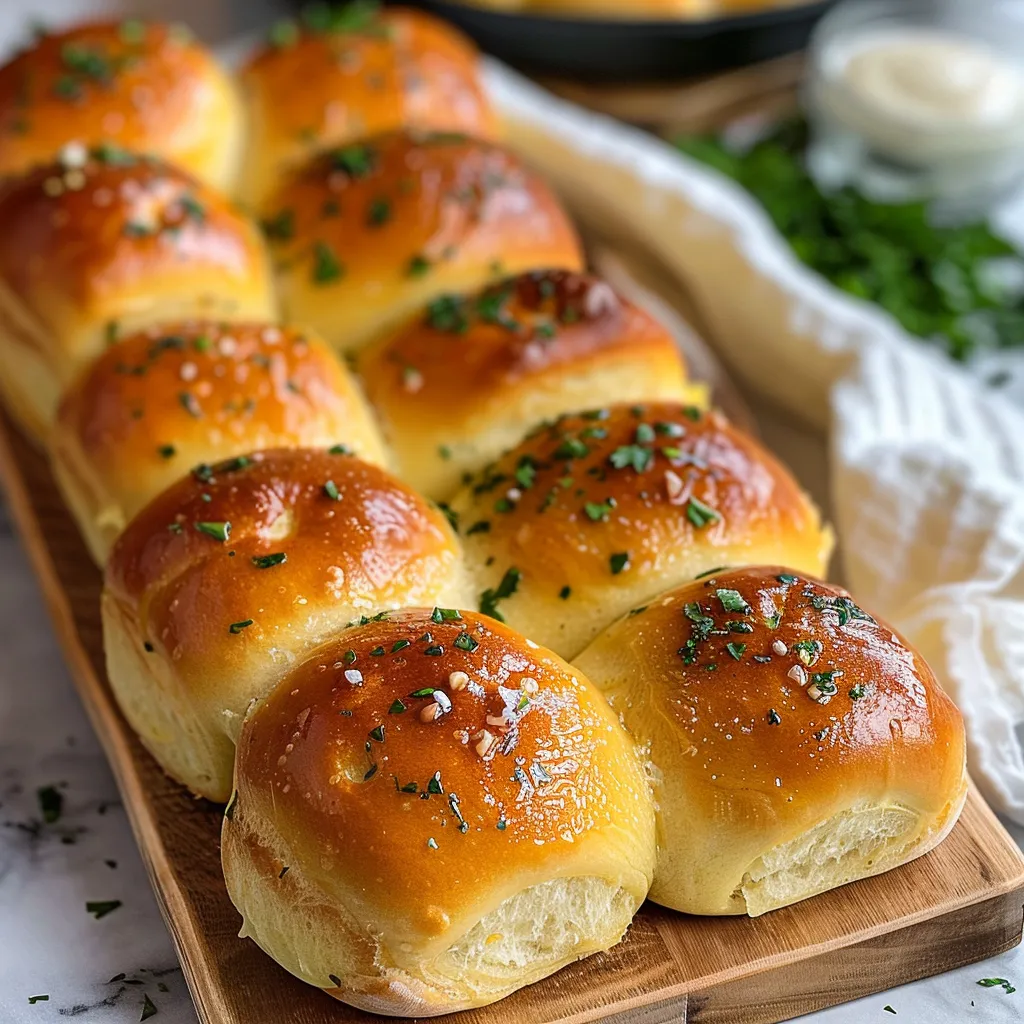
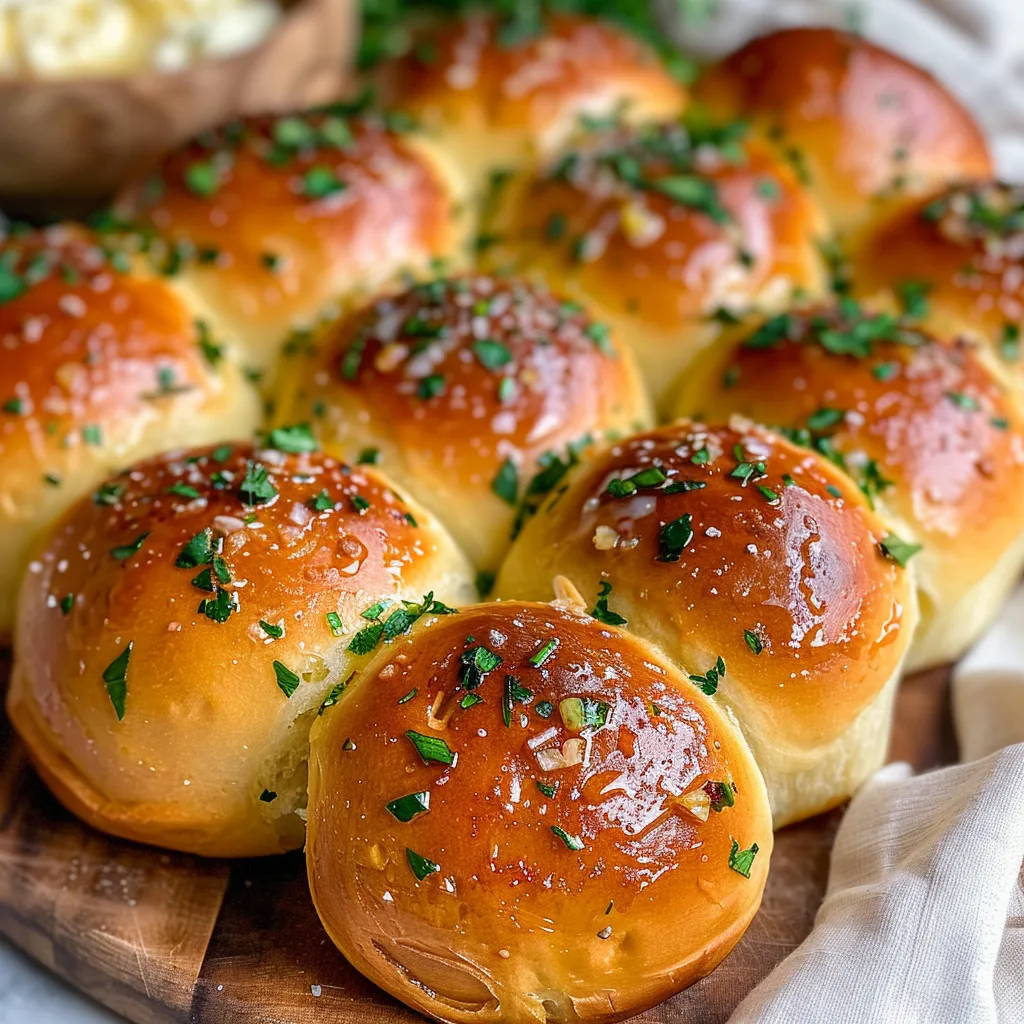
Imagine a warm, fluffy roll, golden-brown on the outside, and soft as a cloud on the inside. Each bite is a beautiful balance of buttery richness, enhanced by the bold, aromatic garlic that doesn’t hold back. It’s like wrapping yourself in a cozy blanket after a long day, only it’s a dinner roll you can savor—and trust me, it doesn’t get better than that!
As you break into that roll, you’re greeted with a bit of resistance, but then it gives way to that pillowy interior, absorbing the melt-in-your-mouth buttery goodness. The light sprinkle of herbs adds just a hint of freshness, making each mouthful an absolute delight. With the first bite, all your worries disappear, if just for a moment, leaving only the blissful taste of homemade comfort.
Ingredients You’ll Need
- 2 ¼ teaspoons active dry yeast (1 packet): This little magic powder helps your rolls rise and become fluffy.
- ½ cup warm milk: Acts as the glue that brings our ingredients together while also providing richness.
- ¼ cup granulated sugar: Provides sweetness to balance the savory garlic.
- 1 large egg: Adds richness and structure to the dough.
- 4 tablespoons unsalted butter, melted: This makes the rolls rich and flavorful. Think of it as the hug in your roll!
- 3 ½ to 4 cups all-purpose flour: Provides the necessary structure; be prepared to adjust depending on humidity.
- 1 teaspoon salt: Enhances all the flavors; trust me; it makes a difference!
- 4 cloves garlic, minced: The star of the show—more garlic means more flavor!
- 2 tablespoons fresh parsley, chopped (optional): Adds a lovely fresh touch, plus a pop of color.
Optional Additions:
- Cheese: A sprinkle of grated Parmesan or mozzarella can add a delightful cheesy twist.
- Herbs: Feel free to switch up the parsley for basil, thyme, or even rosemary for other flavor profiles!
- Stuffing: You could even make these rolls stuffed with cheese or herbed butter for an extra surprise.
Special Garnishes:
- Little twist: A sautéed herb mix sprinkled over the top right before serving can make them irresistible.
- A drizzle of honey or balsamic glaze: This can take your garlic butter rolls to a whole new level!
Step-by-Step Instructions
Making these Garlic Butter Dinner Rolls is not rocket science, but it does require a bit of patience and love. So, make yourself a nice cup of tea or coffee and let’s dive in!
- In a small bowl, combine the warm milk, sugar, and yeast. Let it sit for about 5-10 minutes until it’s frothy—this is proof that your yeast is doing its job. If it doesn’t froth up, you might need to start over with fresh yeast.
- In a large mixing bowl, whisk together 3 ½ cups of flour and salt. Create a well in the center and add the yeast mixture, melted butter, and egg into that well.
- Mix everything together, starting with a spoon and then transitioning to your hands as it comes together. If the dough is too sticky, slowly add the remaining flour, a little at a time. Don’t rush this step—it’s where the magic happens!
- Turn the dough out onto a floured surface and knead for about 5-7 minutes until smooth and elastic. Here’s a tip: If your dough is sticking, just sprinkle more flour as needed; aim for a soft, pliable texture.
- Shape your dough into a ball and place it in a greased bowl, covering tightly with a damp cloth or plastic wrap. Let it rise in a warm place for about 1 hour, or until it has doubled in size.
- Once risen, punch it down (yes, punch it lovingly, that dough needs it!), and then knead in the minced garlic and parsley until evenly distributed.
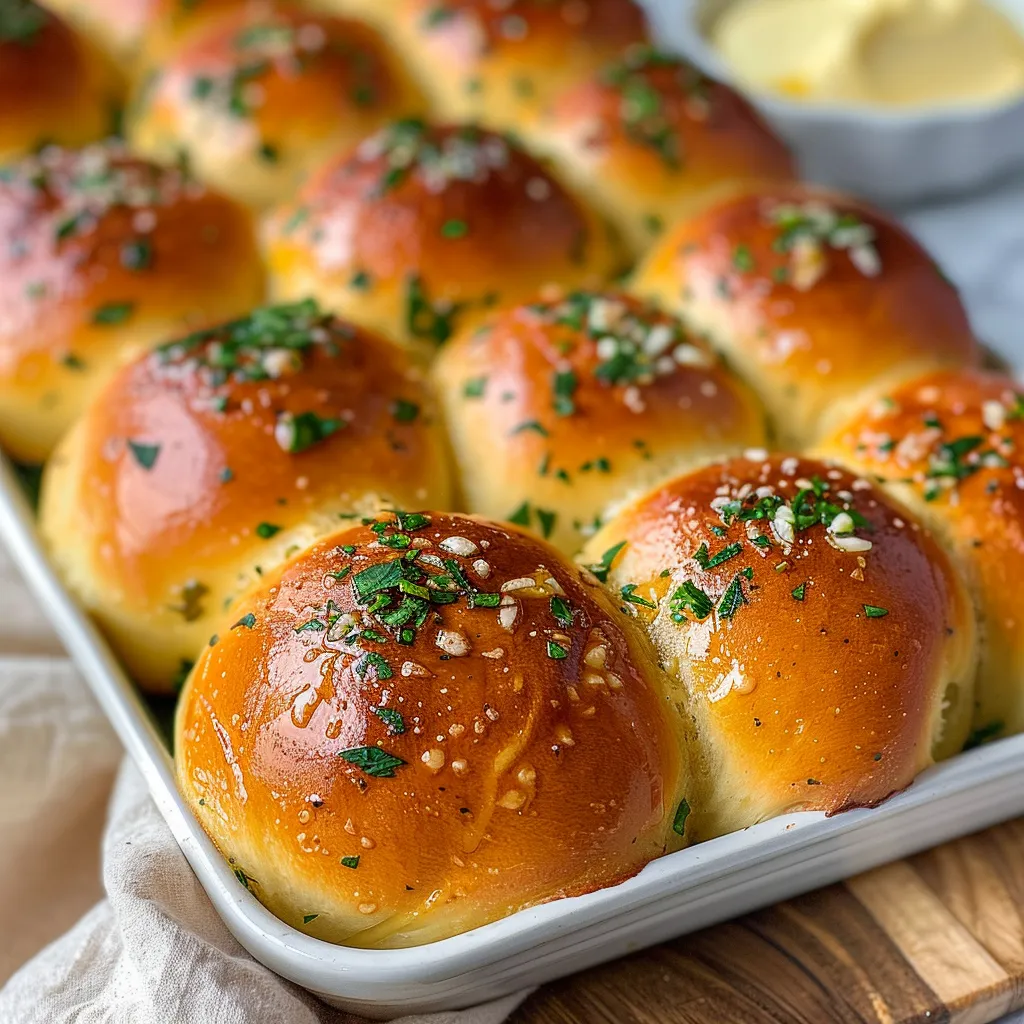
- Divide the dough into small, even balls—about the size of a golf ball—depending on how large you want your rolls. Arrange them in a greased baking dish, leaving a little space between each roll.
- Cover the rolls again and let them rise for another 30 minutes. Preheat your oven to 375°F (190°C) while you wait; popcorn should be popping in the background for the ultimate cozy vibe!
- Once they’ve puffed up nicely, brush the tops with a bit of melted butter—not only does it enhance the flavor, but it makes for that beautiful golden sheen.
- Bake those beauties for 15-20 minutes, or until they’re golden brown and your kitchen smells like garlic heaven. The last 5 minutes are torture but worth every second!
Recipe Variations
Feeling adventurous? Here are a few variations you might enjoy:
- Cheesy Garlic Rolls: Add a small chunk of mozzarella or cheddar to the center of each roll before shaping them. A cheesy surprise awaits!
- Herbed Rolls: Instead of just garlic, try adding a mix of dried Italian herbs for additional flavor.
- Sweet Roll Option: Swap out some of the sugar for honey, and add cinnamon for sweet rolls that complement breakfast beautifully.
Serving & Storage Tips
These rolls are best enjoyed warm from the oven, but if you have any leftovers (which is quite unlikely!), they can be stored in an airtight container for up to two days at room temperature. To reheat, just pop them in a preheated oven at 350°F (175°C) for about 5 to 7 minutes, and you’ll be amazed how the aromas make their way back into your home.
If you’re feeling particularly creative, leftover rolls can be turned into delectable sliders the next day—just slice one in half, fill it with your favorite meats, cheeses, or veggies, and you’ve got a quick meal that seems fancy!
Helpful Tips
Here are a few personal insights I’ve gathered from my own kitchen escapades:
- Don’t rush the rising time! This is when the gluten develops, giving you those fluffy rolls.
- Make sure your yeast is fresh. Old yeast can be a bummer and mean no rise for your rolls. Always check the expiration date!
- Flour is your friend, but be cautious with it. Too much can make your rolls dense instead of light and airy.
Special Equipment
- Mixing Bowl: A large mixing bowl will ensure you have enough space to fully incorporate your ingredients.
- Stand Mixer (optional): Using one can save time and effort while kneading the dough. However, kneading by hand is therapeutic if you have the time!
- Baking Dish: A glass or ceramic baking dish works wonders for even cooking and presentation.
- Kitchen Towel: A lovely cotton towel to cover your rising rolls can help keep them warm and cozy.
FAQ
Can I use whole wheat flour instead of all-purpose flour?
Yes, you can! Just note that the texture will be denser, and you may need to adjust the liquid a bit. Whole wheat flour absorbs more moisture, so keep that in mind!
How can I make these rolls ahead of time?
You can prepare the dough and shape the rolls, then place them in the fridge overnight for the first rise. On the day you plan to bake, let them come to room temperature, then proceed with the second rise and baking instructions.
What can I do with leftover rolls?
In addition to making sliders, they can also be transformed into bread pudding or croutons. Just slice them up and bake until crispy for a delightful topping on salads or soups!
Can I freeze these rolls?
Absolutely! After baking, let them cool completely, then place them in a freezer-safe bag. They can be frozen for up to three months. To reheat, simply thaw and warm in the oven!
Conclusion
These Garlic Butter Dinner Rolls are a true labor of love, perfect for any occasion, but especially during family gatherings, cozy dinners, or just because you deserve something special. I look forward to the smiles and satisfaction on everyone’s faces as they tear into these fluffy bites of joy. Whether you serve them alongside a hearty stew, a fresh salad, or all on their own with butter, these rolls will add a delightful touch.
I hope you give this recipe a try and bring the warmth of homemade bread into your kitchen. And hey, don’t forget to share your experience—I’d love to hear your stories and see your rolls! Happy baking!
Print
Irresistible Garlic Butter Dinner Rolls Recipe for Effortless Delight
- Total Time: 1 hour 40 minutes
- Yield: 12 rolls 1x
Description
Savor delicious garlic butter dinner rolls with this easy recipe Perfect for any meal these rolls are a delightful addition to your table
Ingredients
Instructions
- Prep Time: 20 minutes
- hour: 1
- Cook Time: 20 minutes
- Category: Bread
- Method: Baking
- Cuisine: American
Nutrition
- Calories: 120 calories
- Sugar: 1 gram
- Fat: 5 grams
- Saturated Fat: 5 grams
- Carbohydrates: 18 grams
- Fiber: 0.5 grams
- Protein: 3 grams


