It was a cold December afternoon, and the smell of warm spices filled the air as I turned the pages of an old family recipe book. The images of snowy neighborhoods and twinkling lights danced in my mind, reminding me of cozy gatherings by the fireplace. That’s when I stumbled upon a timeless gem: Gingerbread Snowball Cookies. Sweet, spiced, and dusted with powdered sugar, these cookies have a special place in my heart and a permanent spot on my holiday baking table. They bring with them an air of nostalgia, the kind that wraps around you like a warm blanket and invites you to slow down, savor, and share. Let me take you on a journey through creating these delightful treats that not only taste fantastic but fill your home with holiday cheer.

Why You’ll Love This Recipe
So, why should you put on your apron and give this recipe a go? Well, for starters, these cookies are incredibly easy to whip together, making them perfect for both seasoned bakers and those who are just starting their culinary journey. They require minimal fuss but deliver maximum flavor, and I promise they’ll have your friends and family raving at your next gathering. Plus, they’re the kind of cookie that encourages creativity — you can personalize them with your favorite spices or nuts, making each batch uniquely yours. Its comforting aroma and forgiving nature make it a staple for busy holiday seasons, while the melt-in-your-mouth texture will make you feel like you’ve been baking for years.
What It Tastes Like
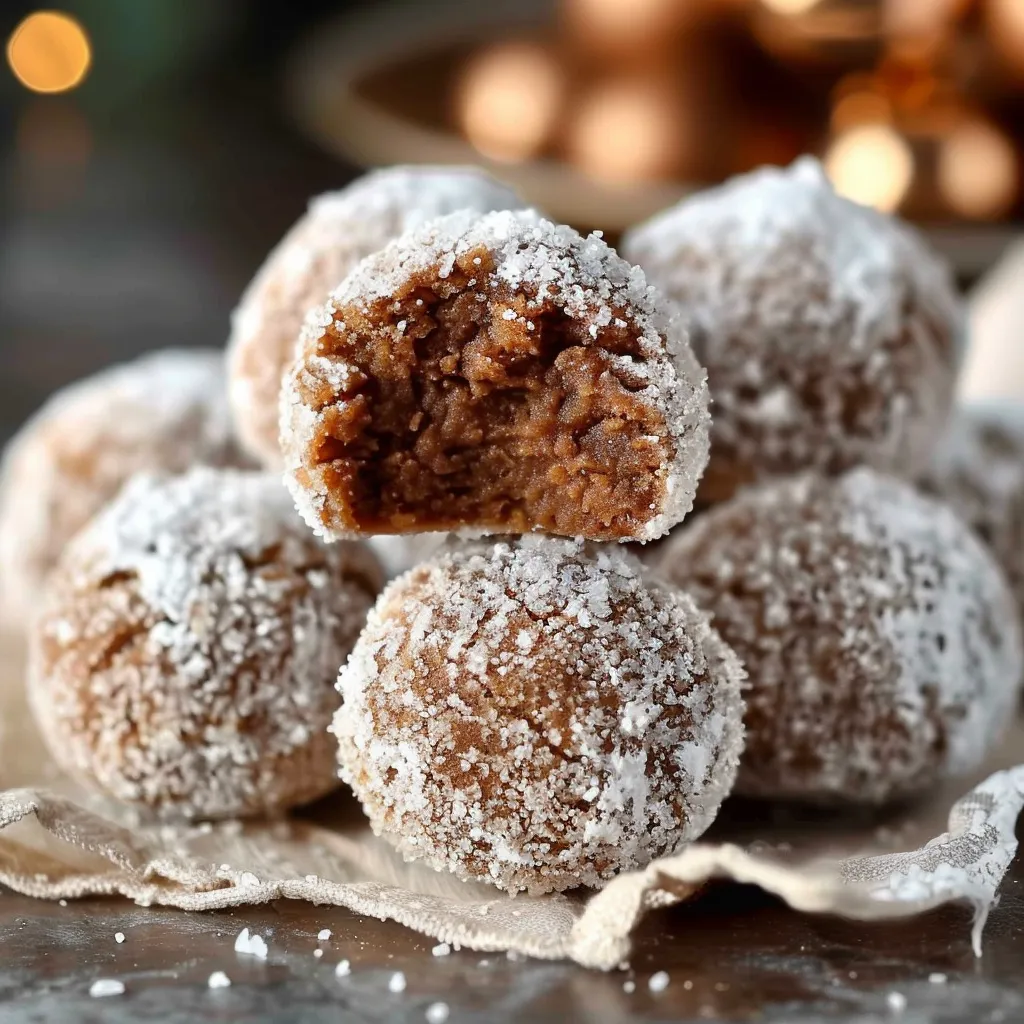
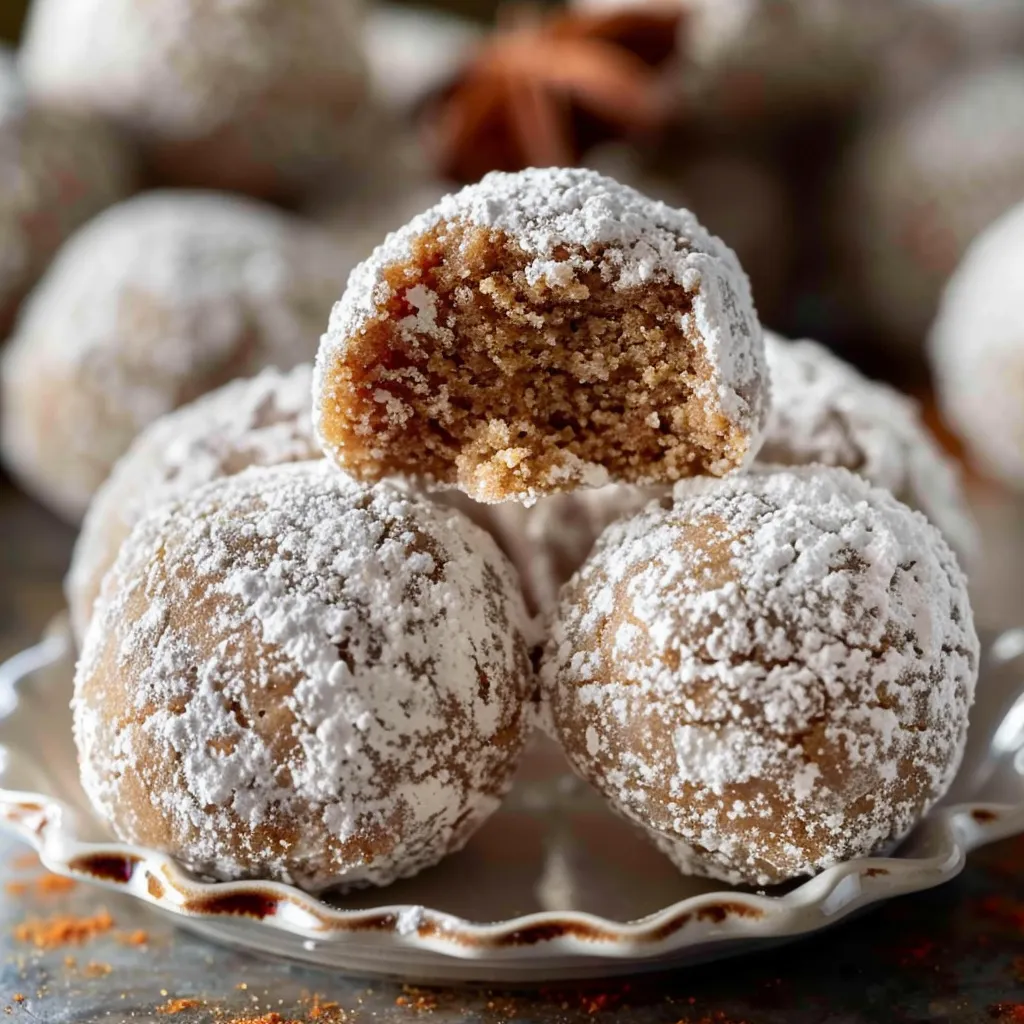
Imagine biting into these cookies — the first thing that hits your senses is the sweet warmth of ginger, mingling with gentle hints of cinnamon and nutmeg. The outer layer of powdered sugar provides a soft sweetness that melts away, revealing the delicate texture inside. Each bite feels like a cozy hug, combining the soothing flavors of the holiday season with a delightful crunch. The finish is slightly nutty, especially if you choose to include nuts or coconut, adding an unexpected layer of satisfaction. Oh, and the best part? You can nibble on them with a hot cup of cocoa or tea, creating a sense of calm and nostalgia as you savor every crumb. It’s comfort food at its finest!
Ingredients You’ll Need
- 1 cup unsalted butter (softened): This is our creamy base, lending richness and keeping the cookies tender.
- ½ cup granulated sugar: A touch of sweetness that balances the spices perfectly.
- 1 cup packed brown sugar: Deepens the flavor with a hint of molasses — because we wouldn’t want to miss out on any holiday charm!
- 2 cups all-purpose flour: The structure of our cookies, helping them hold together while remaining soft.
- 1 tsp baking soda: This is the magic leavener that gives our cookies that lovely, soft texture.
- 2 tsp ground ginger: The star of the show! It gives our cookies that warm, spicy kick.
- 1 tsp ground cinnamon: Adds warmth and depth to the mix — a holiday favorite!
- ½ tsp nutmeg: Just a pinch to elevate the complexity of flavors.
- ¼ tsp salt: Complements the sweetness and balances all the flavors.
- ½ cup chopped nuts (optional): Adds a pleasant crunch — walnuts or pecans work beautifully here.
- Powdered sugar (for rolling): Adds that signature snowball look and a sweet finish.
Optional Additions:
You can get creative with spices by adding a dash of allspice or cardamom, or even a splash of vanilla extract for richness. Feel free to substitute part of the flour with whole wheat or almond flour for a nuttier flavor or a healthier twist.
Special Garnishes:
Try rolling the cookies in toasted coconut flakes or using colorful sprinkles to make them festive!
Step-by-Step Instructions
Ready to make some magic in your kitchen? Let’s get started!
- Preheat your oven to 350°F (175°C). This helps get the baking process going smoothly. Baker’s tip: a hot oven is your friend, so don’t skip this step!
- In a large bowl, cream together the softened butter, granulated sugar, and brown sugar until it’s light and fluffy. This step is crucial! Don’t rush it; take your time and let those sugars and butter combine into a velvety mixture.
- Add the dry ingredients: Whisk together the flour, baking soda, ginger, cinnamon, nutmeg, and salt in another bowl. Then gradually add this mixture to your butter-sugar base, stirring until just combined.
- If you’re adding nuts, now’s the time! Gently fold in the chopped nuts for that extra crunch and flavor.
- Shape the dough into tablespoon-sized balls and place them on a baking sheet lined with parchment paper — leave a little space in between; these cookies love to spread out happily! I usually aim for about two inches apart.
- Bake for about 10-12 minutes, or until they’re just golden on the edges. They will be soft but set. Remember, the cookies will continue to cook slightly after you take them out, so don’t overbake!
- Let them cool on the baking sheet for a few minutes, then roll in powdered sugar. This is where the snowball name comes from! Don’t be shy; coat them nicely for that winter wonderland effect.
- Transfer to a cooling rack. Once they are fully cool, feel free to sprinkle more powdered sugar on top if you’re feeling extra festive. And honestly, who wouldn’t be?
Recipe Variations
Like many classic recipes, these Gingerbread Snowball Cookies are ready for a twist! Here are a few variations you can try:
- Chocolate Chip Snowballs: Add semi-sweet chocolate chips for a delightful chocolatey contrast to the spices.
- Maple Snowballs: Substitute maple syrup in place of some of the granulated sugar — it brings a sweet autumn twist with a hint of maple nostalgia.
- Spiced Rum Snowballs: A few teaspoons of spiced rum in the dough can add a cozy depth if you enjoy a kiss of boozy flavor!
Serving & Storage Tips
These cookies are best enjoyed fresh, but they can be stored in an airtight container for about a week. Just be sure to separate layers with parchment paper to avoid sticking. And for a delightful treat later in the season, freeze them! They freeze beautifully; just place them in a freezer-safe container with layers of parchment paper in between. When you’re ready to enjoy, just let them thaw at room temperature. Your friends will never know you didn’t bake them fresh that day!
Helpful Tips
Here are a few little nuggets of wisdom I’ve learned the hard way:
- Room temperature butter is Key: Make sure your butter is softened enough to create that light and fluffy texture. Cold butter won’t combine well with the sugars!
- Don’t skip the cooling period: Letting the cookies cool slightly before rolling them in powdered sugar allows the sugar to stick better. A fresh-from-the-oven snowstorm of sugar looks good but tends to melt!
- Experiment with spices: Don’t be afraid to add a little more or less ginger or cinnamon based on your taste preferenes. This is a forgiving recipe, and your palate is the best guide!
Special Equipment
- Mixing bowls: Having two separate bowls is essential for combining wet and dry ingredients effectively without speckling flour all over your kitchen.
- Cookie sheets: A good non-stick or parchment-lined cookie sheet helps the cookies bake evenly and makes cleanup a breeze.
- A cookie scoop: This handy tool can save time and ensure uniform cookie sizes, which means even baking!
FAQ
Can I make these cookies in advance?
Absolutely! These cookies keep well in an airtight container for up to a week, and you can freeze them for longer storage if desired. Just remember to layer them with parchment paper to avoid any sticky situations!
Can I substitute gluten-free flour?
Yes, feel free to use a gluten-free all-purpose flour blend. Just be sure it contains xanthan gum or another binding agent to maintain texture. And always test the recipe first, as the texture may vary slightly.
What can I use instead of nuts if someone has an allergy?
There are many options! You can omit them entirely or replace them with seeds like sunflower seeds or pumpkin seeds for a little crunch without the nuts. Dried fruits like cranberries or raisins could also bring a sweet and chewy twist to your cookies.
Why are my cookies spreading too much?
If your cookie dough is too warm, the cookies might spread more during baking. Make sure your butter is room temperature, not melted, and chill the dough for about 30 minutes before baking to help maintain shape.
Conclusion
These Gingerbread Snowball Cookies are more than just a recipe; they’re a hug in cookie form. Each bite brings a smile, a memory, and the warmth of moments spent with loved ones. I find myself making these cookies each year, often doubling the recipe to share with neighbors, friends, and family. They are perfect for any festive gathering or simply for enjoying as you cozy up with a good book. So why not take a moment to bake a batch, savor the delightful aromas, and create a little magic in your kitchen? I would love to hear your stories, tweaks, or favorite variations in the comments below. Happy baking!
Print
Irresistible Gingerbread Snowball Cookies for Holiday Bliss
- Total Time: 32 minutes
- Yield: 24 cookies 1x
Description
Delight in Gingerbread Snowball Cookies the perfect treat to enhance your holiday bliss with a unique flavor and meltinyourmouth texture
Ingredients
Instructions
- Prep Time: 20 minutes
- Cook Time: 12 minutes
- Category: Dessert
- Cuisine: American
Nutrition
- Calories: 150 calories
- Sugar: 10 g
- Fat: 8 g
- Saturated Fat: 8 g
- Carbohydrates: 20 g
- Fiber: 0 g
- Protein: 1 g


