There’s something undeniably comforting about a bowl of katsu. It’s like a warm hug on a chilly evening or the culinary equivalent of identifying a plush armchair after a long week. I remember the first time I had katsu—it was at a cozy little restaurant tucked away in a bustling Tokyo neighborhood during my travels. The crispy, golden crust and tender meat whispered sweet nothings to my taste buds, and ever since, I’ve been on a mission to recreate those flavors at home. And let me tell you, these Japanese Katsu Bowls have become a cherished staple in my kitchen, perfect for family dinners or lazy weekend meals when you just want something truly delicious without fussing about too much.
Why You’ll Love This Recipe
Imagine a dish that saves you time on busy weeknights and makes you feel like a culinary hero at the same time. That’s what you get with these Japanese Katsu Bowls! They’re a fantastic mix of crispy katsu, fluffy rice, and fresh veggies, drizzled with a savory sauce that brings everything together. Seriously, you’ll feel like you’ve stumbled upon a hidden gem of a restaurant in the comfort of your home kitchen. And let’s be real—who doesn’t want to impress their family with a homemade meal that rivals your favorite takeout?
What It Tastes Like
The first bite of this dish is pure bliss. Imagine sinking your teeth into a crispy, golden pork fillet; the crunch is satisfying and a little bit addictive. The juicy, tender meat inside contrasts perfectly with the exterior, while the fluffy rice cradles it like a cozy bed. Add in the sharp tang of the tonkatsu sauce, and you’ve got a dish that dances on your palate, leaving traces of umami that linger long after the last bite. It’s comfort food at its finest—a symphony of textures and flavors that come together in such perfect harmony you’d think they were meant to be.
Ingredients You’ll Need
- Pork Cutlets (2 pieces, about 6 oz each): The star of the show—juicy and tender, ready to soak up all those flavors.
- Salt and Pepper: Just a pinch to season the meat; it makes all the difference.
- All-Purpose Flour (1 cup): This is what gives the katsu its crunch; a light dusting before you hit the egg and panko.
- Egg (1, beaten): Acts like glue, holding everything together—don’t skip this part!
- Panko Breadcrumbs (1 cup): These crispy little bits are essential for that delightful crunch.
- Vegetable Oil (for frying): Just enough to give that golden color and crunch to your cutlets.
- Cooked Rice (4 cups, white or brown): A soft base that balances the crunchy katsu with its comforting fluffiness.
- Vegetables (1 cup, like shredded cabbage, carrots, or snap peas): Fresh elements that add color and nutrition to your bowl.
- Tonkatsu Sauce (to taste): The ultimate flavor bomb that ties it all together—sweet, tangy, and oh-so-delicious!
Optional Additions: You could throw in some pickled ginger or a soft-boiled egg for an extra touch of flavor. Feel free to get creative with your veggies too—broccoli, cucumbers, or bell peppers would be lovely!
Special Garnishes: Chopped green onions or sesame seeds sprinkle over the top can brighten the dish and bring some extra crunch.
Step-by-Step Instructions
Let’s cook this magical dish together! Don’t worry; it’s easier than it sounds.
- Prep the Pork: Start by patting the pork cutlets dry with paper towels. This helps them brown beautifully later! Now, sprinkle salt and pepper on both sides.
- Bread the Cutlets: Set up a little assembly line. Place the flour in one bowl, the beaten egg in another, and the panko breadcrumbs in a third. Dredge each cutlet in flour first (this is crucial—it’ll help the egg stick), then dip it in egg, and finally coat it in panko. Press gently to make sure the breadcrumb coating adheres well.
- Fry ‘Em Up: Heat about half an inch of vegetable oil in a frying pan over medium heat. It’s ready when you drop a breadcrumb in, and it sizzles! Carefully lay in the breaded cutlets and cook for about 4-5 minutes on each side until golden brown. Don’t rush this step—it’s where the magic happens!
- Make the Rice: While the katsu is frying, prepare your rice according to package instructions. It’s best to steam or cook it fluffy so it complements the crispy cutlets beautifully.
- Prep the Veggies: While everything cooks, chop up your veggies. Fresh, colorful, and crunchy—this brings the bowl to life!
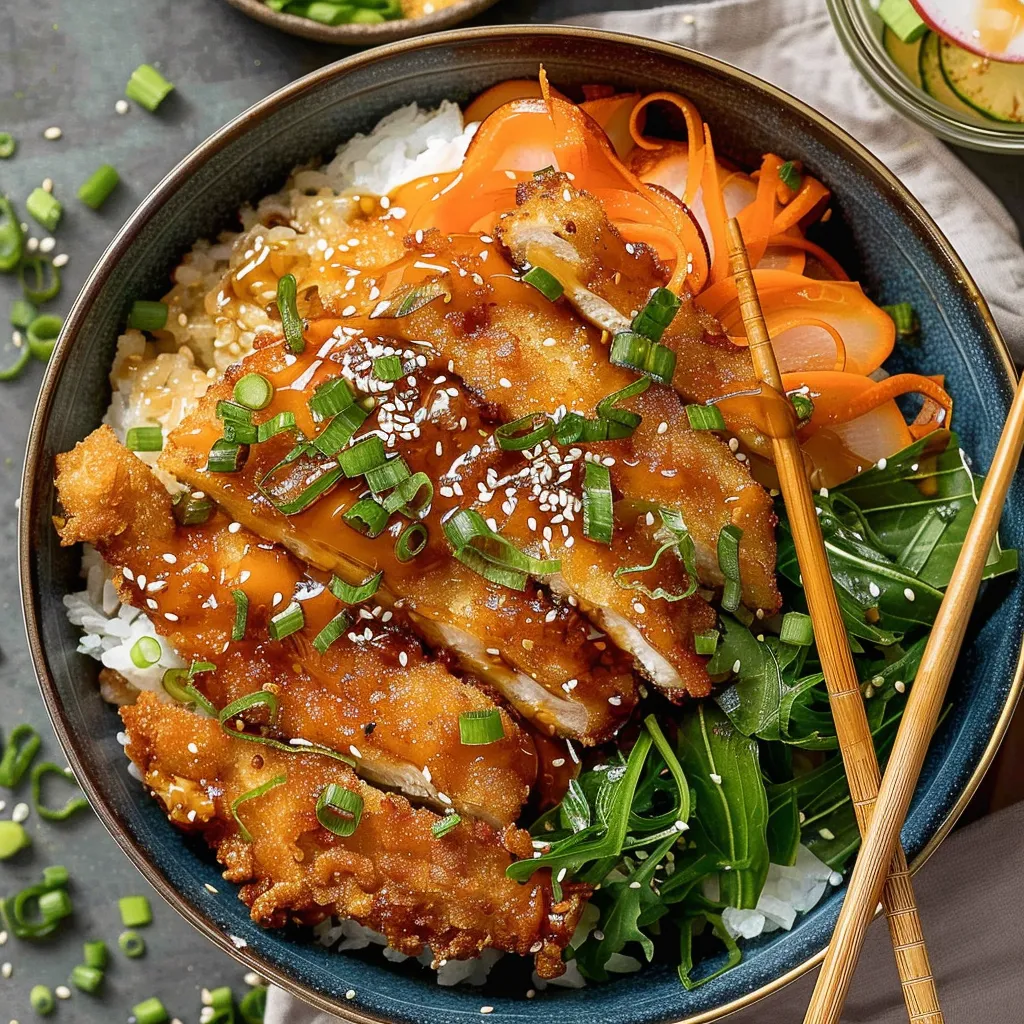
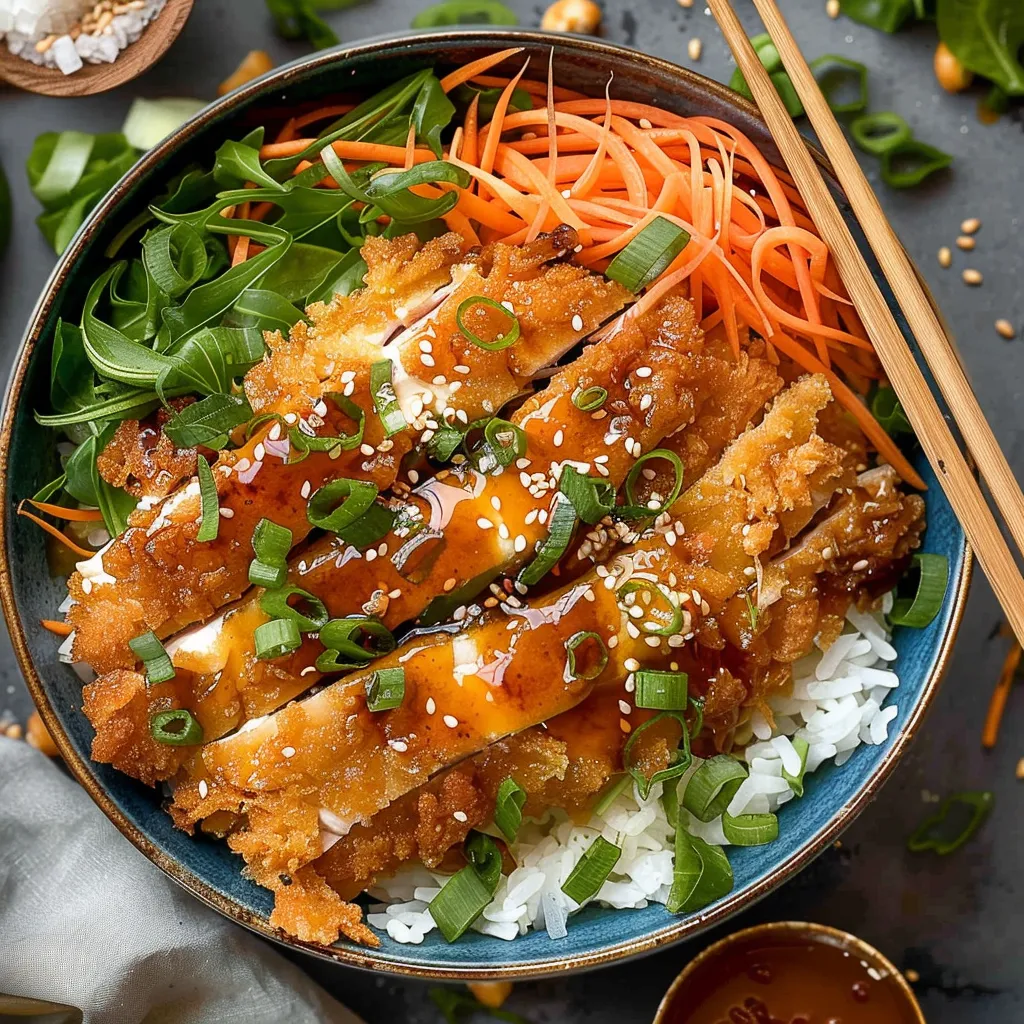
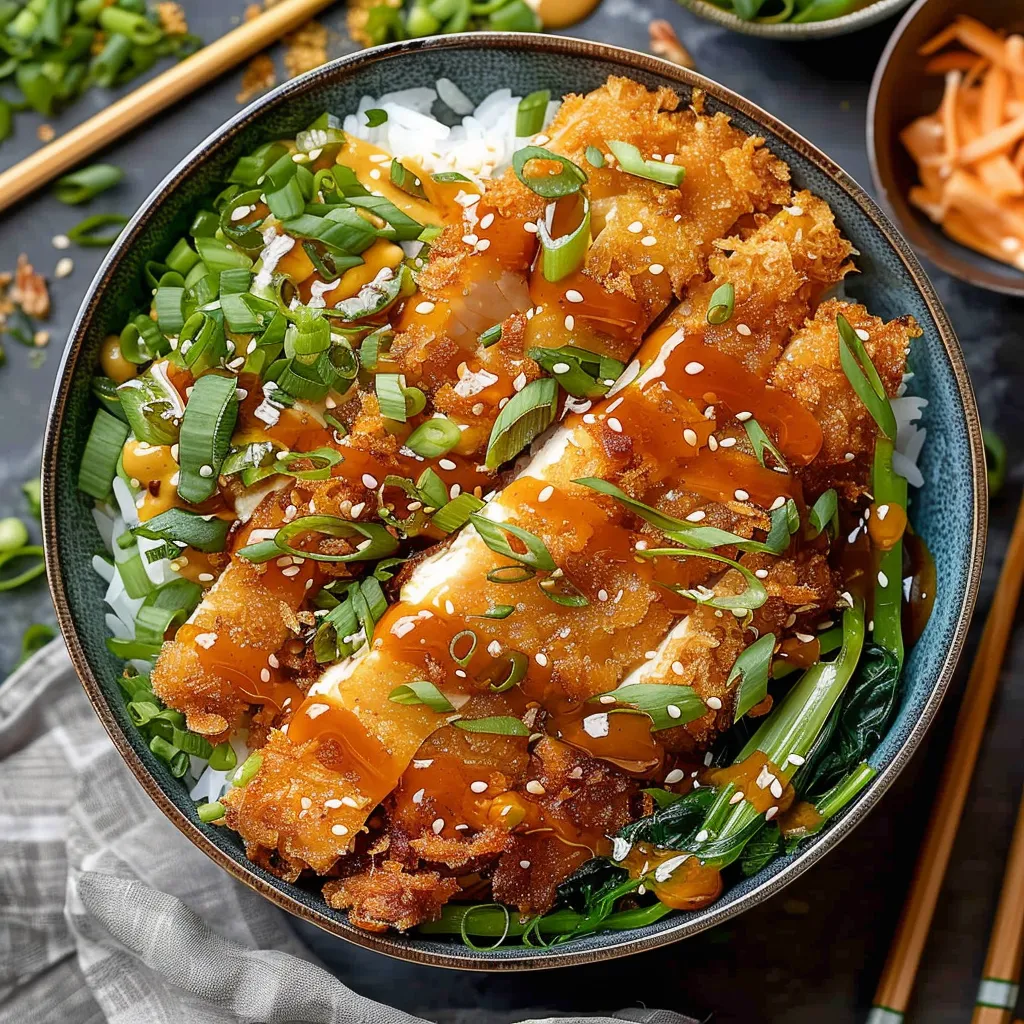
- Assemble the Bowls: Once the katsu is done, drain it on paper towels to remove excess oil. Slice it into strips and start building your bowls: scoop rice in first, pile on the veggies, place the katsu on top, and drizzle with tonkatsu sauce. Garnish with green onions and sesame seeds for a finishing touch.
Recipe Variations
Feeling adventurous? You can switch things up! If you’re not into pork, chicken cutlets or eggplants (for a vegetarian option) work wonderfully too. Slice the eggplant thin and follow the same breading procedure; it’ll be a different but equally satisfying experience. You can also play around with different sauces—maybe try a spicy sriracha mayo drizzle if you like a kick!
Serving & Storage Tips
These bowls are best enjoyed fresh, but if you happen to have leftovers (lucky you!), store the components separately in airtight containers in the fridge. The katsu will stay crunchy for a while if you keep the sauce on the side. When you’re ready to serve the next day, simply reheat the cutlets in an oven until warm and crisp again—the microwave just won’t do it justice!
Creative Leftovers: Try putting the leftover katsu in a sandwich with your favorite toppings or turn it into a katsu curry by adding some curry sauce over both the katsu and rice. Yum!
Helpful Tips
Let me share a few things I’ve picked up over my cooking adventures:
- Don’t skip the resting: After frying, allow the katsu to rest on a paper towel. This not only helps the excess oil drip off but enhances the crunch!
- Get a thermometer: If you’re unsure about frying temperature, a thermometer can help you know when the oil is just right—around 350°F is ideal.
- Experiment with sauces: Don’t be afraid to try different sauces or dips. Sometimes switching things up can lead you to your next favorite dish!
Special Equipment
- Frying pan or cast iron skillet: You want a good, heavy-based pan that can handle the oil well and maintain temperature.
- Food thermometer: While not essential, it makes frying so much easier and safer!
- Sharp knife: Helps make those clean, beautiful slices for plating.
Frequently Asked Questions
Can I use chicken instead of pork for katsu?
Absolutely! Chicken breast works great and will give you that same satisfying crunch.
What’s the best way to reheat the katsu?
Reheat it in an oven for a few minutes to get that crispiness back. Microwaving it can make it soggy, which is a no-go in my book.
Is there a gluten-free option for this recipe?
Yes! You can substitute the all-purpose flour and panko with gluten-free alternatives. Just check your labels and you’ll be good to go!
How can I make this dish vegetarian?
Try using firm tofu or eggplant in place of the meat. Follow the same breading process, and you’ll have a delightful vegetarian katsu!
What’s tonkatsu sauce made of?
Tonkatsu sauce is typically a mix of ketchup, Worcestershire sauce, soy sauce, mirin, and sugar. It’s tangy, sweet, and simply delicious!
Conclusion
There you have it—the magical journey of creating Japanese Katsu Bowls right in your home! I truly love how each bite can transport you to that little restaurant in Tokyo or into memories shared with loved ones around a dinner table. Whether it’s a weeknight family dinner or a casual gathering with friends, these bowls bring warmth and joy with every crunchy bite. And hey, don’t be shy; I would love to hear how your katsu turns out! Feel free to share your experiences or variations in the comments below—what fun tweaks did you think of? Let’s keep the conversation going over delicious food!
Print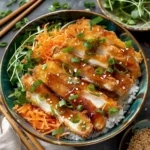
Savory Japanese Katsu Bowls: A Must-Try Culinary Delight!
- Total Time: 50 minutes
- Yield: 4 servings 1x
Description
Savor the bold flavors of Japanese Katsu Bowls. Discover this must-try dish that combines crispy katsu with your favorite ingredients!
Ingredients
Instructions
Notes
Japanese Katsu Bowls, combining crispy katsu, fluffy rice, and fresh vegetables, topped with savory tonkatsu sauce.
- Prep Time: 20 minutes
- Cook Time: 30 minutes
- Category: Main Course
- Cuisine: Japanese
Nutrition
- Serving Size: 4 servings
- Calories: 700 calories
- Sugar: 5 grams
- Fat: 30 grams
- Carbohydrates: 80 grams
- Fiber: 4 grams
- Protein: 35 grams


