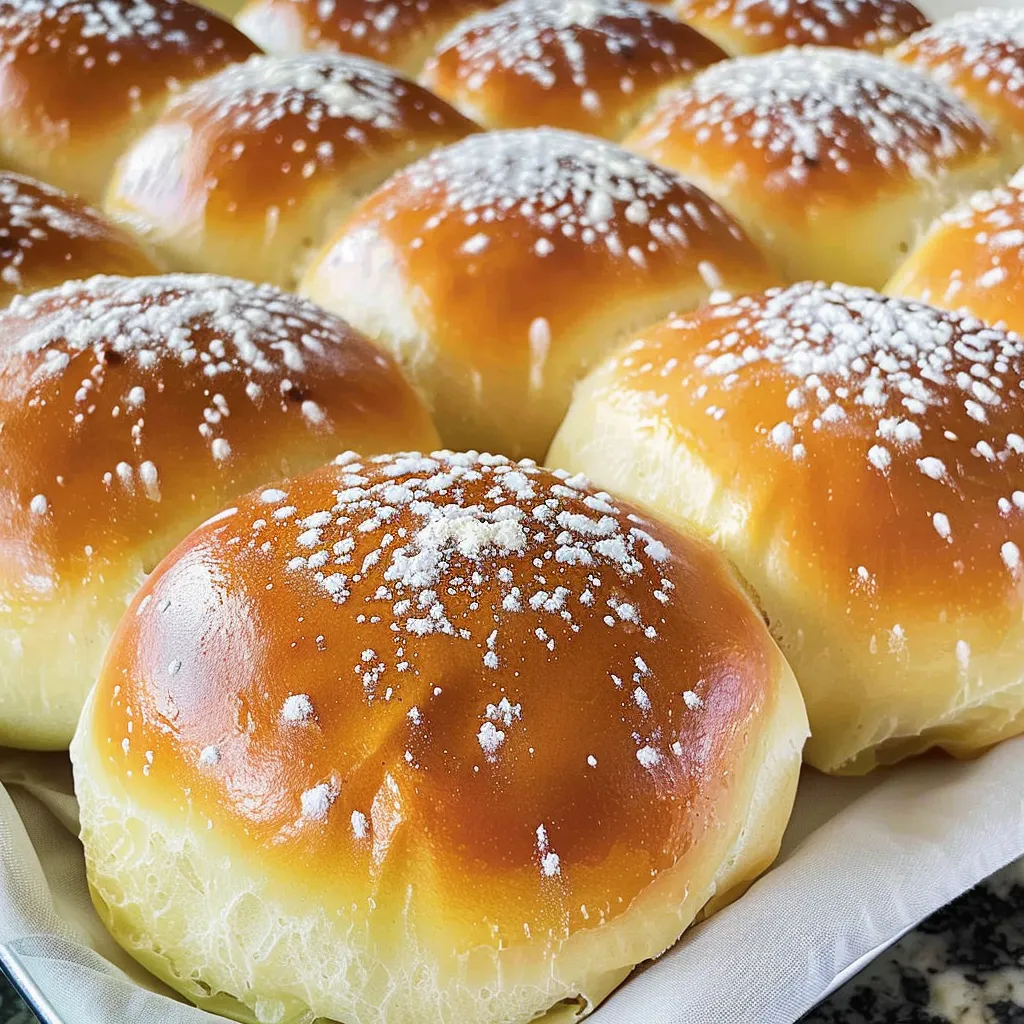
There’s something magical about pulling freshly baked bread from the oven. The way the aroma fills your kitchen, wrapping you in a warm embrace; it’s like a hug from the inside out. I remember the first time I made Japanese milk bread. It was a cool, rainy Saturday afternoon, and my kids were busy with their crafts, while my partner was lost in a book on the couch. With the comforting pitter-patter of rain outside, I felt inspired to create something light, fluffy, and ethereal—enter the Japanese milk bread dinner rolls. Not only do they puff up beautifully, but they also create a sense of coziness that perfectly complements those at-home moments when you just want to connect with your family over warm, buttery bread.
Why You’ll Love This Recipe
Alright, let’s talk about why these rolls are a must-try. First off, they have this incredible, pillow-soft texture that’s like a cloud you can eat—yes, I said it! Perfect for sopping up gravy, serving alongside your favorite soup, or simply slathering with a bit of butter and jam for breakfast. And here’s the kicker: making these rolls might seem daunting, but I promise once you get into the groove of kneading the dough, you’ll find it strangely satisfying. It’s a great way to unwind after a long day, and the end result will transport you straight to a cozy café in Japan. Plus, they save time on busy nights when you just want something quick that feels special. Call it the comfort of home baked right into each bite!
What It Tastes Like
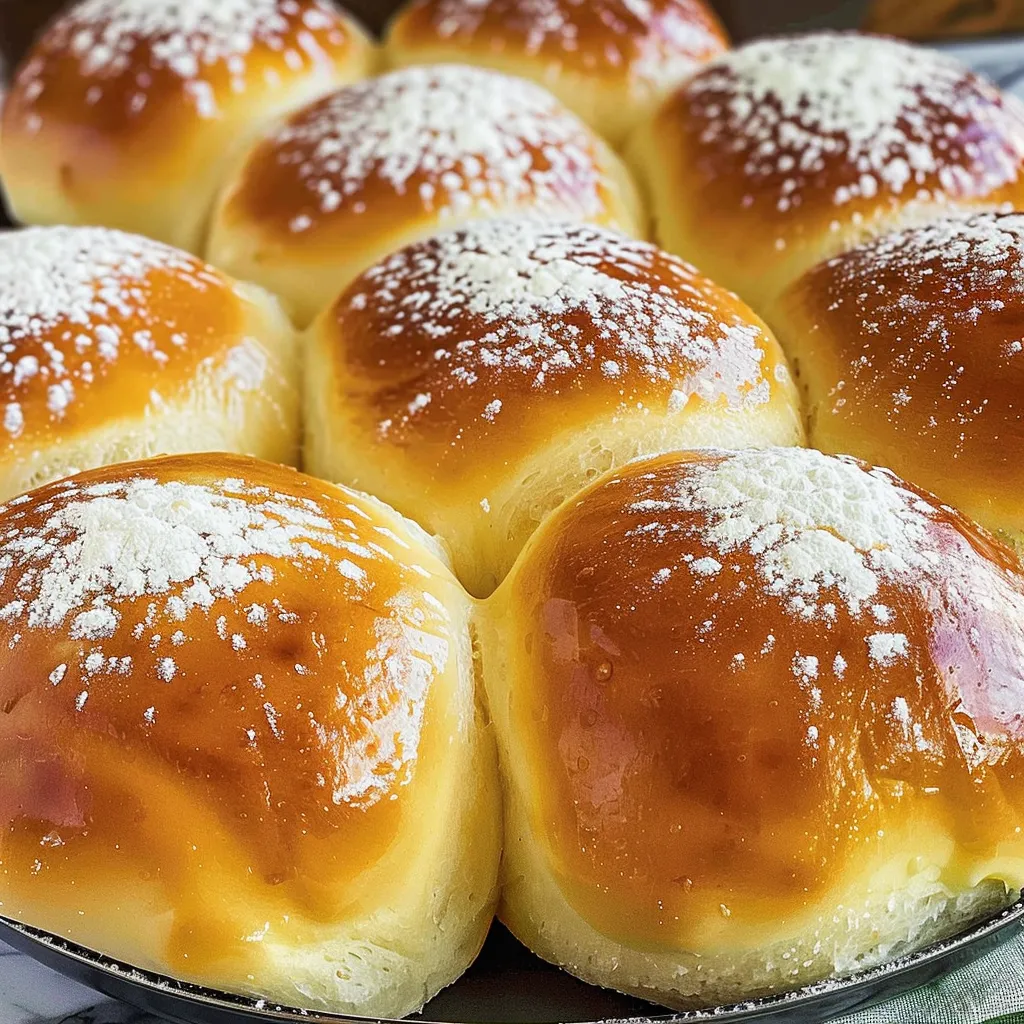
If you’ve never tasted Japanese milk bread, imagine this: the first warm bite is like pulling your favorite sweater from the closet on a chilly day—soft, familiar, and extremely comforting. It has a slightly sweet flavor and a wonderfully delicate texture that balances perfectly with butter or even a hint of honey drizzled on top. The crust? Oh, it’s wonderfully chewy with a slight golden hue, enticing anyone nearby to take a piece. Honestly, these rolls are the kind of bread that makes any meal feel like a special occasion, even if it’s just a Tuesday night dinner.
Ingredients You’ll Need
- 500g bread flour: This is your main ingredient—the backbone of fluffy rolls.
- 90g granulated sugar: Adding sweetness to balance the savory notes in every bite.
- 10g salt: Don’t skip this, as it enhances the dough’s flavor.
- 10g instant yeast: The magic that makes your rolls rise like little fluffy clouds!
- 300ml whole milk: Adds richness and moisture, making sure the rolls stay soft.
- 30g unsalted butter (softened): This gives that delightful richness we all love.
- 1 large egg: Helps bind everything together for that perfect texture.
Optional Additions:
You can add a twist with a dash of cinnamon or cardamom for a warm spice. Fresh herbs like rosemary or thyme can also jazz things up!
Special Garnishes: Try brushing the tops with a bit of melted butter after baking to give them a beautiful sheen.
Step-by-Step Instructions
- Combine Dry Ingredients: In a large mixing bowl, whisk together the bread flour, sugar, salt, and instant yeast. Remember, yeast and salt shouldn’t directly touch as salt can inhibit yeast growth—keep them separate during mixing.
- Mix Wet Ingredients: In another bowl, warm the milk slightly (it should feel like a comforting hug, not a hot bath!). Add in the softened butter and the egg, mixing until well combined.
- Combine: Pour the wet mixture into the dry ingredients. Stir with a wooden spoon until it begins to come together into a shaggy dough. You may want to whisper sweet nothings to encourage it to form a ball!
- Knead it Out: Transfer the dough to a lightly floured surface and knead for about 10 minutes, until it’s smooth and elastic. Trust me, this is where the magic really happens. Don’t rush this step!
- First Rise: Place your dough in a greased bowl, cover it with a clean kitchen towel, and let it rise in a warm place for about an hour, or until it doubles in size. This is the perfect time to blend your favorite tunes and let the anticipation build!
- Shape the Rolls: Once the dough has risen, gently punch it down (yes, you can let out all that day’s frustration!). Divide the dough into 12 equal pieces for dinner rolls. Shape each piece into a little ball, tucking the edges underneath—like wrapping a present!
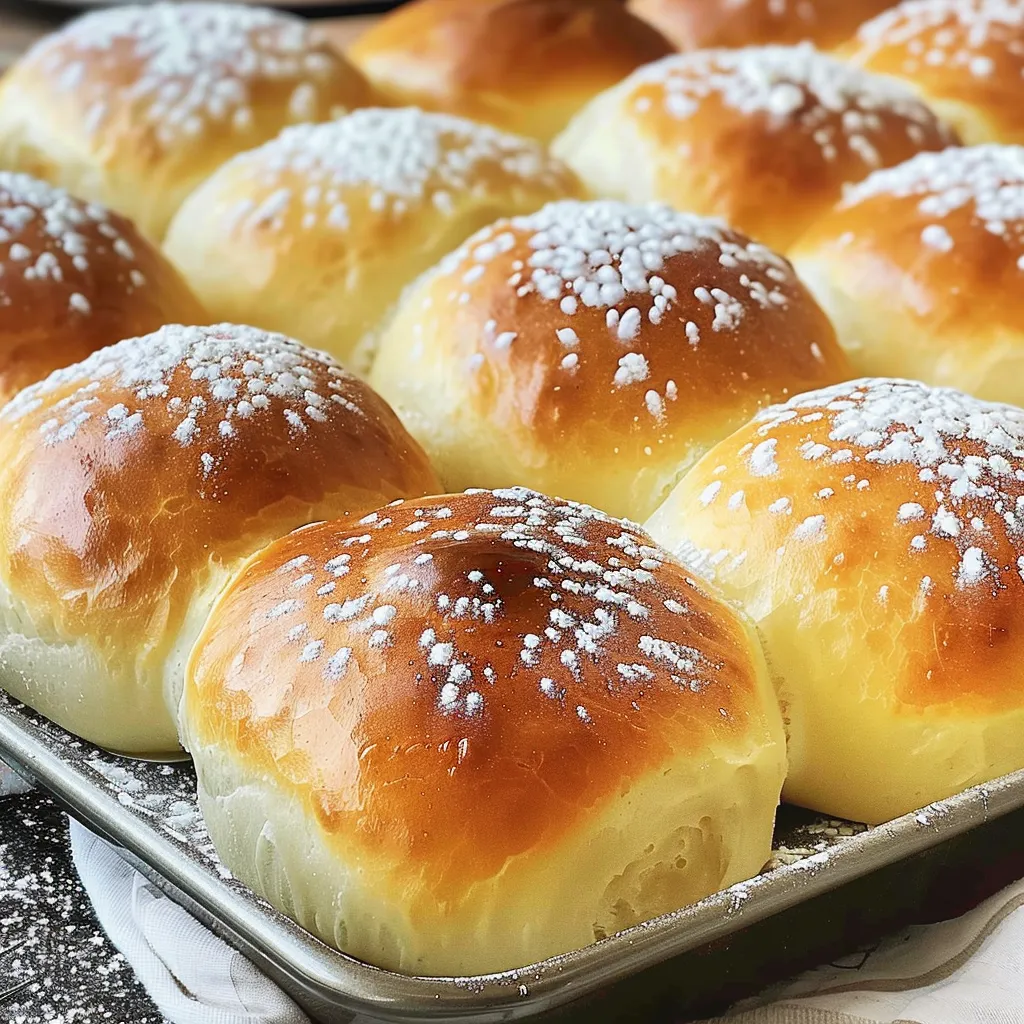
- Second Rise: Arrange the balls in a greased baking pan, making sure they’re just touching. Cover them again and let them rise for another 30-45 minutes. This is where you can do a little happy dance and think about how great your kitchen smells.
- Bake: Preheat your oven to 180°C (350°F). Once the rolls have risen, pop them in the oven for 20-25 minutes until golden brown. Make sure to check halfway through and rotate the pan if needed.
- Cool and Enjoy: Once baked, allow them to cool in the pan for about 5 minutes before transferring to a wire rack. Tear one apart, watch the steam escape, and just take a moment. Take a picture if you like—because let’s be honest, you’ll want to remember this.
Recipe Variations
Feeling like a little creativity in the kitchen? You can switch things up by adding some shredded cheese for cheesy rolls or incorporating garlic butter for a savory touch. You might even mix in some dried fruits like cranberries or apricots to satisfy that sweet tooth. The joy of this recipe is that it’s a fantastic canvas for flavors, so let your imagination run wild!
Serving & Storage Tips
These rolls are best enjoyed fresh out of the oven when they’re still warm and fluffy. However, if you have leftovers (and let’s be honest, they’re hard to resist, but it happens), store them in an airtight container at room temperature for up to three days. To reheat, pop them in the microwave for about 10 seconds or in a 200°C (400°F) oven for a few minutes. They’ll spring back to life! As for creative leftovers—make a delightful French toast or a breakfast sandwich with some eggs and bacon.
Helpful Tips
- Don’t Rush the Kneading: This is where the gluten develops, making your rolls nice and soft. The more you knead, the more tender they’ll be!
- Proofing Environment: If it’s a cold day, try proofing your dough in an oven set to the lowest temperature or next to a warm window. Mother Nature can be kind… or not.
- Puff Test: When shaping the rolls, make sure they aren’t overly compact; they need room to breathe and rise while baking!
Special Equipment
- Mixing Bowl: A large one is best—so you don’t end up with flour exploding everywhere. We all know that scene!
- Kitchen Scale: If you’re serious about baking, a scale ensures you get precise measurements, which leads to the best results. Plus, it curbs the “whoops” moments.
- Bench Scraper: This little gadget helps cut the dough easily and keeps your hands clean. You’ll thank me for this tip!
- Baking Pan: Ideally, you want a 9×13 inch baking pan to give your rolls enough space to rise and bloom beautifully.
Frequently Asked Questions
Can I use all-purpose flour instead of bread flour?
While you can use all-purpose flour, bread flour gives those rolls their characteristic chewiness. If you’re looking for that exact texture, I recommend sticking with bread flour!
What if I don’t have instant yeast?
Great question! You can use active dry yeast instead. Just proof it in warm milk with a bit of sugar for 10 minutes before combining with your dry ingredients.
Can I prepare the dough ahead of time?
You absolutely can! Prepare the dough until the first rise, then punch it down and refrigerate it overnight. Just remember, it will need a little extra time to rise before baking the next day!
Why did my rolls not rise?
Oh no! This can be due to a couple of reasons. Did you check the expiration date on your yeast? Also, if the dough was too cold during the rise, it won’t puff up. Make sure you’re in a warm, cozy spot for your dough to enjoy its beauty sleep!
How do I get that shiny crust?
Brushing the tops with melted butter or an egg wash before baking will give your rolls that beautiful, shiny crust that you’ll want to show off!
Conclusion
As I wrap up this delightful journey into the world of Japanese milk bread dinner rolls, I can’t help but think about the next time I’ll make them. Maybe a cozy family breakfast or perhaps as a showstopper for a dinner party. I love serving them with a generous dollop of fresh butter and a sprinkling of sea salt—simple yet perfect. I’d love to hear your thoughts, too! If you decide to whip up this treat, please share your version or your special stories in the comments below. There’s something enriching about baking together, even if we’re in different kitchens. Happy baking, friends!
Print
Delicious Japanese Milk Bread Dinner Rolls Soft Fluffy Treats
- Total Time: 55 minutes
- Yield: 12 rolls 1x
Description
Experience soft fluffy Japanese milk bread rolls that make the perfect addition to any dinner Ideal for every occasion these treats are irresistible
Ingredients
Instructions
Notes
These Japanese milk bread dinner rolls are incredibly soft, slightly sweet, and perfect for any meal. They are a comforting addition to your dinner table.
- Prep Time: 30 minutes
- Cook Time: 25 minutes
- Category: Bread
- Cuisine: Japanese
Nutrition
- Serving Size: 12 rolls
- Calories: 150
- Sugar: 3 grams
- Fat: 5 grams
- Carbohydrates: 22 grams
- Fiber: 1 gram
- Protein: 4 grams


