Martha Washington Candy
Imagine a cozy evening, the aroma of sweet treats wafting through the kitchen, and a light-hearted conversation with your loved ones. That’s the magic of making Martha Washington Candy, a delightful confection that takes me back to my grandmother’s kitchen. She created these little bites of heaven for every family gathering, and it seemed like everyone had a special place in their heart—and belly—for them. It’s a simple treat, really, and one that sparks joy just from its memory. There’s something truly special about how these candies blend the creamy sweetness of coconut and the smooth richness of chocolate. They’re not just a recipe; they’re a slice of nostalgia.
Why You’ll Love This Recipe
Now, why should you hit the kitchen and whip up a batch of Martha Washington Candy? Well, let me tell you, this is more than just a candy recipe—it’s a ticket back to those delightful moments. It’s quick, simple, and oh-so-satisfying! You can whip these up unexpectedly for guests or keep them stashed for a late-night snack (I won’t tell!). Each bite is a burst of flavor that dances on your palate and wraps around you like a warm hug. Plus, they look beautiful arranged on a platter, making them perfect for any special occasion or casual family gathering.
What It Tastes Like
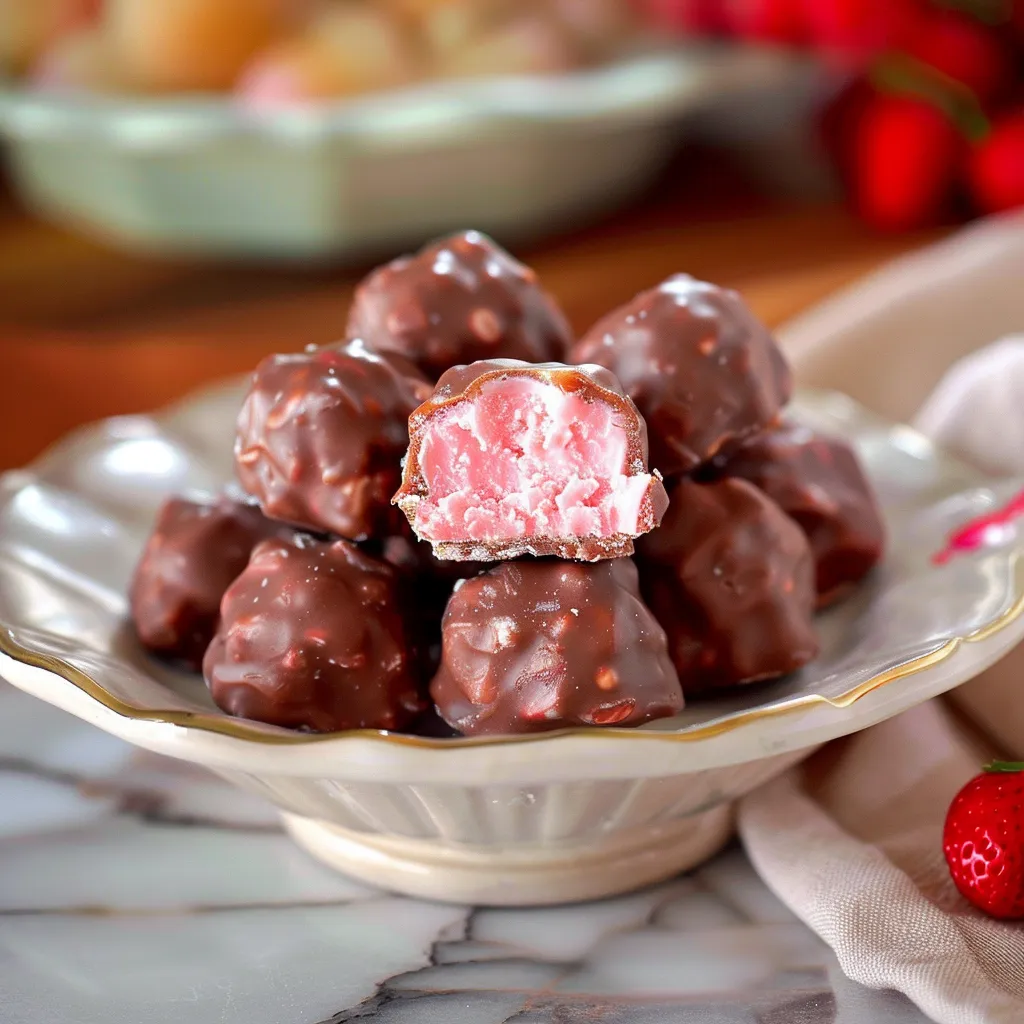
Picture this: You take a small bite of Martha Washington Candy, and the first thing that hits you is the creamy sweetness—imagine fresh coconut hugging a velvety center—almost like a mini vacation to a tropical paradise! Then, the rich chocolate coating gives it that perfect crunch, and suddenly, you’re transported to your happy place. The contrast between the smooth filling and the outer layer creates a heavenly experience. It’s like meeting an old friend who you haven’t seen in ages and feels just as good as a warm slice of homemade pie after a long day.
Ingredients You’ll Need
- 1 cup unsweetened shredded coconut: Adds that sweet, tropical flavor and chewy texture that’s essential.
- 1 cup sweetened condensed milk: Brings all the ingredients together with creamy sweetness.
- 1 cup chopped nuts (pecans or walnuts work great): Adds delightful crunch and depth to the filling.
- 2 cups semi-sweet chocolate chips: Perfect for coating, giving that rich, chocolatey finish.
- 1 tablespoon butter: Helps the chocolate melt smoothly and makes it glossy.
Optional Additions:
- Almond extract: A splash can enhance the flavor profile and add a nutty note.
- Sea salt: Just a sprinkle on top can elevate the experience—trust me!
Special Garnishes:
- Chopped nuts: Use these to sprinkle on top for added texture.
- Cocoa powder: Dust a little to bring in a sophisticated touch.

Step-by-Step Instructions
- Start by gathering all your ingredients. A well-organized kitchen makes everything easier—and trust me, your future self will thank you!
- In a mixing bowl, combine the shredded coconut, sweetened condensed milk, and chopped nuts. Mix until well-combined—don’t rush this step, it’s where the magic happens!
- Form the mixture into small balls (about 1 inch in size) and place them on a parchment-lined baking sheet. They don’t have to be perfect; charmingly irregular shapes are all part of the fun!
- Pop the baking sheet into the freezer for about 30 minutes to firm up those delightful balls.
- While they’re chilling, melt the chocolate chips and butter together in a double boiler or microwave, stirring until smooth and glossy. Be patient here; it’s worth it!
- Once the coconut balls have frozen slightly, dip each one into the melted chocolate using a fork, allowing the excess to drip off.
- Return the coated candies to the baking sheet and sprinkle any desired toppings (like nuts or sea salt) before the chocolate sets.
- Let them cool completely in the fridge until the chocolate hardness is just right, then, voila! Your homemade Martha Washington Candies are ready to be enjoyed.
Recipe Variations
This recipe is wonderfully adaptable! Feel free to switch up the nuts based on your preference or what you have on hand—almonds or pistachios add a unique twist. If you’re looking for a more decadent treat, consider replacing some shredded coconut with crushed Oreos for a fun cookie version. You could even swap the chocolate coating for white chocolate for a striking presentation. There’s almost no limit to what you can create!
Serving & Storage Tips
Martha Washington Candy can be served immediately after they cool, but they taste even better the next day after the flavors have melded. To store them, place the candies in an airtight container and keep them in the fridge; they can last for about a week—if they last that long! If you find yourself with leftovers (which, let’s be honest, is a rare event), you can use them as a topping for ice cream or crushed up in yogurt for a delightful breakfast twist.
Helpful Tips
Sometimes, things don’t go as planned, and that’s okay! Here are a couple of pointers based on my own kitchen misadventures:
- Make sure to freeze the balls well; if they’re too soft when you dip them, you’ll end up with a chocolate mess.
- If you’re struggling to get the chocolate coating right, try re-melting it. Sometimes chocolate just gets stubborn!
Special Equipment
- Parchment paper: Essential for easy cleanup and to prevent sticking.
- Double boiler or microwave-safe bowl: This helps melt the chocolate evenly without burning it.
- Cookie scoop or tablespoon: For portioning out the coconut mixture—makes it come together neatly!
- Two forks: These are key for dipping; they allow you to manage the process without making a complete mess.

FAQ
Can I use sweetened shredded coconut instead?
Absolutely! Just keep in mind that it will add a bit more sweetness to the candy, but I think it can work wonderfully as well.
What if I don’t have nuts on hand?
No problem! You can simply leave them out or substitute with seeds, like sunflower or pumpkin seeds, for a different flavor profile.
Can I make these candies vegan?
Yes! You can use coconut cream instead of sweetened condensed milk and a dairy-free chocolate for a delightful vegan version.
How should I store the candies if I make a big batch?
Store them in an airtight container in the fridge. They can last for about a week—but good luck keeping them around that long!
Conclusion
There’s something heartwarming about making Martha Washington Candy. It’s not just about the chocolate and coconut; it’s about revisiting memories and creating new ones with every batch. Whether it’s a cozy night in, a quiet moment with family, or a festive gathering, these candies will fit right in. I always find joy in sharing them, whether at a potluck or just to brighten someone’s day. So, gather your ingredients and get to candy-making—let me know how your batch turns out in the comments! Bon appétit!
Print
Irresistible Martha Washington Candy Recipe Delightfully Easy Treats
- Total Time: 40 minutes
- Yield: 24 candies 1x
Description
Satisfy your sweet tooth with this easy Martha Washington Candy recipe Indulge in delightful treats perfect for any occasion Enjoy a delicious bite
Ingredients
Instructions
Notes
Martha Washington Candy is a delightful confection that blends the creamy sweetness of coconut with the rich chocolate coating, reminiscent of childhood memories and family gatherings.
- Prep Time: 30 minutes
- Cook Time: 10 minutes
- Category: Dessert
- Cuisine: American
Nutrition
- Serving Size: 24 candies
- Calories: 130
- Sugar: 9g
- Fat: 7g
- Carbohydrates: 15g
- Fiber: 1g
- Protein: 2g


