Mini Lemon Meringue Tarts
Ah, the aroma of citrus wafting through the kitchen on a lazy Sunday afternoon! There’s something so invigorating about the bright zest of fresh lemons mingling with the sweet scent of sugar and vanilla. It’s almost like a gentle nudge from the universe saying, “Hey, it’s time for a little sweetness!” This particular recipe for Mini Lemon Meringue Tarts holds a special place in my heart. It reminds me of summer picnics with family, where laughter mingles with sunshine, and dessert is a must if you want to end the day on a high note.
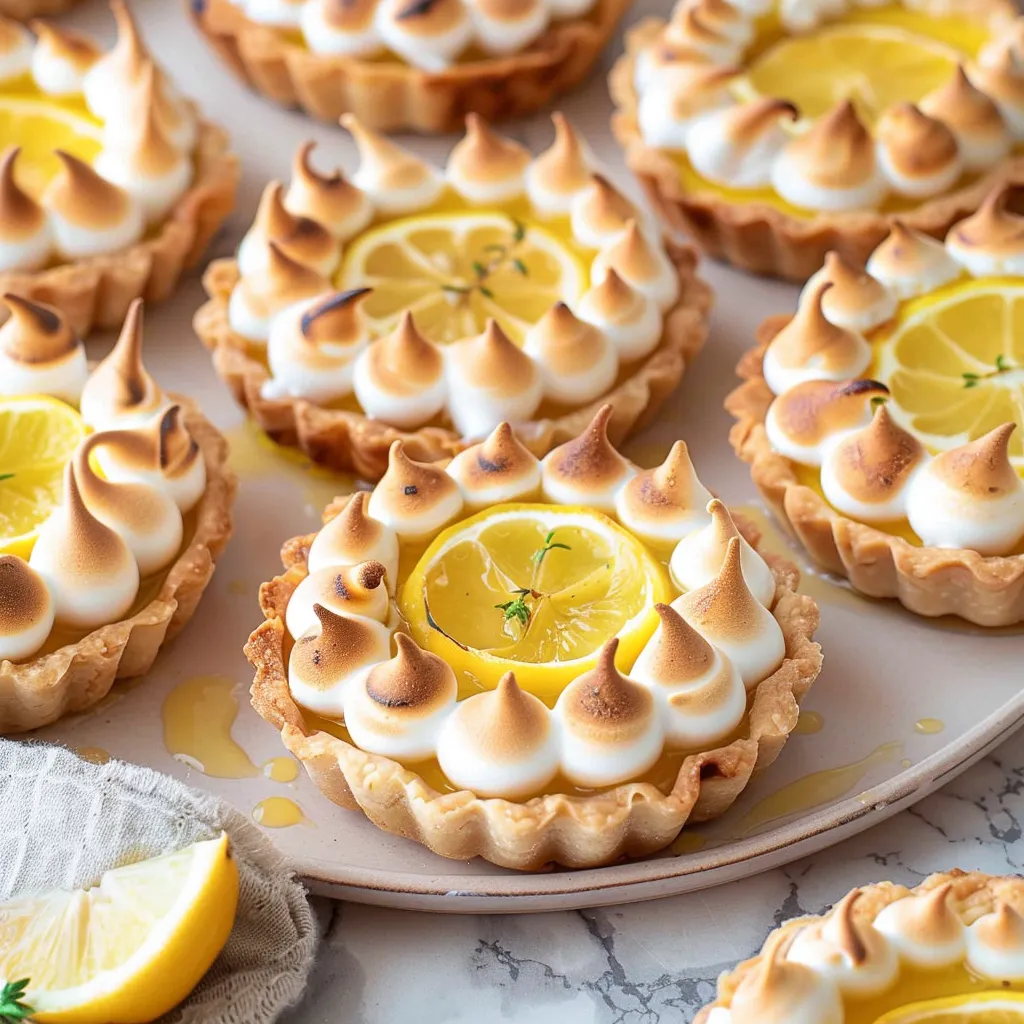
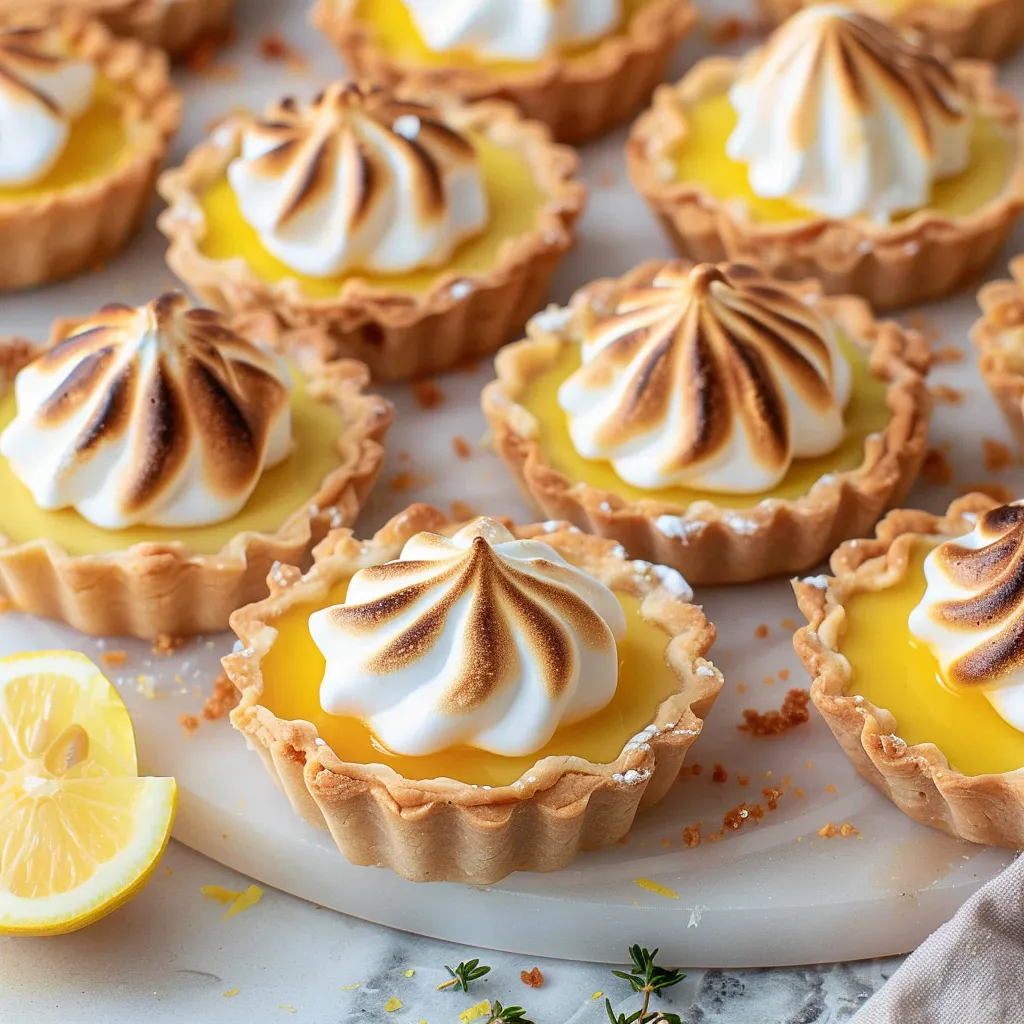
So, what’s the magic here? These little tarts are simple yet impressive, making them perfect for any occasion—from casual weekdays to elegant gatherings. The buttery crust cradles a tangy lemon filling, topped with light, fluffy meringue that’s toasted to golden perfection. If you’ve ever thought lemon meringue was just for pie enthusiasts, allow me to introduce you to the tart version — it’s cuter, more fun, and dare I say, even easier to enjoy!
Why You’ll Love This Recipe
Let’s get right to it, shall we? You’re going to want to try this recipe for a few delightful reasons:
- Time-Saver: With these mini tarts, you can whip up a dessert in about an hour. Perfect for those weeknights when you want to impress but not stress!
- Restaurant-Quality: These tarts taste like something you’d find in a charming café, yet you can make them in your own kitchen. Talk about a win-win!
- Adorable Size: Their mini nature means you can savor the joy without the guilt (well, mostly!). Plus, they’re super easy to share—or hide away for an evening treat!
- Adjustable Sweetness: You can tweak the level of sweetness in the filling and meringue to suit your taste buds perfectly. Less sweet, more zing? You got it!
What It Tastes Like
Imagine this: You’re sitting outside, the sun is shining, and the first bite of these tarts bursts like a tiny explosion of sunshine in your mouth. The creamy lemon filling is zesty yet smooth, balanced perfectly with a touch of sweetness that doesn’t overwhelm. With each forkful, you’ll encounter a delightful contrast of textures: a crisp crust gives way to that luscious filling, and then there’s the meringue—airy, fluffy perfection topped with a lightly toasted outer layer that adds depth and character. It’s like a little ray of joy wrapped in a flaky embrace!
Ingredients You’ll Need
Let’s gather what we need to create these delightful morsels! Here’s your ingredient list, complete with some fun tips:
- For the Pie Crust:
- 1 1/2 cups all-purpose flour: This gives the crust its structure!
- 1/2 cup unsalted butter, chilled and cubed: Adds a rich, buttery flavor.
- 1/4 cup powdered sugar: To sweeten just enough without being overly sugary.
- 1/4 teaspoon salt: A pinch lifts the flavors beautifully.
- 1-2 tablespoons cold water: The magic ingredient to bring it all together!
- For the Lemon Filling:
- 1 cup granulated sugar: Sweetness is essential!
- 2 large eggs: This will help thicken your filling and add richness.
- 1/2 cup freshly squeezed lemon juice: Bright, tangy goodness!
- 1 tablespoon lemon zest: Extra citrusy punch!
- 2 tablespoons cornstarch: Thicker than a toddler’s tantrum—perfect for the filling.
- 1/4 teaspoon salt: A little contrast to the sweet and sour.
- 2 tablespoons unsalted butter: Because, well, butter makes everything better.
- For the Meringue:
- 3 large egg whites: Makes for that fluffy, cloud-like topping.
- 1/4 teaspoon cream of tartar: Helps stabilize the meringue.
- 1/2 cup granulated sugar: A sweetness to counteract the tanginess!
- 1 teaspoon vanilla extract: Just a hint of warmth!
Optional Additions: You can add some fresh berries on top for a pop of color and flavor. Think blueberries or raspberries for that extra zing!
Special Garnishes: A sprinkle of lemon zest on top of the meringue adds an elegant touch and a burst of color!
Step-by-Step Instructions
Alright, friend, let’s get our hands a little floury! Here’s how to bring these delightful tarts to life:
- Make the Pie Crust: In a medium bowl, combine the flour, cubed butter, powdered sugar, and salt. Using a pastry cutter (or two forks if you’re feeling rustic), cut the butter until it resembles coarse crumbs. Don’t rush this step—it’s where the magic happens!
- Bring It Together: Add cold water, one tablespoon at a time, mixing until the dough holds together without being sticky. Form it into a ball, flatten it into a disk, wrap in plastic wrap, and chill in the fridge for about 30 minutes.
- Preheat to Delight: While that’s chilling, preheat your oven to 350°F (175°C).
- Roll and Cut: Once chilled, roll out the dough on a floured surface to about 1/8-inch thick. Use a round cutter or glass to cut out circles. Place them in a muffin or tart pan, pressing them gently into the bottoms and up the sides.
- Bake: Prick the bottoms with a fork to prevent bubbling and bake for 12-15 minutes until lightly golden. Set them aside to cool.
- Prepare the Lemon Filling: In a medium saucepan over medium heat, whisk together the sugar, eggs, lemon juice, lemon zest, cornstarch, and salt until smooth. Cook, stirring constantly until it thickens and bubbles. Remove from heat and stir in the butter until melted and well combined.
- Fill ‘Er Up: Pour the lemon filling into the tart shells, dividing it evenly among them. Let it cool at room temperature while you prepare the meringue.
- Make the Meringue: In a clean bowl, beat the egg whites and cream of tartar until soft peaks form. Gradually add the sugar, continuing to beat until stiff, glossy peaks form. Beat in the vanilla extract.
- Top It Off: Spoon the meringue over the lemon filling, spreading it right to the edges to seal in the filling.
- Toast the Meringue: Bake in the oven for about 10-15 minutes, until the meringue is golden brown, keeping a close eye on it! Or, if you have a kitchen torch, go ahead and torch it to that perfect golden hue!
- Cool Completely: Allow the tarts to cool before serving, because, believe me, the filling is HOT!
Recipe Variations
Feel free to play around with flavors! How about a lime variation for a tropical twist? Just swap out the lemon juice and zest for lime. If you’re feeling adventurous, mix in a bit of ginger into the crust for a zesty spin! Want a chocolate surprise? Drizzle some melted chocolate over the top once cooled. The world is your oyster (or, in this case, your tart tray)! Who says dessert can’t have a little fun?
Serving & Storage Tips
These mini lemon meringue tarts can be served the same day, but they are best enjoyed fresh! If you have leftovers, store them in an airtight container in the fridge for up to two days. Just keep in mind that the meringue may lose its fluffiness after a day, but hey, they’ll still taste incredible!
For those delightful leftovers, try serving them with a dollop of whipped cream or a side of fresh berries for a lovely breakfast the next morning! Minimal guilt, maximum joy!
Helpful Tips
- Egg Whites: Ensure there’s no yolk in your egg whites; even a little can prevent them from whipping up nice and fluffy.
- Chill the Dough: Don’t skip the chilling step of the crust! It helps prevent shrinkage while baking.
- Measure Carefully: Baking is a science, so measuring accurately is crucial—especially with ingredients like sugar and flour.
- Don’t Rush It: Allow the lemon filling to cool before adding the meringue. If it’s too warm, it can cause the meringue to weep, which is a real buzzkill!
Special Equipment
- Tart Pan or Muffin Tin: This tool is essential for shaping those adorable mini tarts. A regular pie pan just won’t cut it! Plus, they look so much cuter this way.
- Mixing Bowls: Having a few different sizes makes whisking up the filling and meringue a breeze. Plus, it keeps your food prep organized!
- Pastry Cutter: If you want that perfectly crumbly crust, this handy tool is your best friend. But if you don’t have one, don’t sweat it! Two forks work just fine.
- Kitchen Torch (optional): If you’re feeling fancy, a kitchen torch gives the meringue that perfect caramelized finish without the oven hassle!
Frequently Asked Questions
Can I make the crust ahead of time?
Absolutely! You can make the crust a day in advance and store it in the fridge. Just be sure to pop it in the oven a little longer to refresh it!
How do I prevent my meringue from weeping?
The secret here is to make sure your meringue is stable. Use clean, dry bowls and beaters. Adding cream of tartar helps, and be sure to spread the meringue right to the edges of the tart to seal it in.
What if I don’t have fresh lemons?
If you’re in a pinch, you can use bottled lemon juice, but fresh lemons really take the flavor to the next level! Aim for around 1/2 cup of juice.
Can I freeze these tarts?
While the crust can be frozen, I’d recommend eating the tarts fresh. The meringue doesn’t freeze well, but you can freeze just the lemon filling before adding the meringue!
What can I do with leftover meringue?
Oh, the possibilities! Pipe it onto parchment for sweet meringue cookies or dollop it onto cakes or cupcakes for a lovely touch!

Conclusion
In the end, these Mini Lemon Meringue Tarts aren’t just a dessert; they are a celebration of simplicity and comfort, wrapped in a crunchy, sweet embrace. I love making them when I want to bring a little sunshine to my kitchen, and I guarantee they’ll bring smiles to anyone you share them with.
So, whether it’s a casual dinner or a special occasion, let these little beauties take center stage. I can’t wait to hear your stories about them — how you made them, your favorite tweaks, or the smiles they bring to your table. Go forth and create your lemony masterpieces! And remember, there’s no such thing as too many tarts when you’re sharing them with those you love!
Print
Mini Lemon Meringue Tarts
- Total Time: 45 minutes
- Yield: 12 Tarts 1x
Description
Treat yourself to mini lemon meringue tarts that melt in your mouth. Perfect for any occasion, these sweet bites will please your palate!
Ingredients
Instructions
Notes
Delightful mini lemon meringue tarts with a buttery crust, tangy lemon filling, and fluffy meringue, perfect for any occasion.
- Prep Time: 30 minutes
- Cook Time: 15 minutes
- Category: Dessert
- Cuisine: American
Nutrition
- Serving Size: 12 Tarts
- Calories: 150
- Sugar: 10g
- Fat: 7g
- Carbohydrates: 22g
- Fiber: 1g
- Protein: 2g


