There’s something wonderfully nostalgic about the smell of a freshly baked cake wafting through the house, isn’t there? I can always remember the way our kitchen would come alive with the scent of vanilla and sugar, especially when my grandmother was in there baking her famous jelly cakes. There was never a birthday or special occasion without a tray of these delightful treats sitting proudly on the table, their fluffy, pastel pink layers cuddling up next to a cup of tea or coffee. The first bite would always take me back to lazy Sundays spent hopping from one relative’s house to another, sharing stories while devouring these delicious morsels. Today, I want to share that cherished recipe with you, along with a taste of warm family memories, simple pleasures, and perhaps a sprinkle of laughter.
Why You’ll Love This Recipe
So why should you invest time in making these Old-Fashioned Pink Jelly Cakes? Well, let me tell you: they’re not just cakes; they’re tiny slices of happiness. Each layer is light and airy, and when you bite into one, it’s like a soft cloud bursting with sweetness. These cakes can save you on busy nights when you want to impress friends over tea without breaking a sweat in the kitchen. Plus, the playful pink color brings a cheerful vibe to any gathering. You can almost hear the oohs and aahs when you set them out; it’s a little slice of joy that feels like a warm hug from your loved ones. Trust me, this recipe is worth it—you’ll feel like a baking superstar!
What It Tastes Like
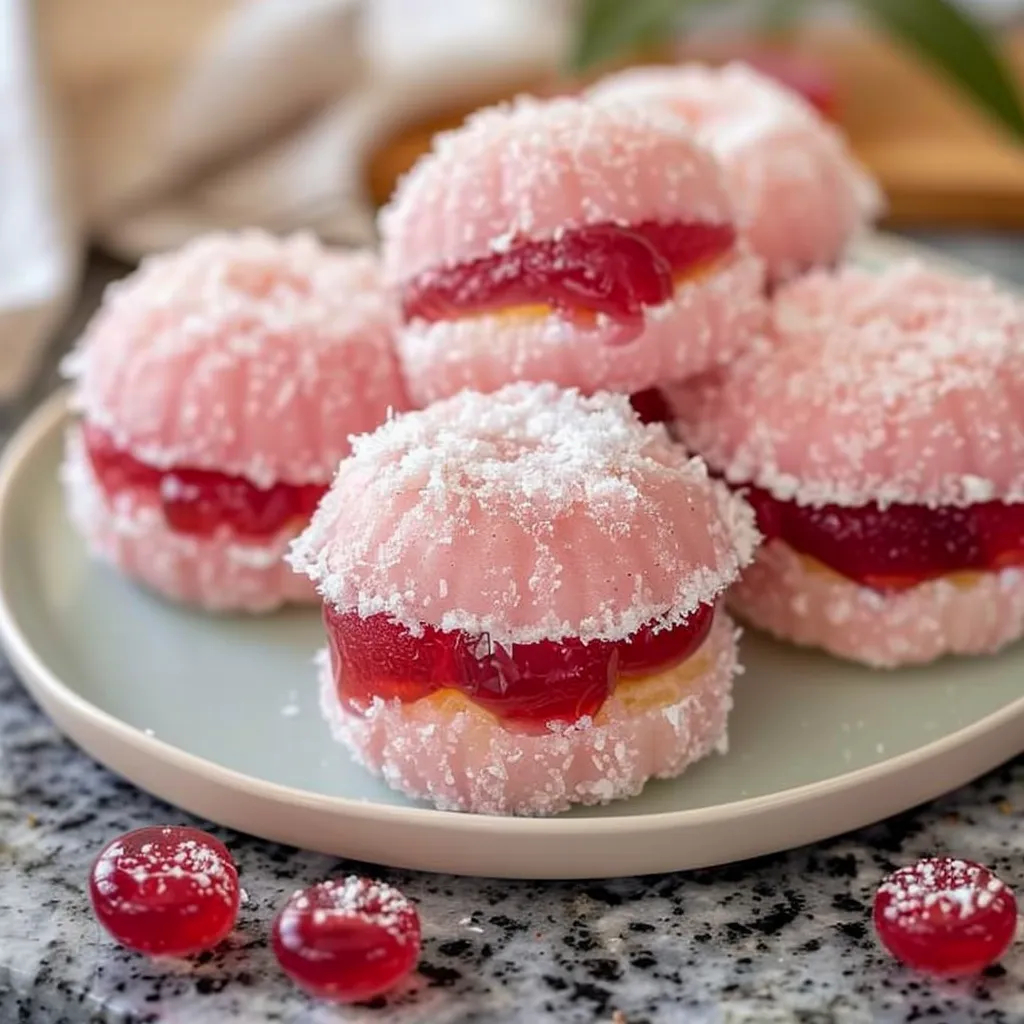
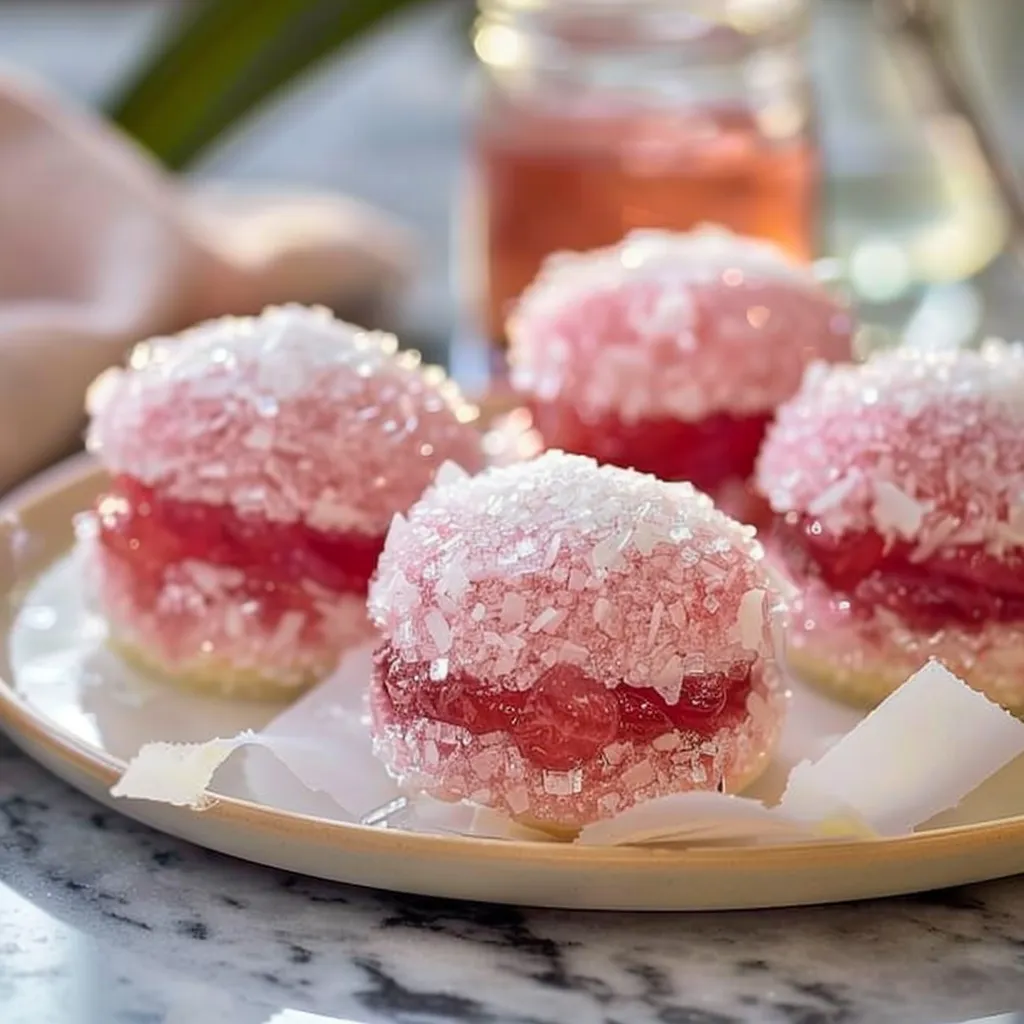
Imagine sinking your teeth into a soft, moist cake that crumbles in a delightful way. It’s sweet, but not overly so—think of it as a gentle whisper of sugar rather than a shout. The jelly, oh, the jelly! It adds a burst of fruity goodness that dances on your taste buds, reminiscent of raspberry sunshine on a winter’s day. The creaminess of the frosting adds the finishing touch, like a fluffy cloud of happiness resting on top. Each bite is reminiscent of grandma’s kitchen filled with laughter and stories; it’s that perfect blend of nostalgia and comfort.
Ingredients You’ll Need
- 2 cups all-purpose flour: The backbone of the cake; gives it a light, fluffy structure.
- 1 ½ cups granulated sugar: Adds sweetness and helps with browning.
- ½ cup unsalted butter, softened: Provides a rich, creamy texture.
- 1 cup whole milk: Ensures moistness—because no one likes a dry cake!
- 3 large eggs: Binds everything together and adds fluffiness.
- 2 teaspoons baking powder: Helps the cakes rise to perfection.
- 1 teaspoon vanilla extract: For that lovely, warm flavor.
- 1/4 teaspoon salt: Balances sweetness and enhances flavor.
- 1/2 cup raspberry or strawberry jelly: The star of the show; adds a fruity punch!
- 2 cups powdered sugar: For making the frosting sweet and creamy.
- 1/4 cup milk (for the frosting): Adds that perfect fluffy texture to your frosting.
- Optional Additions: Consider adding lemon zest for a zingy twist or different fruit jellies for variety.
- Special Garnishes: Fresh berries or edible flowers can make your presentation pop.
Step-by-Step Instructions
Now that we’ve gathered our ingredients, let’s jump right into making these delightful cakes!
- Preheat your oven to 350°F (175°C). Greasing and flouring your cake pans comes next. Don’t skip this step; it’s essential to ensure they slide out seamlessly!
- In a large bowl, cream together the softened butter and sugar until it’s light and fluffy. This is where the magic begins—don’t rush this step; it’s crucial for a light cake.
- Add the eggs one at a time, mixing well after each addition. Stir in the vanilla extract; you’ll love the aroma!
- In another bowl, whisk together the flour, baking powder, and salt.
- Gradually add the dry ingredients to the wet mixture, alternating with the milk. Start and end with the flour. Mixing just until combined is key—overmixing can lead to dense cakes.
- Divide the batter evenly between the prepared pans. Bake for about 25-30 minutes or until a toothpick comes out clean. If your cakes are browning too quickly, cover them loosely with aluminum foil.
- Let the cakes cool in the pans for about 10 minutes before transferring them to a wire rack to cool completely.
- While they’re cooling, let’s whip up that frosting! In a bowl, combine the powdered sugar and 1/4 cup of milk. Adjust the consistency to your liking—add more milk if it’s too thick.
- Once the cakes are completely cool, level them if needed. Put a layer on your serving plate and spread a generous amount of jelly on top—this is where the fun begins!
- Place the second layer on top, and frost the top and sides of the cake. Feel free to get creative with your decoration. Top it off with fresh berries or an elegant sprinkle of edible flowers.
Recipe Variations
The beauty of Old-Fashioned Pink Jelly Cakes is that they’re so versatile. Consider swapping the jelly for lemon curd or a flavored ganache for a different flavor profile. Or, for a festive twist, add a sprinkle of colored sugar on top for birthdays or celebrations. If you’re feeling adventurous, why not layer in some fresh fruit between the cake layers for an added texture and flavor experience?
Serving & Storage Tips
These cakes are best served the same day you make them. However, if you need to store them, keep them in an airtight container at room temperature for up to three days. You can also refrigerate them if you live in a warm climate, but let them come to room temperature before serving for the best flavor. And if you’re lucky enough to have leftovers—if, let’s be honest, who thinks that will happen?—which I doubt they will, a quick blast in the microwave for about 10 seconds will bring back that lovely, warm cake experience.
Helpful Tips
1. Make sure all your ingredients are at room temperature before you begin. Cold ingredients can lead to a lumpy batter.
2. Remember, when mixing, a few lumps are perfectly fine; overmixing is where you can go wrong.
3. If you accidentally add too much baking powder, no worries—just balance it out by adding a pinch more flour. We all make mistakes!
4. Don’t rush cooling your cakes. If they’re warm, the frosting will melt right off, and you’ll end up with a puddle of sweet cream.
Special Equipment
- Two 9-inch round cake pans: Absolutely necessary for even baking! A light coating of non-stick spray will help.
- Mixing bowls: A couple of medium-sized bowls will keep your ingredients organized and make the mixing process smoother.
- Electric mixer: Saves you time and energy, especially when creaming the butter and sugar. Trust me, your arms will thank you!
- Offset spatula: For frosting your cakes to perfection—this little tool works wonders for achieving smooth layers.
Frequently Asked Questions
Can I use a different flavor of jelly?
Absolutely! Feel free to get creative. Raspberry and strawberry are classics, but grape or apricot can also add a unique twist.
What if I don’t have cake pans?
No cake pans? No problem! You can bake this cake in a 9×13 inch pan instead, just adjust the baking time as needed.
Can I freeze these cakes?
Yes, you can freeze both the unfrosted layers and frosted cakes. Wrap them tightly in plastic wrap and aluminum foil first. When you’re ready to enjoy, let them thaw in the fridge overnight.
Why is my cake dense?
This could happen if you overmix the batter or pack the flour too tightly. Always spoon flour into your measuring cup and gently level it off.
Can I make this recipe gluten-free?
Of course! Use a gluten-free all-purpose flour blend, and you’re good to go. Just make sure it contains xanthan gum for structure.
Conclusion
As we wrap up this journey of baking Old-Fashioned Pink Jelly Cakes, I hope you feel a little inspired to get into the kitchen and create some joyful memories of your own. Whether you bake them for a family gathering, a cozy tea party, or simply to satisfy a sweet craving, these cakes will surely bring smiles to everyone’s faces. I adore these little delights for their simplicity, their pretty pink charm, and the lovely taste that feels like home. And now that you have the recipe, I can’t wait to hear your tales of triumph in the kitchen! Share your version, your favorite twist, or any kitchen mishaps in the comments below. Happy baking, my friends!
Print
Delicious Old-Fashioned Pink Jelly Cakes Recipe You’ll Love
- Total Time: 50 minutes
- Yield: 12 servings 1x
Description
Treat yourself to classic Pink Jelly Cakes. This delightful recipe combines nostalgia and flavor, perfect for any occasion. Easy to make and share!
Ingredients
Instructions
Notes
Delightful old-fashioned pink jelly cakes that evoke memories of family baking and cozy gatherings.
- Prep Time: 20 minutes
- Cook Time: 30 minutes
- Category: Dessert
- Cuisine: American
Nutrition
- Serving Size: 12 servings
- Calories: 250
- Sugar: 22g
- Fat: 10g
- Carbohydrates: 38g
- Fiber: 1g
- Protein: 3g


