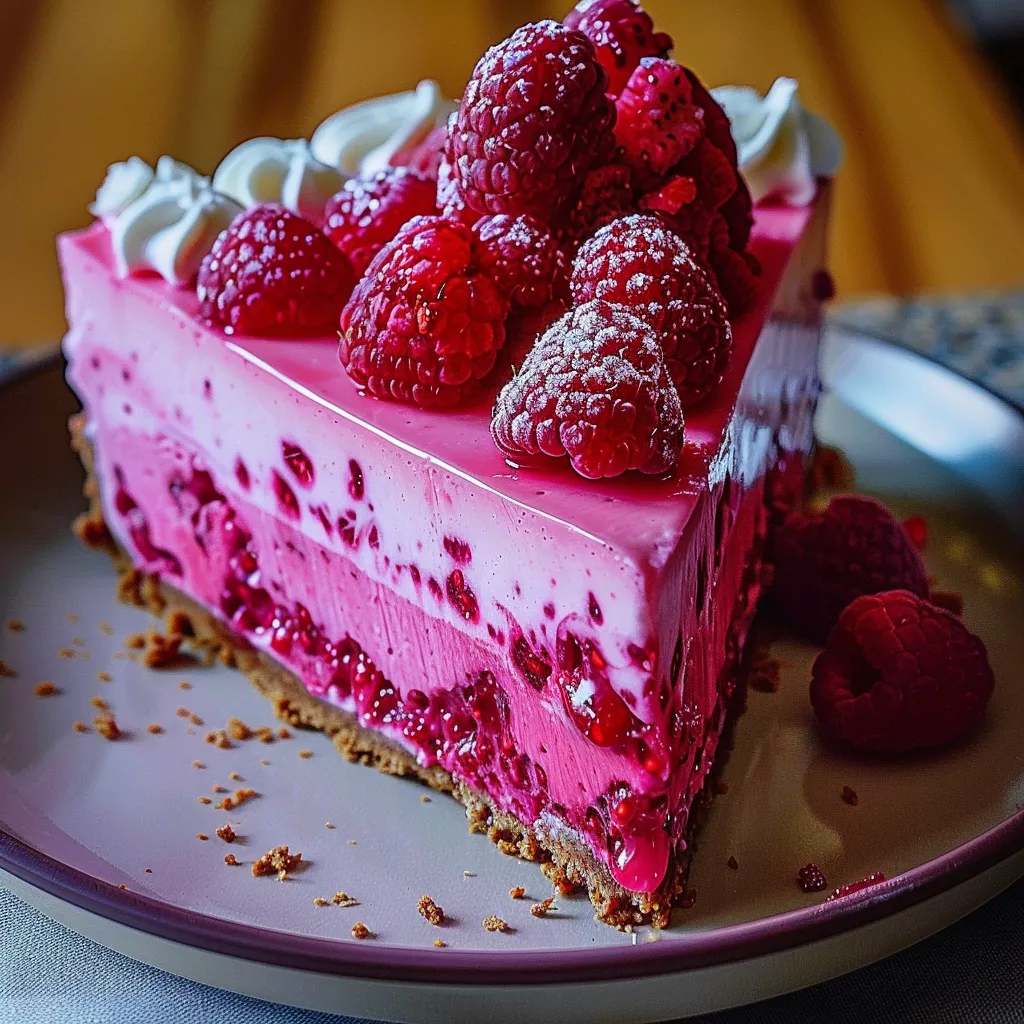
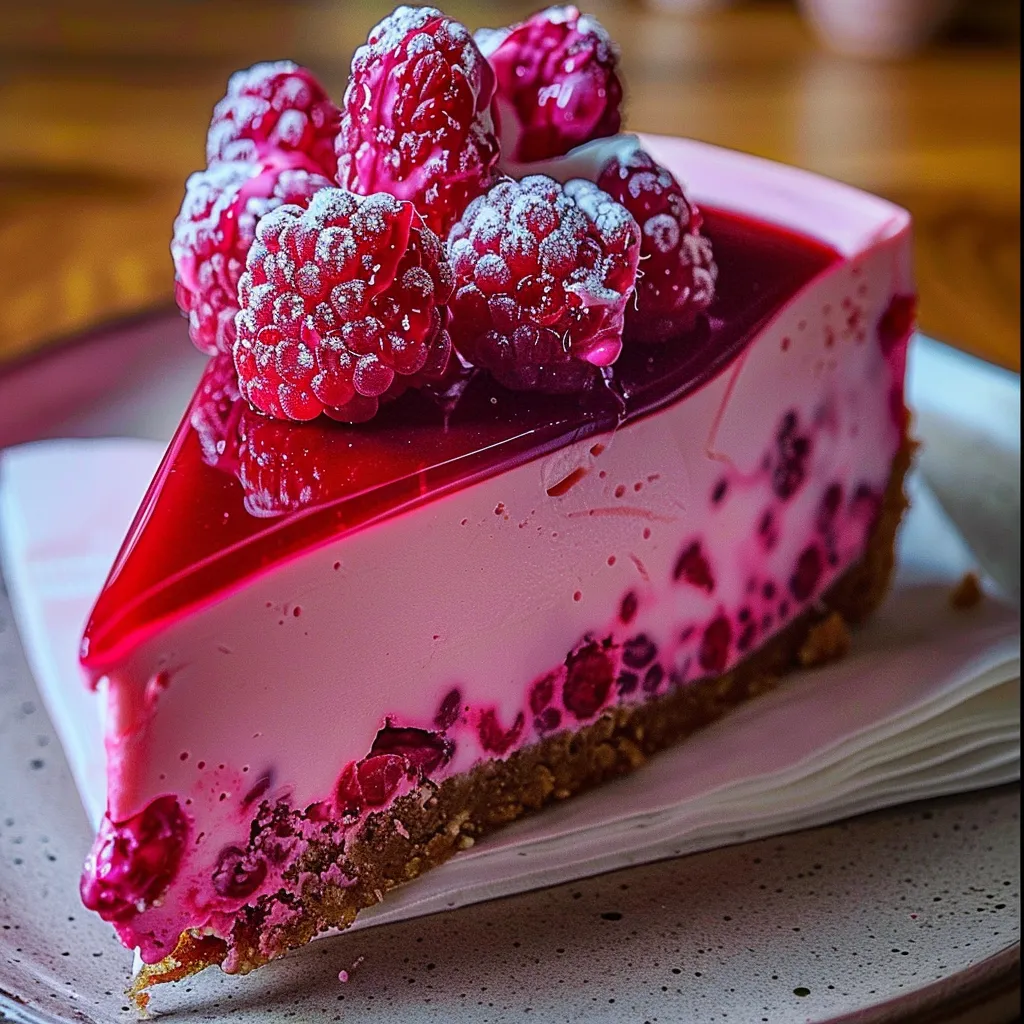
Looking for a delightful dessert that’s as beautiful as it is delicious? This Pink Velvet Raspberry Cheesecake is perfect for any occasion, whether it’s a cozy evening at home or a festive gathering. Picture this: a luscious cream cheese filling nestled on a velvety pink crust, adorned with fresh raspberries, offering a flavor explosion that will have your guests coming back for seconds.
The inspiration behind this recipe comes from the traditional red velvet cake but with a twist aimed at those with a sweet tooth who also appreciate a touch of fruity freshness. The moment I whipped this up for a family celebration, I knew it was an instant classic, combining rich textures with vibrant flavors that make every bite special. With easy preparation and vibrant colors, this cheesecake is not just a dessert; it’s a centerpiece that draws everyone together.
Why You’ll Love This Recipe
This Pink Velvet Raspberry Cheesecake is sure to become a new favorite for several reasons. First and foremost, it’s visually stunning – the radiant pink hues combined with the rich creaminess create a feast for the eyes. The unique blend of flavors, from the sweet raspberries to the slightly tangy cream cheese, will dance on your palate, making every bite enjoyable.
Additionally, this dessert is versatile. It’s suitable for various occasions, be it a birthday party, a holiday feast, or a romantic dinner for two. And don’t worry if you’re not a pro baker; this cheesecake is user-friendly, making it accessible for cooks of all skill levels!
What Does the Recipe Taste Like
The Pink Velvet Raspberry Cheesecake offers a delightful fusion of rich and tangy flavors. The cream cheese filling provides a smooth, creamy texture that melts in your mouth, perfectly complemented by the tartness of fresh raspberries. The crust, made from buttery graham crackers, lends a crunchy contrast to the velvety filling. Each bite is a balanced combination of sweetness and tartness, making it incredibly satisfying yet light enough that you keep wanting more.
Ingredients You’ll Need
- For the Crust:
- 1 ½ cups graham cracker crumbs – These provide a crunchy base that complements the creamy cheesecake.
- ½ cup unsalted butter, melted – Acts as a binder, making the crust rich and flavorful.
- ¼ cup granulated sugar – Adds sweetness to balance the tartness of the filling.
- For the Filling:
- 3 (8 oz) packages of cream cheese, softened – The heart of the cheesecake, offering a rich, creamy texture.
- 1 cup granulated sugar – Sweetens the cheesecake to perfection.
- 1 cup sour cream – Adds a touch of tanginess, enhancing the flavor profile.
- 3 large eggs – Provide structure and stability.
- 1 teaspoon vanilla extract – Adds a warm, rich flavor.
- 2-3 tablespoons of raspberry puree (fresh or frozen) – Infuses the cheesecake with a vibrant raspberry flavor and color.
- Pink food coloring (optional) – For an extra pop of pink, enhancing the visual appeal.
- For Garnish:
- Fresh raspberries – Adds color and a burst of freshness.
- Whipped cream – Lightens up the dessert with a creamy finish.
- Mint leaves (optional) – For an aromatic touch and a pop of green.
Step-by-Step Instructions
Now that you have all the ingredients ready, let’s get cooking!
- Prepare the Crust: Preheat your oven to 350°F (175°C). In a medium bowl, combine the graham cracker crumbs, melted butter, and sugar until the mixture resembles wet sand. Press the mixture into the bottom of a 9-inch springform pan. Bake for about 10 minutes, then remove and let it cool.
- Make the Filling: In a large mixing bowl, beat the softened cream cheese with an electric mixer until smooth. Gradually add in the sugar, mixing until combined. Add the sour cream, followed by the eggs one at a time, mixing after each addition. Don’t forget to scrape down the sides of the bowl.
- Add Flavor: Stir in the vanilla extract, raspberry puree, and food coloring (if using) until the mixture is fully combined and has a lovely pink hue.
- Combine and Pour: Pour the cream cheese filling over the cooled crust, using a spatula to spread it evenly.
- Baking: Reduce the oven temperature to 325°F (160°C) and bake the cheesecake for about 60-70 minutes, or until the center is set but still slightly jiggly. Turn off the oven, crack the door open, and let the cheesecake cool in the oven for about an hour.
- Chill: Once cooled, cover the cheesecake and refrigerate it for at least 4 hours or overnight to set.
- Serve: Before serving, top with fresh raspberries and whipped cream for the finishing touch. Garnish with mint leaves if desired.
Recipe Variations
Feel free to mix things up! Here are a few variations you can try:
- Chocolate Raspberry Cheesecake: Add ½ cup of cocoa powder to the filling for a rich chocolate flavor.
- No-Bake Version: Substitute gelatin or whipped cream for the eggs to create a no-bake cheesecake that still holds its structure.
- Fruit Swirls: Add additional pureed fruits like strawberries or blueberries for a more colorful, vibrant look.
Serving and Storage Tips
This gorgeous cheesecake serves best chilled. Slice it into wedges and serve it right from the fridge. It’s a perfect dessert for gatherings, providing a refreshing finish to any meal.
As for storage, keep any leftovers covered in the refrigerator for up to 5 days. You can also freeze the cheesecake for longer storage; it will last for up to a month. Just make sure to wrap it tightly in plastic wrap and aluminum foil to preserve its delicious flavor!
Helpful Tips
To ensure the best results, here are a few helpful tips:
- Make sure your cream cheese is at room temperature for easy mixing and a smoother texture.
- Always let your cheesecake cool in the oven with the door slightly ajar to prevent it from cracking.
- Use a hot knife to slice your cheesecake for clean, smooth pieces.
Special Equipment
For this cheesecake, you will need a few special items:
- Springform Pan: Essential for cheesecakes, as it allows easy removal without damaging the sides.
- Electric Mixer: A hand mixer or stand mixer will facilitate the mixing process, ensuring a creamy filling.
- Offset Spatula: This is great for spreading the filling evenly and for decorating the final product.
Frequently Asked Questions
Can I use frozen raspberries?
Yes, frozen raspberries work well! Just ensure they’re thawed and drained before pureeing them for the filling.
How can I make this cheesecake gluten-free?
Simply substitute the graham cracker crumbs with gluten-free alternatives, like almond flour or store-bought gluten-free cookie crumbs.
How long should the cheesecake chill before serving?
For best results, let the cheesecake chill in the refrigerator for at least 4 hours, although overnight is ideal for maximum firming and flavor.
Can I make this cheesecake dairy-free?
Yes! You can use dairy-free cream cheese and swap traditional sour cream for coconut cream or a dairy-free alternative.
Conclusion
This Pink Velvet Raspberry Cheesecake stands out as a unique dessert that’s sure to impress your friends and family. With its stunning appearance and deliciously balanced flavors, it’s not just a dish but an experience, perfect for creating memorable moments with loved ones. I encourage you to give this recipe a try and share your experiences or any variations you come up with in the comments below!
So, roll up your sleeves, gather your ingredients, and embark on this delightful culinary journey. You won’t regret it as you whip up this sensational cheesecake that promises smiles all around!
Print
Indulge in Pink Velvet Raspberry Cheesecake Decadent Delight
- Total Time: 4 hours 30 minutes
- Yield: 12 servings 1x
Description
Savor the decadent delight of Pink Velvet Raspberry Cheesecake Experience rich flavors in every bite Your next dessert obsession awaits
Ingredients
Instructions
- Prep Time: 20 minutes
- hours: 4
- Cook Time: 1 hour 10 minutes
- Category: Dessert
- Method: Bake
- Cuisine: American
Nutrition
- Serving Size: 1 slice
- Calories: 300 calories
- Sugar: 15g
- Fat: 20g
- Saturated Fat: 20g
- Carbohydrates: 28g
- Fiber: 1g
- Protein: 5g


