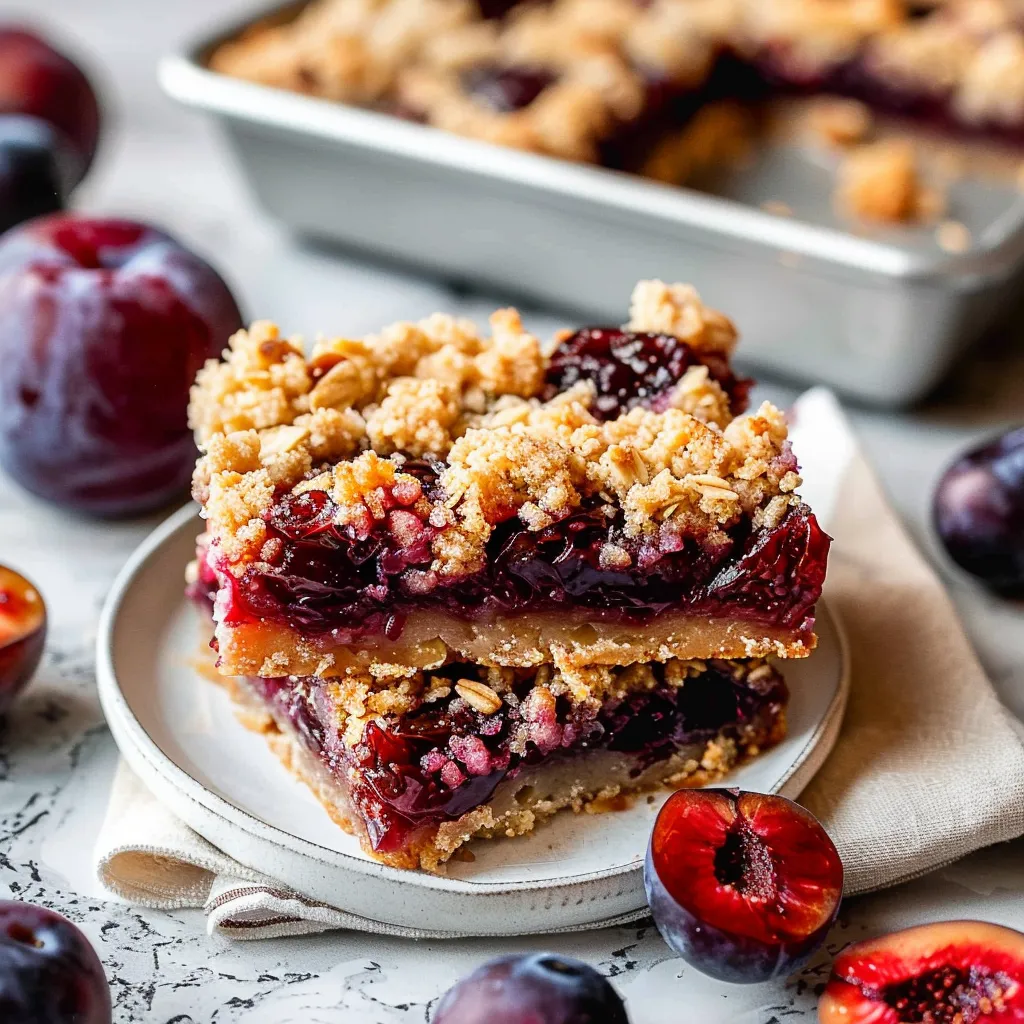
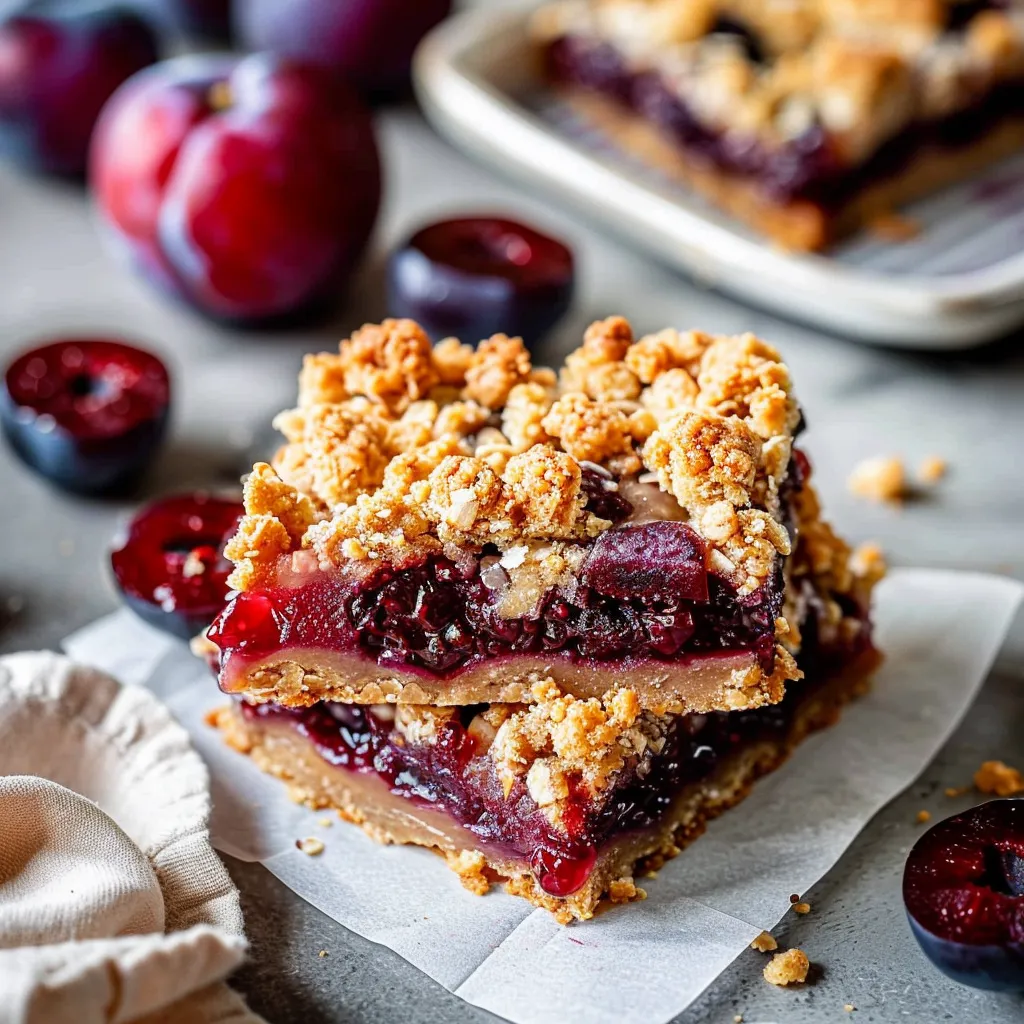
There’s something truly magical about a lazy afternoon spent in the kitchen, arms coated in flour and a gentle soundtrack of birdsong playing outside. One of my cherished memories springs to life every time I whip up these delightful Plum Crumble Bars. I remember the first time I made them; the sun was shining, and the aroma of freshly baked fruit filled the house, creating a warmth that not only welcomes you but wraps around you like a cozy blanket. These bars came together effortlessly and quickly became a family favorite, perfect for gatherings or a soothing treat on a quiet evening alone. The tartness of plums combined with the buttery crumble is simply too good to resist, offering a burst of flavor that dances in your mouth with each bite. Grab your apron; let’s get baking!
Why You’ll Love This Recipe
If you’re searching for a quick dessert that brings the charm of homemade goodness without spending your entire day in the kitchen, these Plum Crumble Bars are your answer. Imagine biting into a warm bar, the sweet and tangy plum filling oozing just a bit, and the crumble topping providing that perfect crunch—the ultimate sensorial experience. This recipe guarantees smiles, sparking joy at dinner tables and potlucks alike, and let’s not forget, it’s incredibly forgiving! You really can’t mess these up, which means more time for you to enjoy your creations and maybe sneak a few bites along the way.
What It Tastes Like
Picture this: the first bite transports you to late summer picnics, where plums are juicy and ripe, dripping down your fingers. The crumble is buttery, with a hint of vanilla that mingles with the sweet, luscious filling underneath. Each layer has its own texture; the soft, tender fruit contrasts beautifully with the crisp topping, creating a delightful bite. It’s like a warm hug from your favorite person, comforting and satisfying, making it the perfect dessert to chase away a long day. It’s not just a treat; it’s a lovely moment of indulgence!
Ingredients You’ll Need
Here’s what you’ll need to create these marvelous bars—simple ingredients that pack a flavor punch:
- 2 cups all-purpose flour: Provides the base for our crumbly bars, keeping them structurally sound yet tender.
- 1 cup rolled oats: Added for texture and heartiness, these oats bring a delightful chew to the crumble.
- 1 cup brown sugar: Adds sweetness and deep caramel notes, giving the bars that glorious rich flavor.
- 1/2 teaspoon salt: A pinch of salt enhances all the flavors while balancing out the sweetness.
- 1 cup unsalted butter, melted: This binds everything together and gives the crumble its desirable richness.
- 3 cups fresh plums, pitted and sliced: This is the star of the show! Sweet and slightly tart, these juicy plums create the perfect filling.
- 1 tablespoon lemon juice: Brightens up the plum flavor, adding a refreshing zing that cuts through the sweetness.
- 1 tablespoon cornstarch: Helps thicken the fruit mixture, so it doesn’t make the crust soggy.
Optional Additions:
- Chopped nuts (like walnuts or pecans) for added crunch in the crumb topping.
- A sprinkle of cinnamon or nutmeg in the crumble for a warm spice note that dances with the fruit.
- A splash of vanilla extract in the fruit filling for extra flavor depth.
Special Garnishes:
- Powdered sugar dusting gives a lovely, festive finish.
- A dollop of whipped cream or a scoop of vanilla ice cream makes it extra indulgent!
Step-by-Step Instructions
Ready to bake? Let me guide you through this delicious journey:
- Preheat your oven: Set it to 350°F (175°C) and grease a 9×13-inch baking dish. This step ensures the bars won’t stick and will make your life a whole lot easier later on!
- Make the crumble: In a large bowl, mix the flour, oats, brown sugar, and salt together. Slowly pour in the melted butter and combine. Use your hands or a fork to create a crumbly texture—you want some bits larger than others, so don’t get too carried away beating it.
- Set aside: Reserve about 1 cup of the crumble mixture for topping later, and then spread the remaining mixture evenly in the bottom of your prepared baking dish. Press it down gently to form a solid base.
- Prepare the plums: In a separate bowl, combine the sliced plums, lemon juice, and cornstarch. Stir until the plums are well coated but gentle—no one wants mushy slices! Let this sit for a few minutes to allow the flavors to mingle.
- Layer it up: Spread the plum mixture evenly over the crumble base. Then sprinkle the reserved crumble evenly on top of the plums. This might feel like a labor of love, and trust me, it’s worth every sprinkle!
- Bake: Pop it into the oven and bake for 30-35 minutes or until the top is golden brown and the edges are bubbling. The smell wafting through your home at this point will be almost unbearable!
- Cool: Once baked, let the bars cool in the pan for about 20 minutes. Then, lift them out (using parchment paper if you lined your dish) and let them cool completely on a wire rack before cutting into squares. This is the hardest part—waiting!
Recipe Variations
Feeling adventurous? Here are some fun ways to switch things up:
- Use different seasonal fruits like peaches or berries—these bars are versatile!
- Try a nutty crumble by adding ground almonds or hazelnuts for a lovely flavor change.
- Turn it into a breakfast treat by adding a splash of maple syrup and serving with yogurt!
Serving & Storage Tips
These bars are delightful right after baking, but they’re just as good the next day (if they last that long!). Store them in an airtight container at room temperature for up to three days. For longer storage, consider refrigerating them; they’ll keep for about a week. If you want to enjoy them weeks later, freeze them sliced in a single layer on a baking sheet, then transfer the frozen bars to an airtight container. Just let them thaw before enjoying or pop them in the microwave for a few seconds for that fresh-out-of-the-oven feel!
Leftovers? Try crumbling them over yogurt or ice cream. Your taste buds will thank you!
Helpful Tips
Here’s where I get real with you—don’t make my mistakes!
- Overmixing the crumble can make it too dense. Gently combine just until it’s crumbly.
- Make sure to slice your plums evenly. This way, they’ll cook uniformly—no one likes mushy bits!
- Don’t skip the cooling time; this helps the bars set properly, making them easier to cut.
Special Equipment
While you don’t need fancy gadgets, a few tools can make your baking life easier:
- 9×13-inch baking dish: Essential for consistent baking and easy transport to potlucks!
- Parchment paper: Lining your dish makes cleanup a breeze and prevents stickiness.
- Cooling rack: Helps cool the bars evenly and prevents sogginess.
FAQ
Can I use frozen plums instead of fresh?
Absolutely! Just ensure they are thawed and drained to avoid excess moisture.
What can I do if I don’t have brown sugar?
You can substitute with granulated sugar but add a tablespoon of molasses for extra flavor, or just use granulated sugar on its own.
Can these bars be made ahead of time?
Yes! They actually taste wonderful the next day, so prep them the night before for gatherings or a treat during the week.
How do I know when they are done baking?
Look for a golden brown top and bubbly edges. If you gently press on the top, it should feel set, not jiggly.
Conclusion
As I wrap this up, I can’t help but smile at the thought of these Plum Crumble Bars stealing the spotlight at my next family gathering. They’re not just dessert; they’re the memories waiting to be made around the table. Whether shared with loved ones or savored during a quiet evening with a good book, they bring joy that lingers long after the last bite. If you do make these bars, please share your experience or a little twist you added in the comments! I can’t wait to hear your stories and flavors!
Print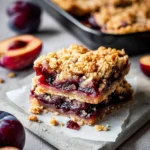
Irresistible Plum Crumble Bars A MustTry Sweet Delight
- Total Time: 50 minutes
- Yield: 12 servings 1x
Description
Savor sweet plum crumble bars a delightful treat These easytomake bars combine juicy plums with a crispy topping for a delicious dessert
Ingredients
Instructions
- Prep Time: 15 minutes
- cooling time: 20 minutes
- Cook Time: 35 minutes
- Category: Dessert
- Cuisine: American
Nutrition
- Calories: 250 calories
- Sugar: 14g
- Fat: 12g
- Saturated Fat: 12g
- Carbohydrates: 34g
- Fiber: 2g
- Protein: 3g


