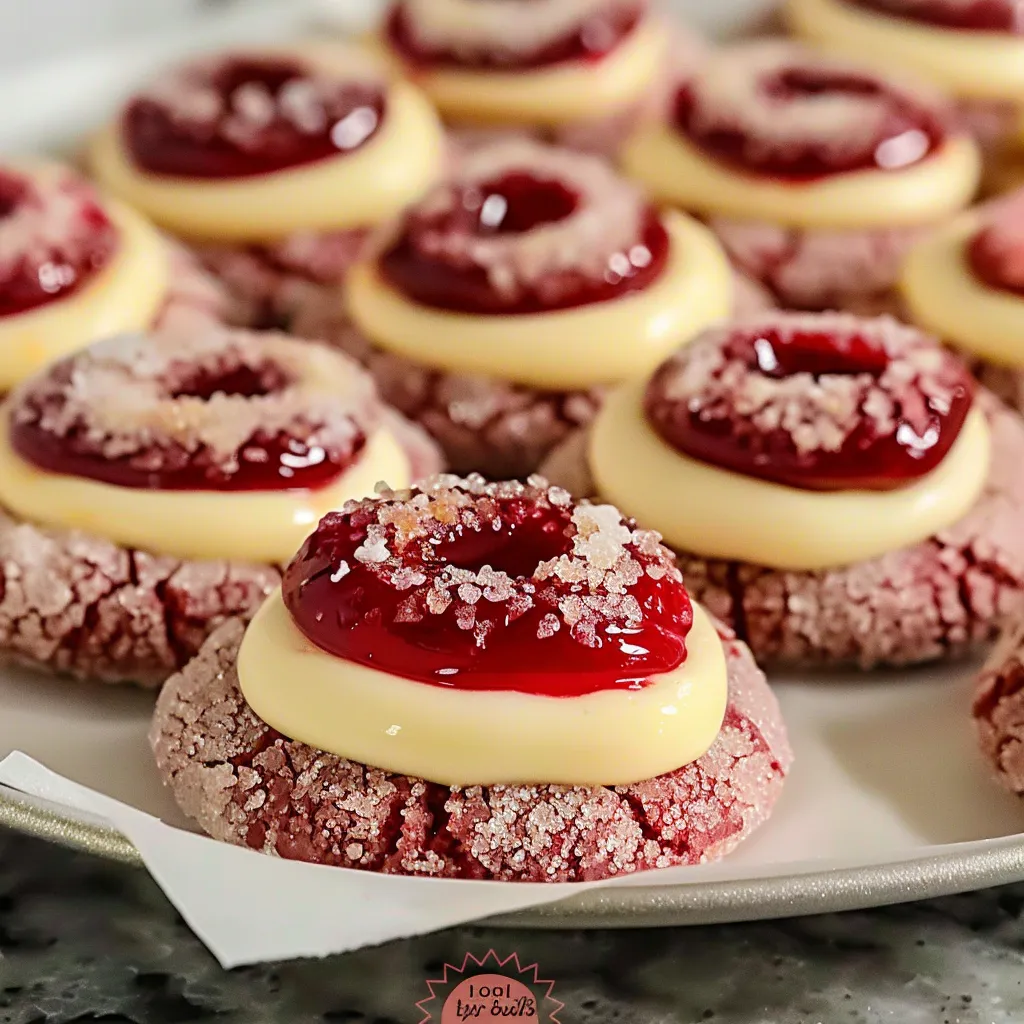
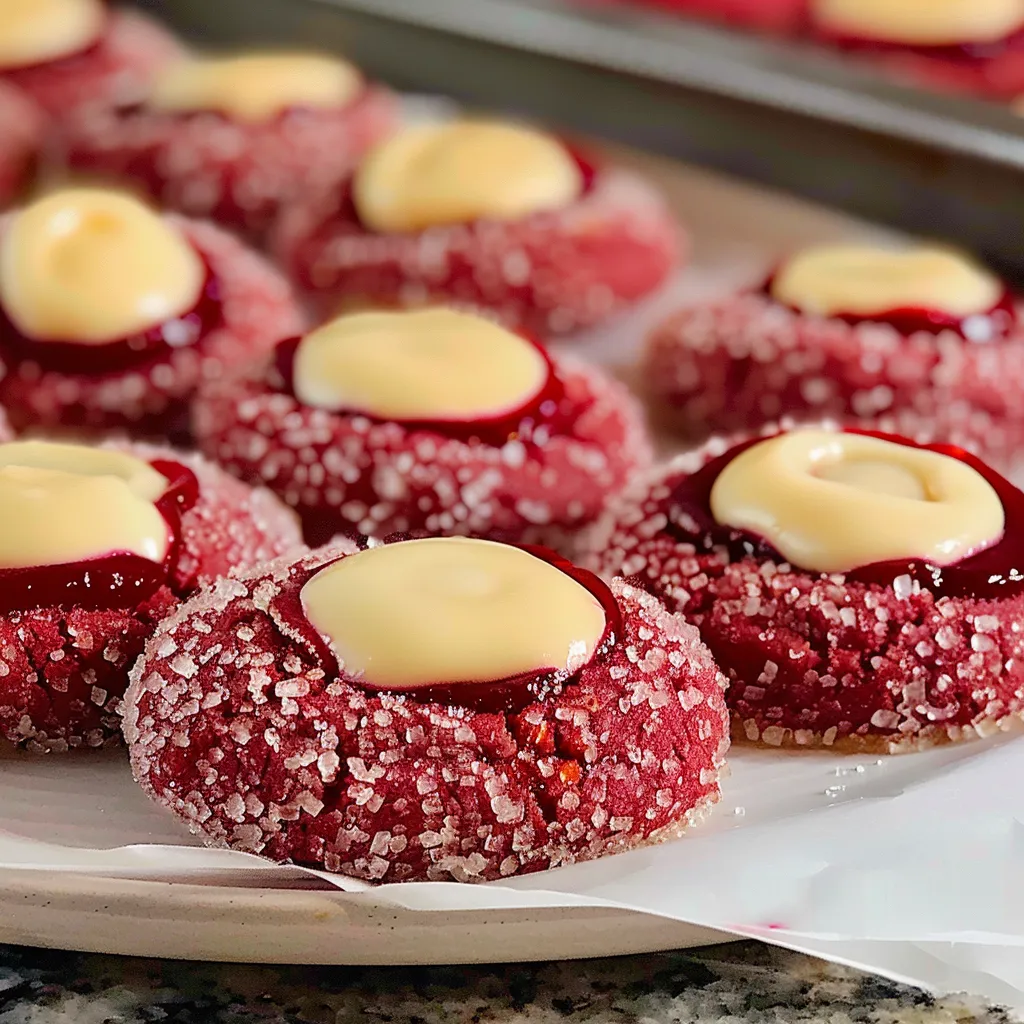
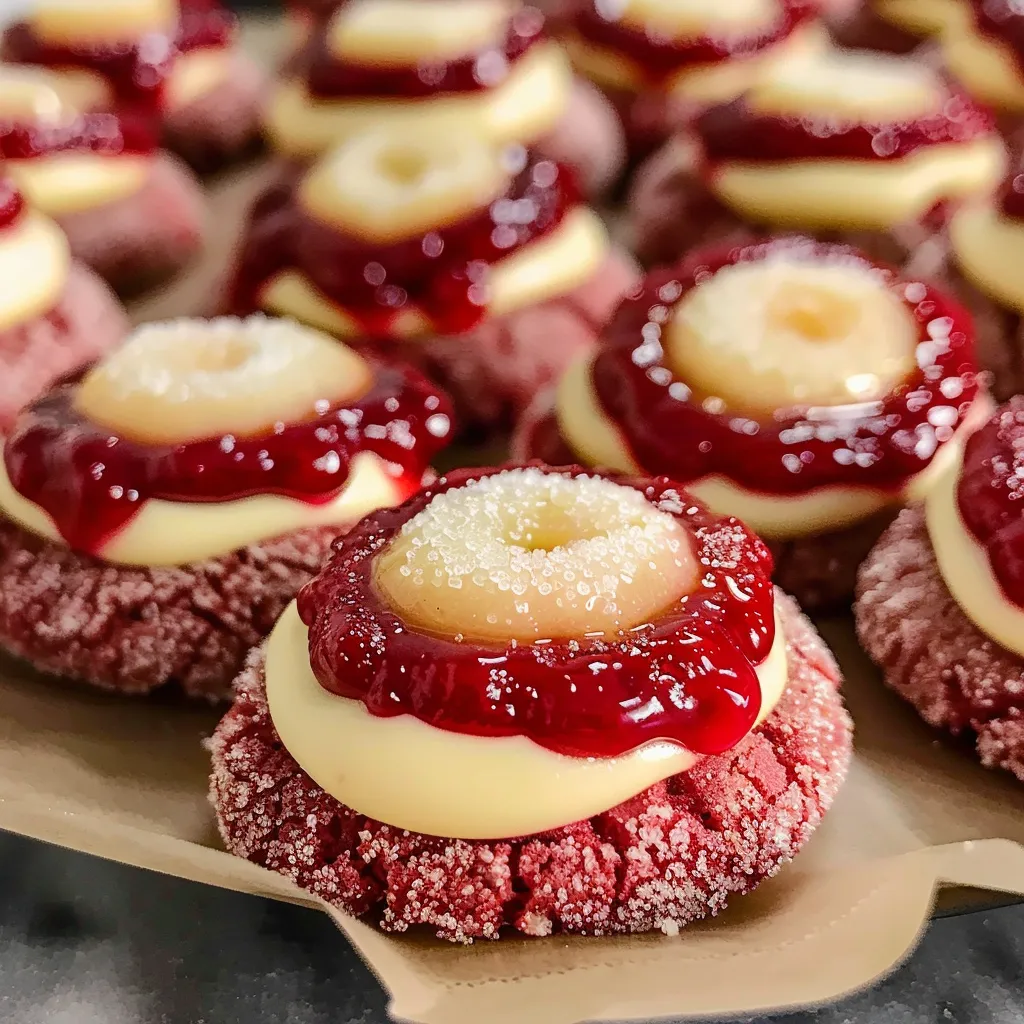
There’s something undeniably warm and inviting about the rich, red hue of these Red Velvet Cream Cheese Thumbprint Cookies. I vividly remember the first time I fell in love with this vibrant dessert; it was a chilly winter evening, and I was attending a family gathering filled with laughter and homey scents wafting from the kitchen. My aunt had brought a huge platter of these stunning cookies, each adorned with a dollop of cream cheese frosting that looked like little pillows of bliss. They disappeared within minutes, and I just knew I had to recreate them myself.
These cookies are the kind of treat that brightens your day, and they’re surprisingly simple to whip up, making them perfect for any occasion. Whether it’s a cozy weekend in, a special celebration, or just a sweet treat to share with friends, they’re bound to put a smile on everyone’s face.
Why You’ll Love This Recipe
Let’s chat about what makes these cookies a must-try. First off, they’re visually stunning. Who wouldn’t want to serve up a plate of these gorgeous red cookies? They’re also a delightful combination of textures: soft and chewy with a velvety cream cheese center that just sings with flavor. Not to mention, they taste like they came straight from a fancy bakery, yet you can whip them up in the comfort of your own home.
Imagine biting into one—warm, with the sweet cream cheese frosting melting into your mouth—suddenly your worries seem to fade away. Plus, if you’re looking for something that allows you to express yourself in the kitchen, these cookies offer plenty of room for creativity. You can mix up the flavor profile or even the toppings. Intrigued? I thought you might be.
What It Tastes Like
Okay, let’s talk flavor. Picture this: a rich, cocoa-infused cookie with a hint of vanilla and an overall sweetness that feels just right. It’s like a classic chocolate chip cookie but on a beautiful red velvet journey. As you sink your teeth into it, the cookie has a soft, cake-like texture that crumbles slightly at the edges but holds together beautifully.
The best part? The cream cheese filling adds a tangy sweetness that perfectly balances the cookie base. It’s like a cozy hug on a chilly day. Honestly, every bite is a little piece of happiness wrapped in red velvet goodness, making it a dessert that lingers joyfully in your memory long after the last crumb is gone.
Ingredients You’ll Need
- 2 ½ cups all-purpose flour: This is the body of your cookies, providing structure and balance.
- 1 cup sugar: Sweetness! It helps bring out the cocoa flavor beautifully.
- 1 cup unsalted butter, softened: Adds creaminess and richness that makes these cookies melt in your mouth.
- 1 large egg: Acts as a binder, holding everything together for that perfect chewy texture.
- 2 tablespoons cocoa powder: This gives you that lovely chocolatey flavor that pairs so well with the cream cheese.
- 1 teaspoon vanilla extract: Because life is better with a hint of vanilla!
- 1 teaspoon baking powder: Ensures your cookies rise just the right amount.
- 1 teaspoon salt: A pinch of salt is essential in baking—it really enhances the flavors.
- 1 tablespoon red food coloring: The star of the show, giving these cookies that iconic red hue.
- ½ cup cream cheese, softened: Adds an irresistible creaminess that’s simply heavenly.
- 1 cup powdered sugar: For sweetness in your frosting with a smooth finish.
- Optional Additions: You could add a dash of almond extract for a unique twist, or some chocolate chips if you’re feeling extra decadent.
- Special Garnishes: Drizzle some melted white chocolate over the top, or sprinkle crushed nuts for added texture.
Step-by-Step Instructions
Let’s dive into the baking! These cookies are simpler than they appear, and I promise you’ll master them in no time. Here’s how:
- Preheat your oven to 350°F (175°C). Give it a few moments to warm up because we want those cookies to bake evenly.
- In a large bowl, cream together the softened butter and sugar until it’s light and fluffy. Don’t rush this step—it’s where the magic happens! It usually takes about 3-5 minutes of mixing.
- Add in the egg, vanilla extract, and red food coloring. Mix until everything is well combined. You should see a beautiful red batter forming!
- In another bowl, whisk together the flour, cocoa powder, baking powder, and salt. Gradually add this dry mixture to the wet ingredients, stirring gently until just combined. Overmixing can lead to tough cookies, and nobody wants that.
- Chill the dough in the refrigerator for about 30 minutes. This isn’t completely necessary, but it makes it easier to handle and helps the flavors meld.
- Once chilled, scoop out tablespoon-sized amounts of dough and roll them into balls. Place them on a baking sheet lined with parchment paper. Use your thumb to make an indentation in each ball, creating a little well for the cream cheese filling.
- In a medium bowl, mix the softened cream cheese and powdered sugar until smooth. You can add a splash of vanilla extract here if you want to kick up the flavor.
- Fill each thumbprint with a small dollop of the cream cheese mixture—don’t overfill; you want just enough to show up beautifully!
- Bake in your preheated oven for about 12-15 minutes or until the edges are slightly firm but still soft in the center. Your kitchen will smell amazing right about now!
- Let the cookies cool on the baking sheet for 5 minutes before transferring them to a wire rack to cool completely.
Recipe Variations
This recipe is flexible, friends! You can swap the cream cheese filling for a chocolate ganache if you’re in the mood for a chocolate explosion. Or, how about a mint-flavored cream filling for a refreshing twist? If you want to switch up the colors, you could even add some food-safe glitter or color sprinkles to the cream filling for a fun, festive look. The possibilities are endless!
Serving & Storage Tips
Once your cookies are baked and cooled, they’re ready to shine on any dessert table. I recommend serving them fresh out of the oven if possible—who can resist that warm, gooey filling? But if you’re making them ahead of time, these cookies can be stored in an airtight container for up to a week at room temperature. Just make sure to place wax paper between layers to keep them from sticking together!
If you happen to have leftovers (which I highly doubt!), you can pop them in the fridge for a slightly different experience. Just let them sit at room temperature for a bit before enjoying so the cream cheese can soften again. Trust me; it’s worth it!
Helpful Tips
As with all recipes, there are always a few tricks to keep in mind. Here’s what I’ve learned the hard way:
- Don’t skip the chilling step: It not only helps with handling the dough but also improves the cookie texture.
- Be careful when baking: Every oven is different. Start checking for doneness a minute or two early to avoid overbaking.
- For a messy-free thumbprint: If your thumb tends to stick, lightly flour it first for easy indentation making.
Special Equipment
- Baking sheet: A must! Use one lined with parchment paper for easy brownie points when it comes to clean-up.
- Mixing bowls: Having a variety of sizes makes mixing different ingredients so much smoother. Plus, I recommend using a larger bowl for the initial dough to give everything enough room to mix.
- Cookie scoop: This handy tool makes it easy to get uniform cookie sizes—important for even baking!
- Wire rack: Essential for cooling your cookies properly, preventing that dreaded sogginess.
FAQ
Can I use gluten-free flour in this recipe?
Absolutely! You can swap in a 1:1 gluten-free flour blend, and your cookies should still turn out beautifully.
What can I use instead of cream cheese?
If you’re looking for a dairy-free option, you could use a vegan cream cheese substitute or even a nut butter like almond or peanut for a different flavor profile. Just remember to adjust the sweetness!
How can I make these cookies more festive?
So glad you asked! Add some holiday-themed sprinkles on top or change up the filling to match the season’s flavors (think pumpkin spice or peppermint).
How do I know when my cookies are done baking?
Your cookies should be set around the edges but still soft in the middle. If you press gently, they should spring back but not feel raw.
Conclusion
There you have it, friends! My sincere love letter to Red Velvet Cream Cheese Thumbprint Cookies. These little bites of joy not only capture the essence of festive cheer but also invite warm conversations and shared moments. Whether you whip them up for a get-together or just a treat for yourself on a lazy Sunday afternoon, I hope they find a special place in your home and your heart.
I’d love to hear your thoughts or experiences with this recipe! Do you have your own twists, or perhaps a memory attached to cookies that makes you smile? Feel free to share in the comments below; let’s swap stories and create a delicious community together!
Print
Irresistible Red Velvet Cream Cheese Thumbprint Cookies Recipe
- Total Time: 45 minutes
- Yield: 24 cookies 1x
Description
Delight in these red velvet thumbprint cookies filled with cream cheese for a deliciously soft treat perfect for any occasion
Ingredients
Instructions
- Prep Time: 30 minutes
- minutes: 30
- Cook Time: 15 minutes
- Category: Dessert
- Cuisine: American
Nutrition
- Calories: 150 calories
- Sugar: 10 grams
- Fat: 8 grams
- Saturated Fat: 8 grams
- Carbohydrates: 20 grams
- Fiber: 0 grams
- Protein: 2 grams


