Picture this: it’s a chilly winter afternoon, the kind where the sunlight peeks through frosty windowpanes, casting soft shadows on the walls. The smell of baked goods fills the air, wrapping around you like a warm hug. These are the moments that inspired my love for baking, and what better recipe to celebrate than these delightful Red Velvet Snowball Cookies with a luscious white chocolate filling? Easy to whip up, these cookies are perfect for cozy gatherings, holiday parties, or simply treating yourself on a lazy Sunday. Trust me, they’re a little piece of joy that tastes like a hug in cookie form!
Why You’ll Love This Recipe
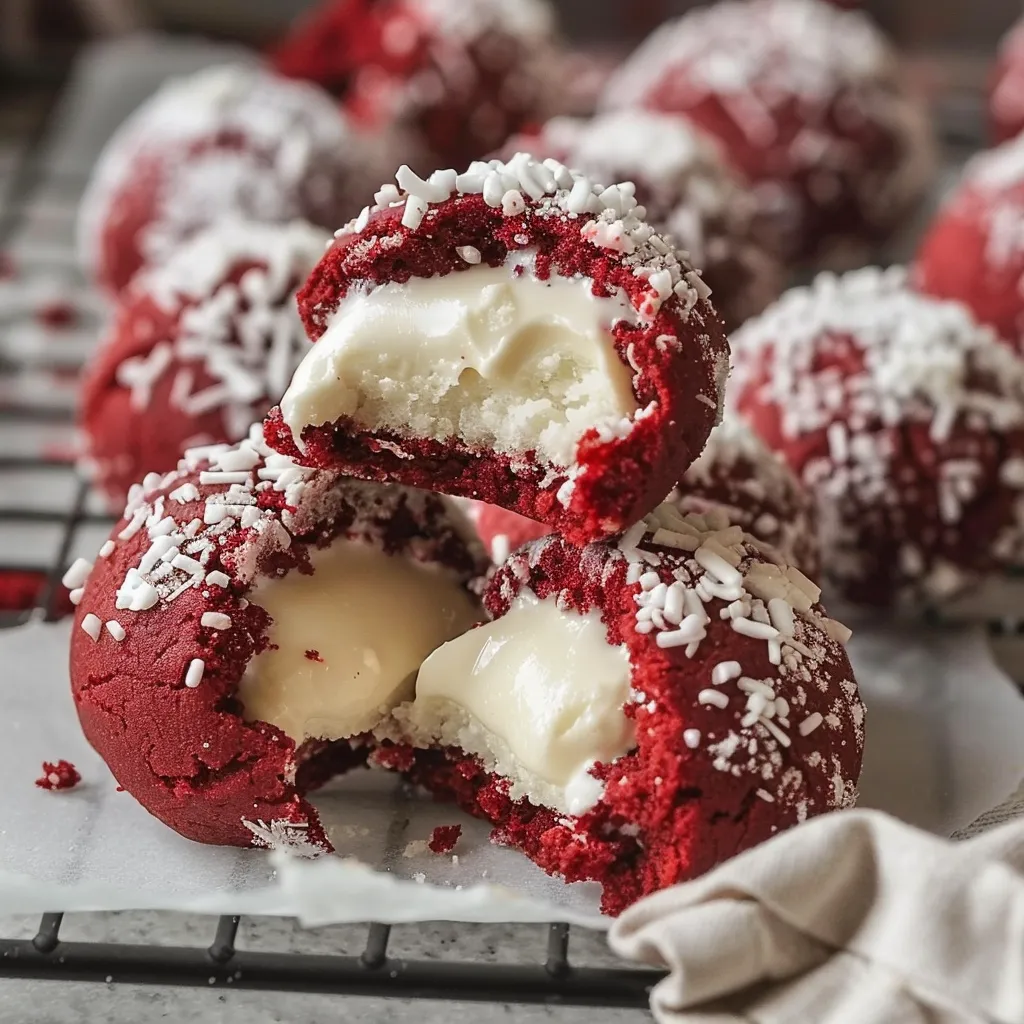
There’s a certain magic in the air when you pull these cookies out of the oven. With their vibrant color and soft, snowy exterior, they’re not just a treat for your taste buds but also a feast for your eyes. These cookies are a delightful combination of rich, buttery, and chocolatey goodness, wrapped in the essence of red velvet. Plus, they save you time on busy nights, and they taste like you’ve just come from a high-end bakery — only you made them right in your own kitchen! And honestly, who doesn’t love a good cookie filled with white chocolate? It’s like finding the treasure inside a surprise-filled pinata, and the kids (and adults, let’s be real) love it!
What It Tastes Like
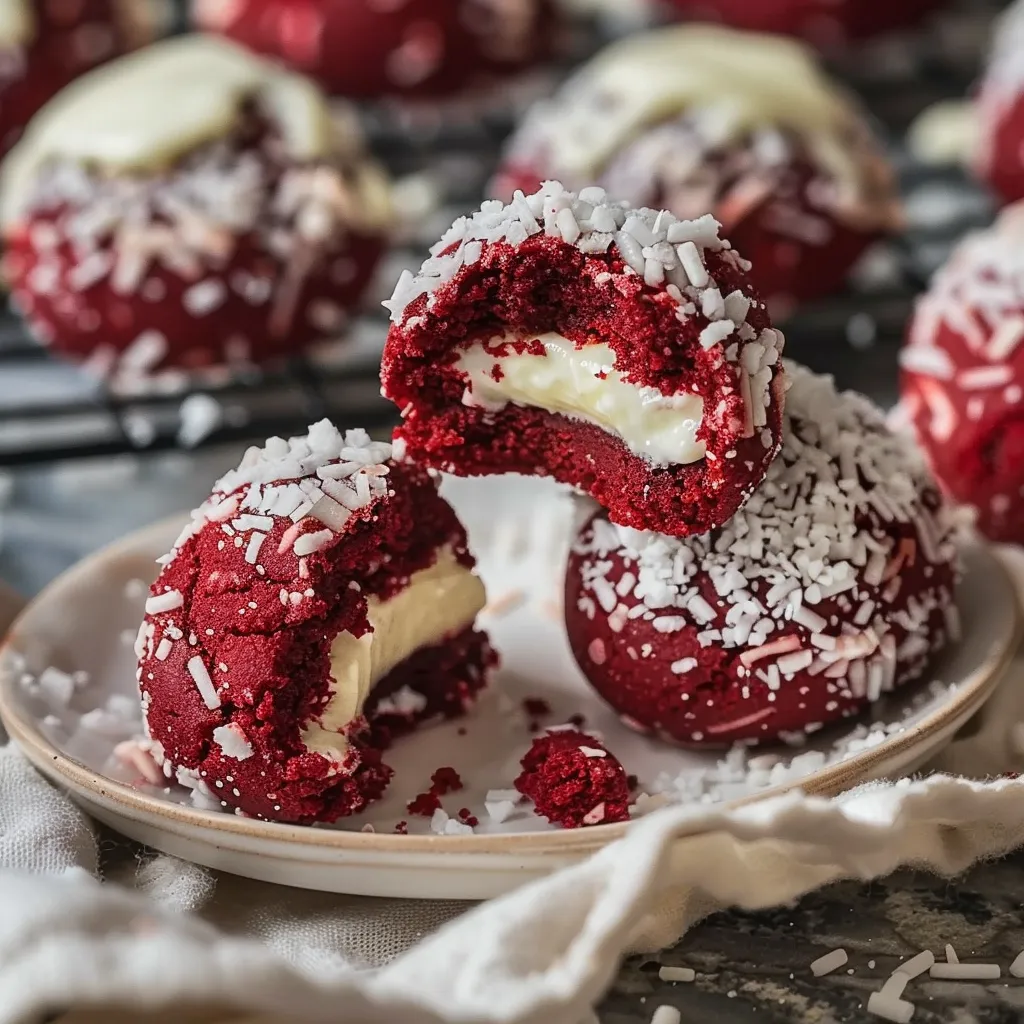
Imagine biting into one of these cookies. The first sensation is the soft, tender texture that melts in your mouth, contrasting beautifully with the creamy white chocolate hiding inside. A delightful blend of cocoa and vanilla dances on your palate, perfectly balanced with just the right amount of sweetness. It may remind you of valentine seasons, or maybe it’ll take you back to those dreamy holiday gatherings where desserts twinkled like stars on a beautiful night. These cookies are not just a treat; they are a moment of happiness you can hold in your hand.
Ingredients You’ll Need
- 2 1/2 cups all-purpose flour: The base of our cookies, providing structure and tenderness.
- 1 cup unsweetened cocoa powder: Gives a rich, chocolate flavor that is essential for that deep red velvet taste.
- 1/2 teaspoon baking soda: Helps the cookies rise and ensures they’ll be soft and fluffy.
- 1/2 teaspoon salt: Enhances all the flavors and balances the sweetness.
- 1 cup unsalted butter, softened: Adds creaminess and richness to our cookies.
- 1 cup granulated sugar: Sweetness is key, and it helps create that melt-in-your-mouth texture.
- 1/2 cup packed brown sugar: Lends moisture and a hint of caramel flavor.
- 1 large egg: Binds the ingredients together and contributes to the cookie’s richness.
- 1 tablespoon red food coloring: This is where the magic happens — that iconic red velvet color!
- 1 teaspoon vanilla extract: Adds warmth and enhances the flavors.
- 1 cup white chocolate chips: The sweet treasure hidden inside each cookie!
Optional Additions
- Chopped nuts: For a bit of crunch, add some pecans or walnuts.
- Orange zest: A hint of citrus can brighten up the flavors.
- Mini marshmallows: Give a fun twist to your cookies, creating a surprising gooey center!
Special Garnishes
- Powdered sugar: A dusting on top makes them look snowy and festive.
- Drizzled chocolate: A little chocolate drizzle takes them over the top.
Step-by-Step Instructions
- Preheat your oven to 350°F (175°C). This makes sure your cookies bake evenly, so don’t skip this important step!
- Mix together your dry ingredients: In a medium bowl, whisk together the flour, cocoa powder, baking soda, and salt. Set this aside while we tackle the wet ingredients.
- Beat the butter and sugars: In a large mixing bowl, cream together the softened butter, granulated sugar, and brown sugar until it’s light and fluffy. This is where the magic begins; the softer your butter, the airier your cookies will be!
- Add the egg, food coloring, and vanilla: Mix this until well combined. Don’t be afraid of that food coloring! Go ahead, let it make everything red and festive!
- Combine dry and wet ingredients: Slowly add in your dry mixture to the wet, mixing until just combined. We don’t want to overmix here; we need to keep those cookies soft and tender!
- Fold in the white chocolate chips: These are the surprise that everyone will love. Gently mix them into your cookie dough.
- Form the cookies: Using a small ice cream scoop or tablespoon, scoop out the dough and roll it into balls. Place them on a baking sheet lined with parchment paper.
- Bake them: Pop your baking sheet in the oven and bake for 10–12 minutes. You’ll know they’re done when the edges look set but the center is still soft — trust me, these cookies will continue to bake even after you take them out!
- Let them cool: Allow the cookies to cool on the baking sheet for a few minutes before transferring them to a wire rack. This is crucial; it’s where they set up nicely!

Recipe Variations
If you’re looking to mix things up a bit, try substituting some of the cocoa powder for dark chocolate cocoa for a deeper flavor. Or, for a bit of zest, add a dash of cinnamon or even a hint of peppermint extract if you’re feeling adventurous. These cookies can also be made without the white chocolate filling for a simpler version, but why would you want to miss out on that sweet surprise?
Serving & Storage Tips
These Red Velvet Snowball Cookies are best served fresh, but if you have any leftovers (which, let’s be honest, is unlikely), you can store them in an airtight container at room temperature for up to a week. If you want them to last longer, freeze them! Just make sure you separate the layers with parchment paper, so they don’t stick together. When you’re ready to enjoy them, just thaw at room temperature or pop them in the microwave for about 10 seconds to warm them up a little, bringing back their soft, gooey center.
Leftover dough? No problem! You can chill it in the fridge for a day or two and bake them off when the mood strikes!
Helpful Tips
One common mistake is not letting your dough chill before baking. This can lead to cookies spreading too much. A little chilling goes a long way in creating a perfectly shaped cookie! Another tip: be cautious not to overbake these beauties; they should still look slightly underbaked in the center when you pull them out. The residual heat will finish the cooking for you.
Special Equipment
While you can make do with basic kitchen tools, having a good set of mixing bowls makes things so much easier! I also recommend a heavy-duty baking sheet — it ensures even heat distribution, preventing burnt bottoms. A cookie scoop is fantastic for getting evenly sized cookies, ensuring uniform baking. Lastly, oh how I love my silicone baking mats! They make clean-up a breeze and keep the cookies from sticking.
FAQ
Can I use another color instead of red food coloring?
Absolutely! You can get creative with colors. A bright blue or green could make these cookies a fun addition for a themed party. Just remember that the flavor will remain unchanged, so don’t worry about the color mimicking the taste!
Can I use dark chocolate instead of white chocolate?
Of course! Dark chocolate would give them a more bittersweet flavor, creating a nice contrast with the red velvet base. It’s a wonderful twist if you’re a dark chocolate lover.
How do I know when my cookies are done baking?
When they are set around the edges and still soft in the middle, they’re good to go! They’ll firm up as they cool, but you want to pull them out before they look too baked.
Can I make these gluten-free?
You can substitute the all-purpose flour with a gluten-free flour blend. Just make sure it includes xanthan gum, which helps mimic the texture of regular flour.
What’s the best way to frost these cookies?
If you want to frost them for an extra touch, a simple cream cheese frosting would pair beautifully with the red velvet flavor. Just whip together some cream cheese, butter, powdered sugar, and vanilla — delicious!
Conclusion
These Red Velvet Snowball Cookies with White Chocolate Filling are not just cookies; they’re a heartwarming treat packed with love and joy. Whether you’re crafting them for a festive occasion, a cozy night in, or just because you deserve something sweet, they’re sure to bring a smile to everyone’s face. So grab your apron, pour yourself a warm cup of coffee, and let’s get baking! I’d love to hear all about your cookie adventures or any personal twists you might try, so don’t forget to share in the comments below. Happy baking!
Print
Irresistible Red Velvet Snowball Cookies w White Choc Filling
- Total Time: 32 minutes
- Yield: 24 Cookies 1x
Description
Indulge in decadent Red Velvet Snowball Cookies featuring a creamy white choc filling A delightful treat for any occasion Perfect for sharing
Ingredients
Instructions
- Prep Time: 20 minutes
- Cook Time: 12 minutes
- Category: Dessert
- Method: Bake
- Cuisine: American
Nutrition
- Calories: 150 calories
- Sugar: 10 grams
- Fat: 8 grams
- Carbohydrates: 20 grams
- Fiber: 1 gram
- Protein: 2 grams


