As the winds of March start sweeping in, they bring with them the promise of spring and, of course, St. Patrick’s Day. There’s something so magical about this time of year—the blossoms begin to peek out, and festive gatherings seem to sprout from every corner. One of my favorite traditions is the moment when I whip up my irresistible Green Velvet Cake. This isn’t just any cake; it’s a treat that transforms the ordinary into the extraordinary and fills your home with the sweet scent of happiness. I remember making this for my friends one St. Patrick’s Day, and seeing their faces light up as they took that first, delicious bite. Let me tell you, it’s a cake that has become a staple for every Irish celebration in our house, and trust me, it will quickly find a cherished place in yours, too.
Why You’ll Love This Recipe
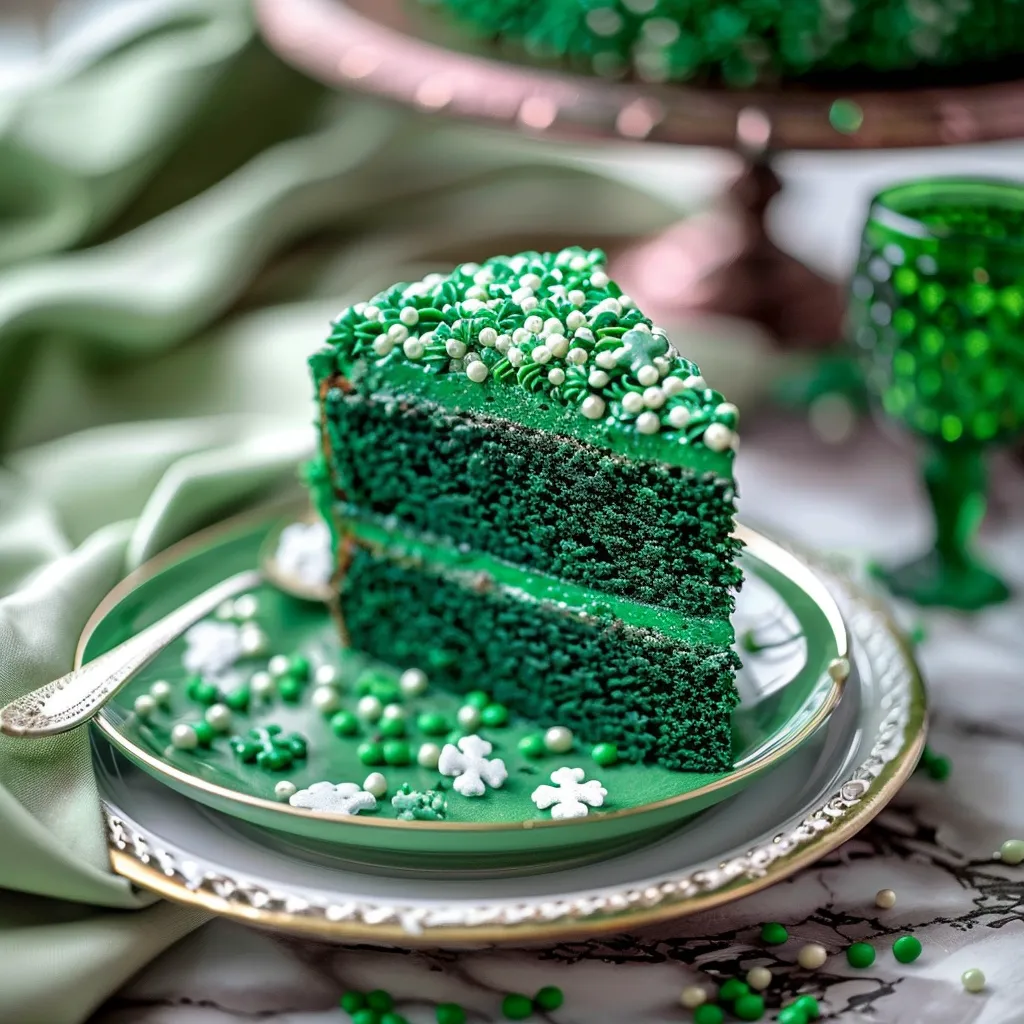
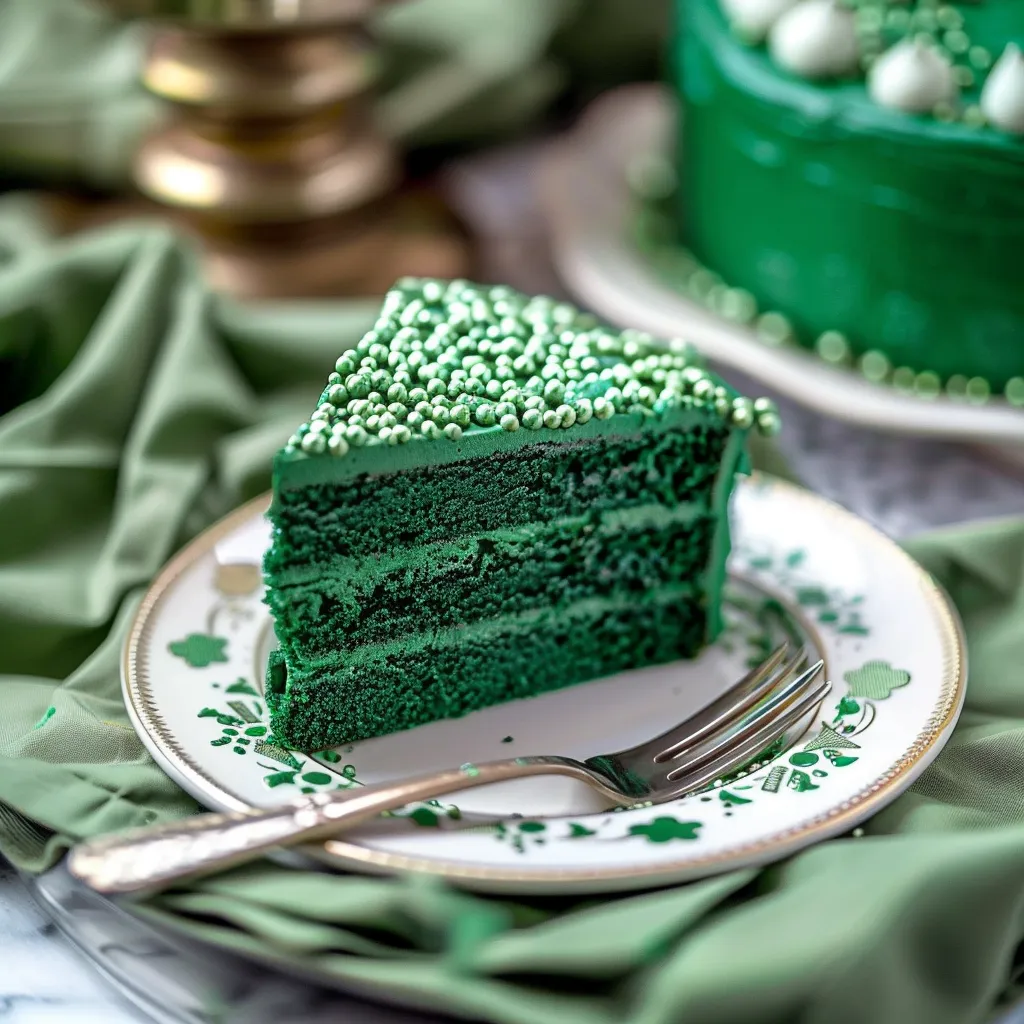
Okay, let’s get down to it—why should you try making this Green Velvet Cake? First off, it’s a total showstopper! Picture this: a luscious green cake layered with creamy frosting that’s just waiting to be devoured. It’s the kind of dessert that brings everyone together, sparking laughter and joy. Plus, this recipe is impressively simple—perfect for both seasoned bakers and kitchen newbies alike. You’ll feel like a rock star in your own kitchen! And those compliments you’ll get? Pure gold!
What It Tastes Like
So, what does this scrumptious cake actually taste like? Imagine a rich, velvety chocolate cake, but with a unique twist that makes it feel fluffy and light. It has this delightful whisper of sweetness, balanced perfectly by the creamy frosting that coats each layer, almost like a soft cloud. As you take a bite, it melts in your mouth, leaving you yearning for just one more slice. It’s like that first warm hug from a dear friend after a long day. This cake encapsulates both comfort and festivity, making it perfect for any occasion.
Ingredients You’ll Need
- 2 ½ cups all-purpose flour: The backbone of our cake, creating that fluffy texture.
- 1 ½ cups granulated sugar: This adds that lovely sweetness that makes your taste buds dance.
- 1 teaspoon baking soda: The essential leavening agent to help our cake rise perfectly.
- 1 teaspoon baking powder: Another booster for that fluffy, tender crumb.
- 1 teaspoon salt: To enhance all the flavors coming together.
- 1 cup unsweetened cocoa powder: This brings that rich depth of chocolate flavor we crave.
- 1 ½ cups vegetable oil: For moisture and to keep the cake deliciously soft.
- 1 cup buttermilk, room temperature: This adds a nice tang and tenderizes the cake.
- 3 large eggs: They bind everything together beautifully.
- 2 teaspoons vanilla extract: A touch of warmth and depth in flavor.
- 1 tablespoon distilled white vinegar: A secret ingredient that reacts with the baking soda for a perfect rise.
- Green food coloring: The star of the show! Add this until you reach your desired shade of green.
Optional Additions:
- Chocolate chips: For little pockets of extra chocolatey goodness.
- Mint extract: If you want to twist the flavor profile for a refreshing surprise!
- Vegan dairy alternatives: Substitute buttermilk with almond or soy milk to suit your dietary needs.
Special Garnishes:
- Whipped cream: A light, fluffy topping for added richness.
- Green sprinkles: To sprinkle some festive cheer on top!
- Shamrock cookies: Cute little decorations to complete your St. Paddy’s theme.

Step-by-Step Instructions
Now that you’re all set with your ingredients, let’s bring this cake to life!
- Preheat your oven: Begin by preheating your oven to 350°F (175°C). This step is crucial so the cake rises just right.
- Prep your pans: Grease and flour two 9-inch round cake pans. Trust me—this makes it easier to come out, and nobody wants a cake disaster.
- Mix dry ingredients: In a mixing bowl, whisk together the flour, sugar, cocoa powder, baking soda, baking powder, and salt. This is where the magic starts; it’s all about the blend!
- Combine wet ingredients: In another large bowl, mix together the oil, buttermilk, eggs, vanilla extract, and vinegar. The color might be a bit unflattering at this stage, but that’s about to change.
- Combine both mixtures: Gradually add the dry mixture into the wet ingredients. Mix on medium speed for about 2 minutes, or until everything is well combined and beautiful. If the batter seems thick, don’t fret—it’s supposed to be velvety!
- Add the green food coloring: Start with 1 teaspoon, and then use a whisk or spatula to mix it in. Feel free to adjust until it’s the perfect shade of festive green.
- Pour into pans: Evenly divide the batter between the prepared pans, using a spatula to smooth out the tops.
- Bake it up: Bake in the preheated oven for 25-30 minutes or until a toothpick inserted into the center comes out clean. You’ll know it’s done when your kitchen starts smelling divine!
- Cool down: Allow the cakes to cool in the pans for about 10 minutes before transferring to wire racks to cool completely.
- Frost and decorate: Once cool, frost your cakes with your favorite cream cheese icing (or buttercream), stack them high, and don’t forget to add those adorable garnishes!
Recipe Variations
Want to switch it up a bit? Here are some fun variations to consider:
- Red Velvet Twist: Swap out the green for red food coloring for a vibrant twist that still carries that classic velvet vibe.
- Layered Delight: Add layers of different flavored frosting, like mint or raspberry, to surprise your guests!
- Mini Cakes: Make adorable mini versions of the cake for an individual treat that’s perfect for parties!
Serving & Storage Tips
Your Green Velvet Cake is best served fresh, but you can keep it in an airtight container at room temperature for up to three days. If you want to keep it for longer, refrigerate—just remember to let it come to room temperature before serving, as that will bring back its lush texture. Leftovers? Make cake pops with the scraps or transform them into an irresistible trifle with some whipped cream and berries!
Helpful Tips
Now, let’s talk about avoiding some baking pitfalls:
- Don’t skip the room temperature step: Ensure your buttermilk and eggs are at room temperature. This helps everything blend beautifully.
- Cooling is key: Resist the urge to frost while it’s still warm; you’ll end up with a melting mess instead of a masterpiece.
- Scale back on the food coloring: It’s easy to go overboard, but better to add a little at a time—you can always add more!
- Check your oven: Every oven behaves differently. Keep an eye on your cake during baking to get that perfect rise.
Special Equipment
While you can bake without fancy gadgets, here are a few tools that make the process delightful:
- Electric mixer: It ensures everything is uniformly mixed, cutting your effort in half and giving you that light texture.
- Offset spatula: Perfect for frosting and smoothing out that icing without pulling the cake apart.
- Wire rack: They’re a game-changer for cooling. They help circulate air around the cake, ensuring the moisture doesn’t turn to sogginess.
- Baking strips: These wonderful strips help your cakes rise evenly, preventing the dreaded dome shape. Bye-bye, uneven layers!
Frequently Asked Questions
Can I make this cake in advance?
Absolutely! You can bake the cakes a day or two ahead and keep them wrapped tightly in plastic wrap in the fridge. Just frost them on the day you plan to serve!
What if I can’t find buttermilk?
No worries! You can easily make a substitute: mix 1 cup of milk with 1 tablespoon of vinegar or lemon juice and let it sit for about 10 minutes. Voila! Buttermilk!
How can I make this cake gluten-free?
Simply substitute the all-purpose flour with a 1:1 gluten-free baking blend. It usually works just as well, but be sure to check the package instructions to be safe!
What green food coloring should I use?
A good quality liquid or gel food coloring works best. I recommend gel because it gives you a more vibrant color without adding too much liquid to the batter.
Can I freeze leftovers?
You sure can! Wrap the individual slices tightly in plastic wrap and then in foil for up to three months. Just let them defrost in the fridge overnight!
Conclusion
So there you have it—the joy of making a Green Velvet Cake that’s both festive and delectable! With its rich flavor and beautiful presentation, it’s bound to be a hit at any gathering. Whether it’s for St. Patrick’s Day or just because you’re in need of a little cheer, this cake is always a good idea. I can’t wait for you to experience the bliss of sharing this deliciousness with your loved ones. And, if you end up trying this recipe, please share your versions and stories in the comments—I’d love to hear your baking adventures!
Print
Decadent St. Patrick’s Day Green Velvet Cake Recipe to Try
- Total Time: 50 minutes
- Yield: 12 servings 1x
Description
Try this St. Patrick’s Day cake recipe for a rich, vibrant dessert that’s perfect for celebrations. Savor its unique green velvet flavor today!
Ingredients
Instructions
Notes
This Green Velvet Cake brings the magic of St. Patrick’s Day alive with its luscious green color and creamy frosting, perfect for celebrations and gatherings.
- Prep Time: 20 minutes
- Cook Time: 30 minutes
- Category: Dessert
- Cuisine: Irish
Nutrition
- Serving Size: 12 servings
- Calories: 400
- Sugar: 30 grams
- Fat: 20 grams
- Carbohydrates: 55 grams
- Fiber: 2 grams
- Protein: 5 grams


