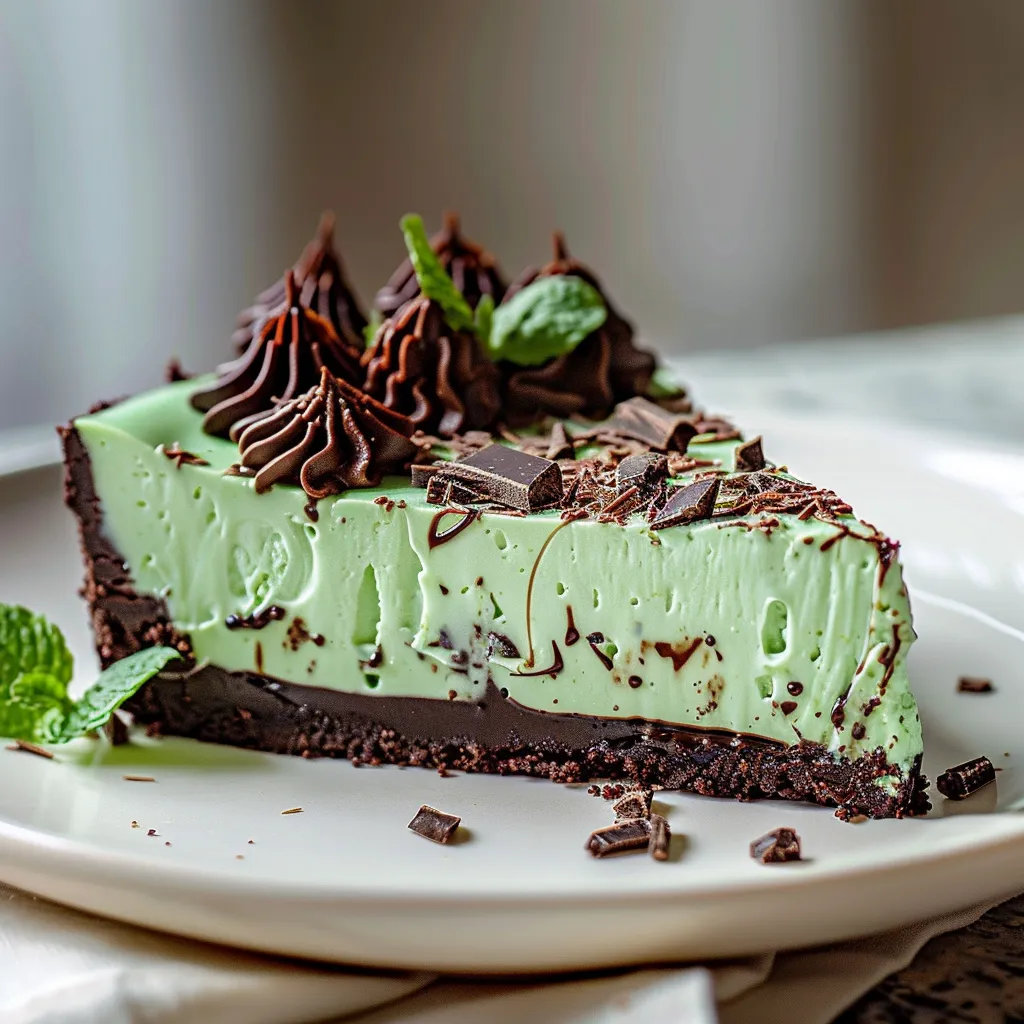
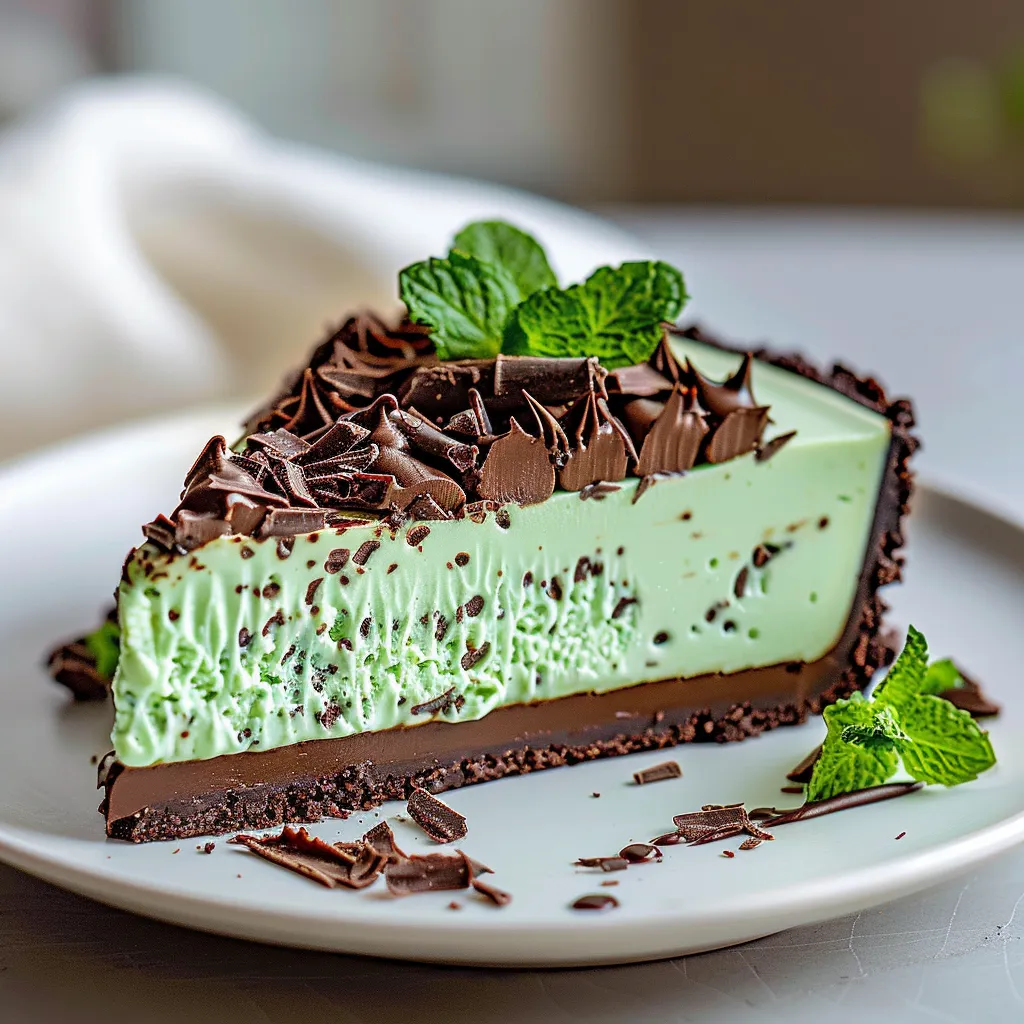
Ah, March! The smell of rain starts to mingle with the budding aroma of spring flowers, and for many, the festive spirit of St. Patrick’s Day fills the air. I remember when I was little, we’d gather around the dinner table, the warmth and laughter wrapping around us like the cozy green blankets my grandmother would knit. She had a special knack for finding joy in every celebration, no matter how big or small. And what better way to celebrate than with a dessert that captures the essence of the holiday? Enter my St. Patrick’s Day Mint Chocolate Cheesecake—a lush, creamy delight that paints the holiday in rich shades of chocolate and mint. Trust me, this cheesecake isn’t just a feast for your taste buds; it’s a little slice of nostalgia.
Why You’ll Love This Recipe
What makes this cheesecake worth trying, you ask? Let me paint a picture for you. Picture it: you’ve had a long day, the rain is gently tapping on your window, and you’re craving something comforting. Now imagine slicing into a piece of this mint chocolate cheesecake, where the smooth, velvety chocolate meets the fresh zing of mint on your palate. It’s like a warm hug on a chilly evening! Plus, it’s surprisingly easy to make. You won’t need a culinary degree; just a few staple ingredients and a bit of love.
What It Tastes Like
Oh, where do I even start? The first bite is like diving into a cloud—think silky-smooth cream cheese blended seamlessly with rich chocolate and a whisper of mint. The crust? A delightful crunch from the chocolate cookies, which adds a lovely contrast to the creaminess above. With each bite, you get a beautiful harmony of flavors, and the mint lifts the chocolate, making it feel light yet satisfying. Honestly, it’s like being transported to a local Irish pub, where every starlit night is celebrated with laughter and good food.
Ingredients You’ll Need
- For the crust:
- 2 cups chocolate cookie crumbs (think Oreos!) — Adds that rich, chocolaty base that pairs perfectly with the filling.
- ½ cup unsalted butter, melted — Helps to bind the crumbs together for that crunchy crust.
- 2 tablespoons sugar — Just a pinch for sweetness!
- For the filling:
- 16 oz cream cheese, softened — This is your creamy base; make sure it’s room temperature for easy mixing.
- 1 cup powdered sugar — Adds sweetness and gives that lovely silky texture.
- ½ cup sour cream — Brings a delightful tanginess to balance the sweetness.
- 1 cup semi-sweet chocolate chips, melted — This is where the magic happens! Rich chocolate flavor, folks.
- 2 teaspoons peppermint extract — This gives that quintessential minty kick.
- 4 large eggs — Helps to set the cheesecake, making it smooth and dense.
Optional Additions:
- For a twist, try adding a bit of green food coloring for a festive touch!
- Mix in some crushed peppermint candies for a crunchy surprise.
Special Garnishes:
- Whipped cream — A dollop of lightness on top.
- Chocolate shavings or sprinkles — Because, why not?
- Fresh mint leaves — These add a lovely pop of color and freshness!

Step-by-Step Instructions
Ready to get that cheesecakey goodness going? Let’s dive in!
- Prepare your crust: Preheat your oven to 350°F (175°C). In a bowl, combine your chocolate cookie crumbs, melted butter, and sugar. Mix until it resembles wet sand. Press this mixture firmly into the bottom of a 9-inch springform pan. Don’t rush this step—it’s where the magic happens!
- Bake the crust: Place your crust in the preheated oven for about 10 minutes. This step firms it up nicely. Let it cool while you make the filling. Oh, the smell already? It’s heavenly!
- Make the filling: In a large bowl, beat the softened cream cheese until creamy and smooth. Gradually add the powdered sugar and sour cream, mixing until well combined.
- Add chocolate: Slowly fold in the melted chocolate—trust me, let it cool slightly before adding! You want that luxurious consistency, not melted cheese!
- Add eggs: Beat in the eggs, one at a time, mixing well after each addition. Don’t over-mix; we’re going for a smooth texture, not an air-filled cheesecake.
- Mint it up: Stir in the peppermint extract. Taste this luscious mixture, and dance a little in your kitchen—I won’t judge!
- Pour and bake: Pour the filling over your cooled crust and spread it evenly. Bake in the oven for about 55-60 minutes. The edges should be set, but the center will have a slight jiggle. And please, don’t peep in too often; the heat needs to stay in!
When you take it out, let it cool at room temperature before refrigerating for at least 4 hours—or overnight if you can wait! This step is so important; it allows the flavors to meld beautifully, like friends catching up over a cup of tea.
Recipe Variations
If you’re feeling adventurous, there are a few lovely twists you can try:
- Chocolate Mint Swirl: Before baking, take some of the filling and mix in green food coloring. Spoon dollops of it on top of the filled cheesecake and swirl using a knife for a fun visual treat.
- Crust alternatives: Try using graham cracker crumbs or even gluten-free cookies for a different flavor or dietary needs.
Serving & Storage Tips
Once your cheesecake has set, you can serve it as is or topped with whipped cream and chocolate shavings for that extra oomph. To keep it fresh, store your leftover cheesecake (if there are leftovers!) in an airtight container in the refrigerator. It’ll last a good week… if you can resist not devouring it all at once! 😉 You can even use leftover cheesecake in smoothies or milkshakes for a fun twist!
Helpful Tips
- Room temperature ingredients: Make sure your cream cheese is at room temperature so that it blends smoothly, avoiding any annoying lumps.
- Don’t open that oven: Resist the urge to peek during baking! Each time you open the door, it disrupts the temperature and can lead to a cracked cheesecake.
Special Equipment
- Springform pan: A must for cheesecakes, as this allows easy release without damaging the sides. Trust me; it makes for a beautiful presentation!
- Stand mixer or hand mixer: Ideal for getting that creamy texture without breaking a sweat! Your arms will thank you.
- Rubber spatula: Perfect for folding in the chocolate and making sure you get every last bit of that delicious batter.
Frequently Asked Questions
Can I make this cheesecake ahead of time?
Absolutely! In fact, it’s better when made a day in advance. Just cover it well and refrigerate.
What’s the best way to slice cheesecake?
Warm your knife in hot water, wipe it off, and then slice! This gives you clean cuts, making your cheesecake look and taste even better.
Can I freeze the cheesecake?
You sure can! Just wrap it tightly in plastic wrap and foil. It can last up to 2 months in the freezer. Just be sure to let it thaw overnight in the fridge before serving.
Can I use a different flavor instead of mint?
Of course! Feel free to switch it up with vanilla or other extracts that tickle your fancy. Lemon works a treat too!
Conclusion
If you’re looking for a dessert that’s not just a treat but a whole experience, this St. Patrick’s Day Mint Chocolate Cheesecake checks all the boxes. It’s perfect for gatherings, cozy dinners with friends, or quiet nights by yourself with a good book. Just slice, serve, and enjoy the smiles on everyone’s faces. And hey, why not share your cheesecake journey in the comments below? I’d love to hear how you brought a taste of Ireland into your home!
Print
Ultimate St Patricks Day Mint Chocolate Cheesecake Recipe
Description
Treat yourself to a delicious St Patricks Day mint choc cheesecake thats sure to impress Perfect for celebrations and easy to make at home


