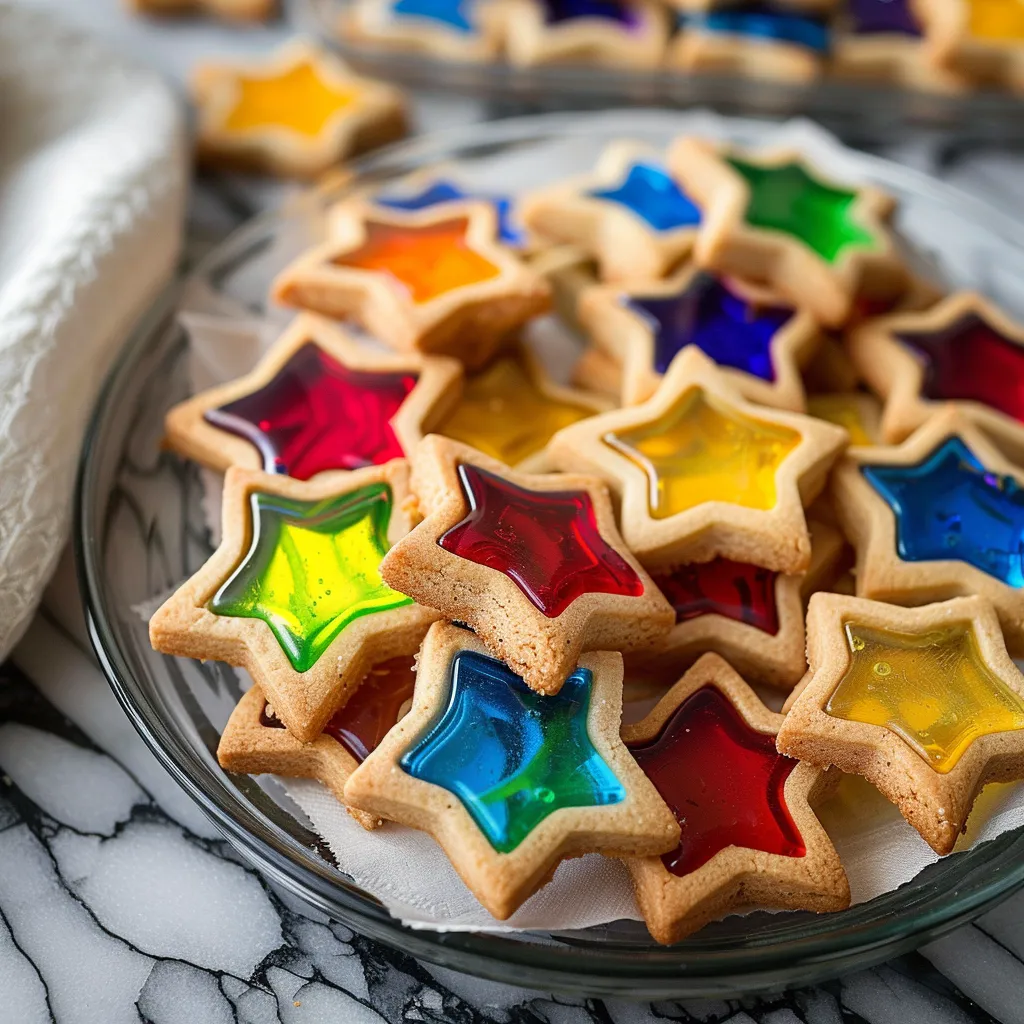
Ah, the magic of the holiday season! It’s that time of year when the air turns crisp, and the scent of freshly baked treats wafts through the house. Stained glass cookies have a special place in my heart, reminding me of cozy afternoons spent in the kitchen with my family, laughter mingling with the clinking of cookie cutters and the soft chatter about holiday cheer. The vibrant colors of these cookies, with their jeweled centerpieces, always seemed to capture the essence of the season—the joy, the light, the warmth.
There’s something truly enchanting about seeing those little gems come to life in the oven. As the dough bakes and the candy melts, they transform into a delightful treat that not only provides a burst of flavor but also sparks joy in anyone who encounters them. What inspired me to share this recipe? It’s simple: I believe that baking should not only be delicious but also fun. Let’s dive into this delightful recipe that your family will cherish and, quite possibly, fight over when they see the colorful spread glistening on the table!
Why You’ll Love This Recipe
Picture this: It’s a bustling holiday morning; children are eagerly waiting as the sweet aroma of cookies fills the air. You slip these stained glass wonders out of the oven, and you can practically hear the gasps of delight. But why should you try this recipe?
- Easy to Make: Even if you’re no master baker, these cookies are remarkably simple. The dough can be prepped in just a few minutes, and while it chills, you can sip your coffee and play your favorite holiday tunes.
- Customizable: You can use any color of hard candy for the center, making each cookie unique—like little edible pieces of art!
- Fun for All: Involve the whole family! Young ones can help with choosing colors and stuffing candy into the dough, ensuring smiles and giggles throughout the kitchen.
- Perfect for Sharing: These cookies are fantastic gifts. Who wouldn’t love receiving a box of beautifully colorful, home-baked stained glass cookies during the festive season?
What It Tastes Like
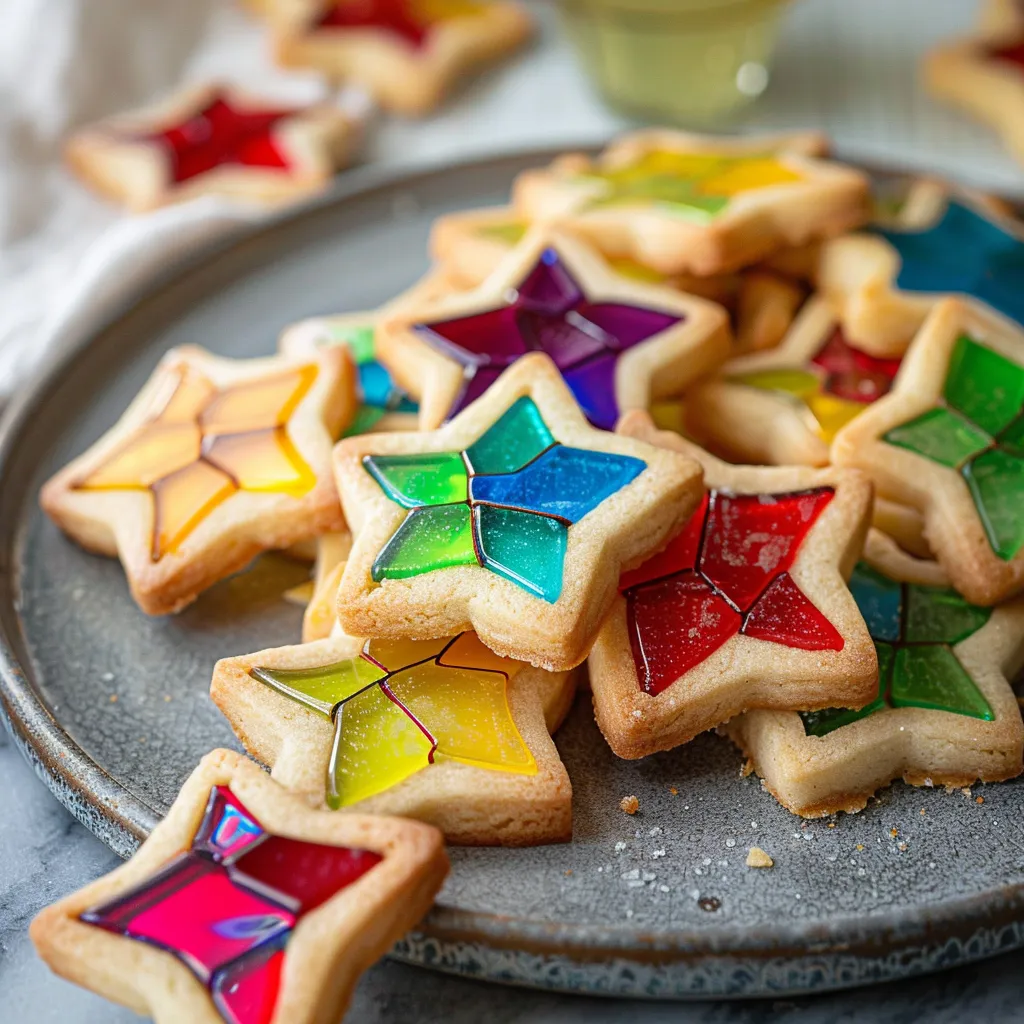
Imagine biting into one of these cookies—first, the gentle crunch of the golden edges, followed by a soft, tender crumb. Then, your taste buds are ignited by the sweetness of the candy center that adds a burst of fruity flavor. It’s like a warm hug after a long day, crisp yet comforting, with just the right amount of sweetness to satisfy those holiday cravings. Think of it as a sugar cookie, but with a fun, colorful twist! The melted candy creates a delightful chewiness that makes these cookies as fun to eat as they are to look at.
Ingredients You’ll Need
- 2 cups all-purpose flour: The base of the cookies, providing structure and that wonderful cookie texture.
- 1 teaspoon baking powder: Helps the cookies rise a little, giving them a nice fluffy bite.
- ½ teaspoon salt: A crucial element that enhances all the flavors.
- ¾ cup unsalted butter, softened: Adds a creamy richness that makes every bite melt in your mouth.
- 1 cup granulated sugar: Provides sweetness and helps achieve that beautiful golden color as they bake.
- 1 large egg: Acts as a binder that helps hold everything together.
- 1 teaspoon vanilla extract: Adds warmth and depth of flavor.
- Hard candy (like Jolly Ranchers or Life Savers), crushed: This is where the magic happens! The colors pop and create that stained-glass effect.
Optional Additions:
- You can add a sprinkle of holiday spices, such as cinnamon or nutmeg, to the dough for a festive twist.
- Try different flavored extracts like almond or lemon for a unique twist!
Special Garnishes:
- Consider a drizzle of chocolate over the cookies for an added layer of flavor.
- A dusting of powdered sugar gives them a snowy appearance, perfect for holiday cheer!
Step-by-Step Instructions
- Prepare Your Dough: In a large bowl, whisk together the flour, baking powder, and salt. In another bowl, beat the softened butter and sugar until light and fluffy—about three minutes. You’ll know it’s right when it’s pale and shoulder-shaking good! Add the egg and vanilla, mixing until just combined. Gradually add the dry mixture until you have a cohesive dough.
- Chill Time: Wrap the dough in plastic wrap and pop it in the fridge for at least 30 minutes. Don’t skip this step; it makes rolling so much easier! Seriously, it’s like letting the dough marinate in its own greatness.
- Preheat the Oven: While your dough chills, preheat your oven to 350°F (175°C). Line two baking sheets with parchment paper because we don’t want any sticking—no one likes a broken cookie!
- Roll and Cut: Once the dough is rolled out to about ¼-inch thickness, use your favorite cookie cutters to create shapes. Do an outer shape (like a star or a heart) and then use a smaller cutter for the center. Those little shapes are going to be filled with candy magic!
- Fill with Candy: Place the cut cookies on the baking sheets. For the center, fill each cut-out with crushed hard candy, being generous but not excessive—too much candy can lead to sticky situations (literally)!
- Bake Time: Pop those beauties into the oven for about 10–12 minutes until the edges are slightly golden, and the candy has melted into a gooey delight. Keep an eye on them—it’s like a magic show in your oven!
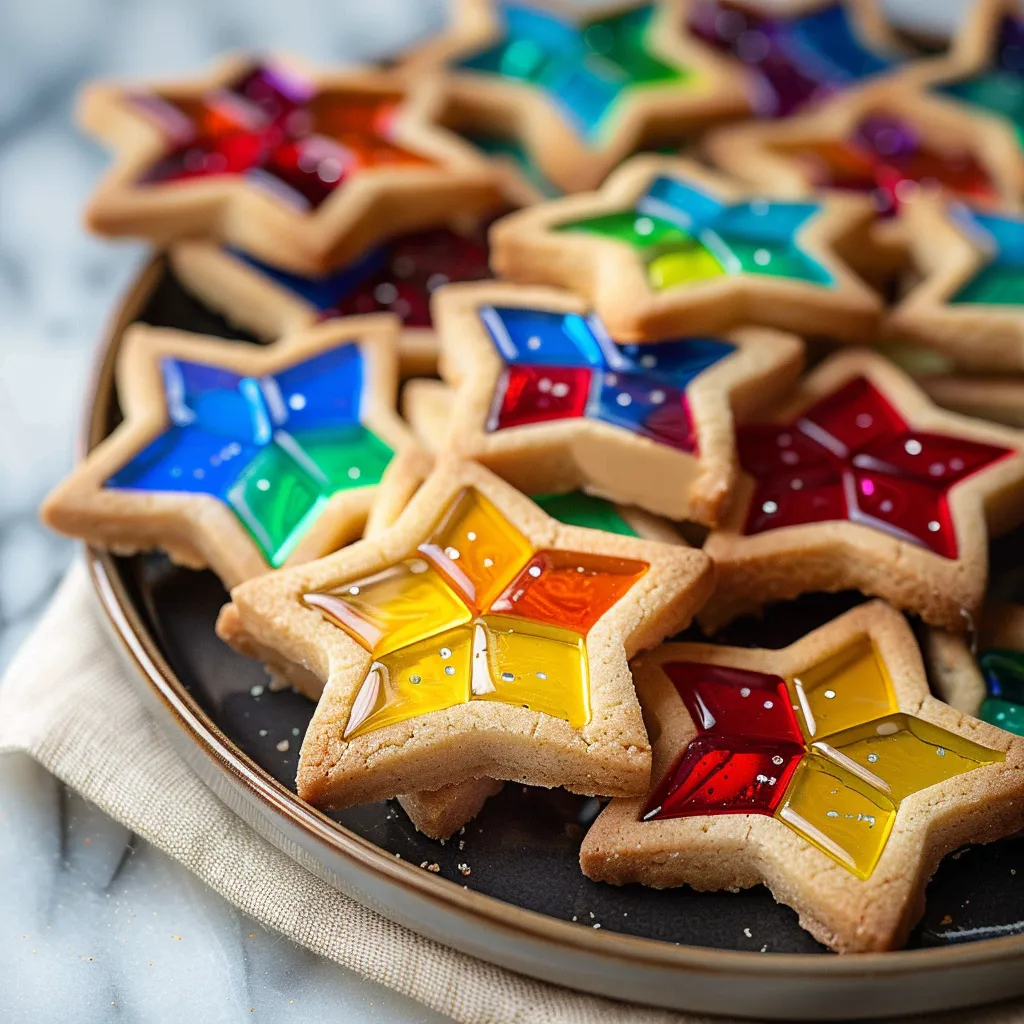
- Cool Down: Once baked, allow them to cool on the baking sheets for a few minutes before transferring them to a wire rack to cool completely. Watching the melted candy solidify into beautiful, stained-glass panels is one of the best parts!
And there you go! Once they’ve cooled, it’s time for the best part: enjoying them! Maybe with a cup of hot cocoa or shared around a festive table.
Recipe Variations
Want to shake things up? Try these fun variations:
- Different Shapes: Instead of traditional holiday shapes, why not use seasonal cookie cutters that reflect your favorite moments—like stars, trees, or even funny critters?
- Swap the Candy: Use sour candies for a tart twist. The color combinations can be just as vivid and exciting!
- Add Sprinkles: For a touch of whimsy, sprinkle some festive-colored sprinkles either before baking or just after they come out of the oven.
Serving & Storage Tips
Once these cookies have cooled completely (which is sometimes the hardest part), you can serve them right away! They make lovely gifts when packed in decorative, clear gift boxes or bags—just be sure to layer them with parchment paper to keep them from sticking. If you somehow have leftovers, these cookies can be stored in an airtight container at room temperature for up to a week, although I doubt they’ll last that long! For creative leftovers, crumble them up and use them as a topping for ice cream or yogurt. Who wouldn’t want a little cookie crunch on their dessert?
Helpful Tips
- Chill Well: If your dough feels too soft, just pop it back into the fridge. The colder, the better for rolling and cutting!
- Use a Silpat: If you have a silicone baking mat, use it instead of parchment for quick cleanup and easy cookie release.
- Don’t Rush the Baking: Allow the cookies to cool fully on the tray before moving them—this helps prevent breakage!
- Clean Up the Mess: Those candy shards can get sticky if not managed right away. Clean spills promptly before they settle in!
Special Equipment
- Rolling Pin: A good rolling pin will save your wrists and help you roll the dough evenly—look for one with comfortable grips.
- Cookie Cutters: It’s time to get creative! Invest in a set of quality, varied-shaped cutters. The shapes can turn a regular cookie into a fun piece of art!
- Cooling Rack: Important for ensuring that the cookies cool without trapping steam, which keeps them crispy rather than soggy.
FAQ
What types of hard candy can I use for stained glass cookies?
You can use any hard candy that can be crushed—Jolly Ranchers and Life Savers are classics! Just avoid chocolate or gummy candies; they won’t give you that sparkling stained-glass effect.
Can I freeze these cookies?
Absolutely! You can freeze unbaked cookie dough for up to three months. Just make sure to wrap it tightly in plastic wrap and store it in a freezer-safe bag. When you’re ready, thaw overnight in the fridge before rolling and cutting!
What if my cookies break when I take them off the baking sheet?
Sometimes it happens! Ensure they’ve cooled slightly before you move them, and use a wide spatula for lifting. If they crack in that process, it just adds character.
Can I use gluten-free flour?
Yes, you can! A gluten-free all-purpose blend should work just fine. Just check for a brand that has xanthan gum already included or add a teaspoon to help with binding.
Conclusion
Stained glass cookies are not merely desserts; they’re a beautiful way to share joy, spark creativity, and create memories. I cherish the moments spent baking these delights with family, the laughter, and the sugary chaos that follows, and I hope you do too. Next time you find yourself in a festive mood—or simply craving colorful sweetness—reach for this recipe. And as always, I’d love to hear how your cookies turned out! Share your colorful creations in the comments, and let’s keep this sweet conversation going. Happy baking!
Print
Delicious Stained Glass Cookies Easy Irresistible Recipe
- Total Time: 42 minutes
- Yield: 24 cookies 1x
Description
Create stunning stained glass cookies with our easy recipe Irresistible for any occasion these treats combine flavor and art in every bite
Ingredients
Instructions
Notes
These stained glass cookies are easy to make, customizable, and perfect for sharing during the holiday season. Enjoy the delightful crunch and fruity bursts of flavor that make them a festive treat!
- Prep Time: 30 minutes
- Cook Time: 12 minutes
- Category: Dessert
- Cuisine: American
Nutrition
- Serving Size: 24 cookies
- Calories: 150
- Sugar: 10g
- Fat: 7g
- Carbohydrates: 21g
- Fiber: 0g
- Protein: 1g


