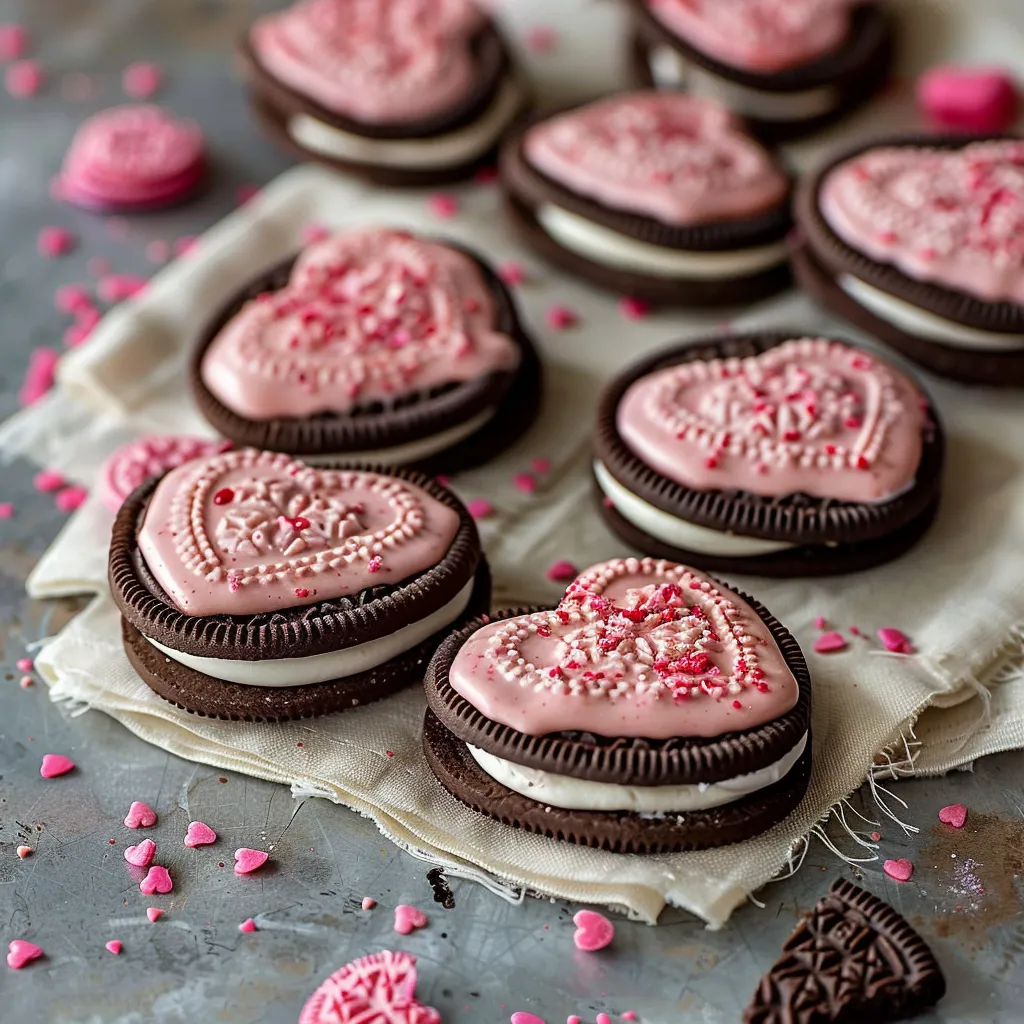
There’s something enchanting about baking on a chilly February afternoon, especially when Valentine’s Day is just around the corner. The scent of melting chocolate wafting through the air, the sound of laughter as I mix up a special treat, and the warm glow of love and kindness surrounding me—can you picture it? These moments are what inspire me to whip up a batch of Valentine Oreo Cookies. Soft and creamy, with the unmistakable crunch of Oreos, these cookies are more than just a sweet treat; they’re a heartfelt gesture to those we care about. Whether you’re planning a cozy dinner for two, a family gathering, or a cookie exchange with friends, this recipe is sure to spread joy.

Why You’ll Love This Recipe
Let’s get real for a moment. Sometimes, we all need a little pick-me-up, and what better way to boost your spirits than with cookies? These Valentine Oreo Cookies are not just delicious; they are ridiculously easy to make. With minimal ingredients and quick prep, you can have a delightful batch ready before you can finish a romantic movie! Plus, they carry that nostalgic taste of childhood, reminding us of delightful combinations like cookies and cream.
You’ll love the balance of a soft and chewy cookie filled with creamy goodness and crunchy bits of Oreo. Let’s not forget how they look! Dressed in pink and red sprinkles or drizzled with melted chocolate, they’re perfect for impressing sweethearts, friends, and family alike. The cookie dough is so intoxicatingly good that you might need to hide a spoon just for you. Trust me, it’s worth it!
What It Tastes Like
Imagine biting into a warm cookie fresh from the oven. The outside is slightly crisp, while the inside melts like a hug from a loved one. The rich cocoa from the Oreo adds a depth that’s comforting and familiar. Each bite delivers a delightful crunch, and the creamy filling harmonizes beautifully with the soft dough. It tastes like that cozy evening when you’re wrapped in a blanket, watching your favorite rom-com, with a warm mug of cocoa in hand. It’s that kind of magic that stays with you long after the last cookie has been devoured.
Ingredients You’ll Need
- 1 cup unsalted butter, softened: This adds a rich, creamy texture that makes the cookies melt in your mouth.
- 1 cup granulated sugar: Just the right amount of sweetness to balance everything out.
- 1 cup brown sugar: For that lovely depth of flavor and moistness that keeps the cookies fresh.
- 2 large eggs: Acts as a binder, bringing all the ingredients together.
- 2 teaspoons vanilla extract: Adds warmth and a hint of sweetness that complements the cocoa.
- 3 cups all-purpose flour: Gives the cookies structure but doesn’t overpower the other flavors.
- 1 teaspoon baking powder: Helps the cookies rise and keeps them fluffy.
- 1/2 teaspoon salt: Balances sweetness and enhances all the flavors.
- 1 ½ cups crushed Oreo cookies: The star of our show! Gives texture and iconic taste to every bite.
- Optional Additions:
- 1/2 cup white chocolate chips or chunks for extra sweetness.
- Colored sprinkles to celebrate the season.
- Special Garnishes:
- Melted chocolate for drizzling or dipping.
- Extra crushed Oreos for that beautiful topping.

Step-by-Step Instructions
Let’s get those ovens preheating to 350°F (175°C)! A tip here—good cookie prep starts with a warm-up. Here’s how you’ll make these delicious cookies:
- Mix It Up: In a large bowl, cream together the softened butter, granulated sugar, and brown sugar until the mixture is light and fluffy. This takes about 2-3 minutes. This step is where the magic begins!
- Add Eggs and Vanilla: Beat in the eggs one at a time, followed by the vanilla extract. Don’t rush—ensure everything is well combined. That lovely aroma is a reminder you’re on the right path.
- Dry Ingredients Unite: In another bowl, whisk together the flour, baking powder, and salt. Gradually add this to the wet mixture, stirring gently until just combined. We don’t want to overmix; we want those fluffiness heroes to shine through!
- Crush the Oreos: Crush your Oreos into small chunks (a little crumb, a little crunch!). Gently fold them into your dough. You can almost hear the chorus of your taste buds whispering “Thank you!” at this point.
- Cookie Time: Drop rounded tablespoons of dough onto a baking sheet lined with parchment paper, ensuring space for them to spread (they love to stretch out!).
- Bake Away: Bake in the preheated oven for 10-12 minutes or until the edges are lightly golden. They should look soft in the center; they’ll continue to cook a bit on the pan when they’re out.
- Cool Down: Let them cool on the baking sheet for a few minutes before transferring them to a wire rack. The smell? Oh, it’s heavenly!
- Garnish: Drizzle with melted chocolate or sprinkle with extra crushed Oreos for an eye-catching finish. Get creative! You might imagine that colorful sprinkle explosion making a great photo opportunity.
Recipe Variations
Feeling adventurous? Here are a few fun twists to make these cookies uniquely yours:
- Minty Fresh: Swap regular Oreos for mint-flavored Oreos for a refreshing twist.
- Peanut Butter Love: Incorporate some peanut butter chips for that salty-sweet bliss.
- Chocolaty Explosion: Add some cocoa powder for a double chocolate effect.
Serving & Storage Tips
These cookies are best served warm, perhaps with a glass of milk or a cup of hot cocoa—yes, please! If you’re lucky enough to have leftovers, store them in an airtight container at room temperature for up to a week. To keep them fresh, layer parchment paper between the cookies. As for creative leftovers? Crumble them over ice cream for an impressive sundae!
Helpful Tips
Now for a few tips I learned the hard way:
- Don’t skip chilling the dough if it’s too sticky—it helps the cookies hold their shape while baking.
- Check for doneness a minute or two early. You can always bake them longer, but you can’t un-bake them! We want soft, airy cookies, not rocks!
- Hand-crushing your Oreos is therapeutic, so feel free to let some frustration out (just don’t let the kids have at it unless you want a shower of cookie dust!).
Special Equipment
You don’t need an extravagant setup for this recipe, but a few handy tools can make it easier:
- Cookie Scoop: Perfect for uniform cookies. You’ll have even baking and they’ll look so polished!
- Parchment Paper: Lining your baking sheets will prevent sticking and make cleanup a breeze.
- Wire Rack: Essential for cooling your cookies properly to maintain that soft texture.
Frequently Asked Questions
Can I freeze these cookies?
Absolutely! They freeze beautifully. Just layer them in an airtight container with parchment paper between them. They’re great to have on hand for last-minute treats!
Can I use gluten-free flour?
Yes, you can! Substitute with a 1:1 gluten-free flour blend. Just keep in mind that the texture may be a bit different, but still delicious!
What’s the best way to store leftovers?
Keep them in an airtight container at room temperature to maintain freshness for up to a week. If they last that long!
What should I do if the dough is too sticky?
Chill it in the refrigerator for about 30 minutes. This will help with the consistency, making it easier to scoop and bake.
Conclusion
There you have it—Valentine Oreo Cookies that are sure to charm hearts and taste buds alike! I love making these for my family and friends, not just for the amazing flavors, but for the joy of sharing something made with love. Whether you’re baking for a special day or just because, these cookies will make any occasion feel even sweeter. I’d love to hear about your own experiences with this recipe! Feel free to share your variations and tales in the comments below. Happy baking!
Print
Delicious Valentine Oreo Cookies Sweeten Your Celebration Today
Description
Treat your loved ones to Valentine Oreo cookies These sweet delights are perfect for your celebration and sure to impress every cookie lover


