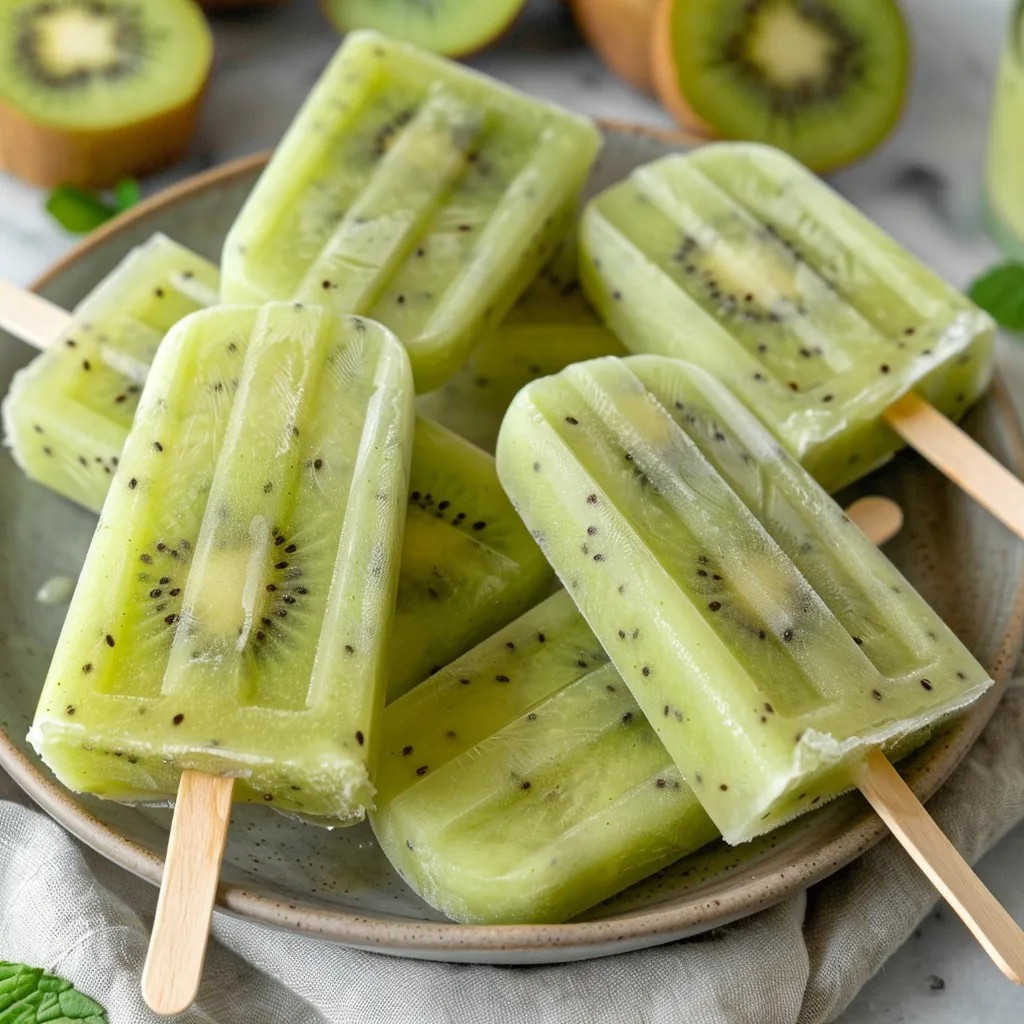
When summer sweeps in with its relentless heat, there’s nothing more refreshing than a chilled treat to cool you down. Picture a sunny afternoon, lounging in your backyard with friends or family, laughter ringing through the air while you savor the vibrant flavors of homemade kiwi popsicles. This delightful recipe not only quenches your thirst but also offers a fun way to bond with your loved ones, as everyone can join in on the excitement of making their own popsicles.
The simple yet satisfying process of blending fresh kiwis into a vibrant mix is inspired by my childhood summers spent enjoying fruity treats straight from the market. What makes this recipe special is its ease of preparation and the bright, distinct taste of ripe kiwis that sets it apart from store-bought popsicles. Not to mention, it’s a healthy option, free from preservatives and artificial flavors, making it perfect for everyone.
Why You’ll Love This Recipe
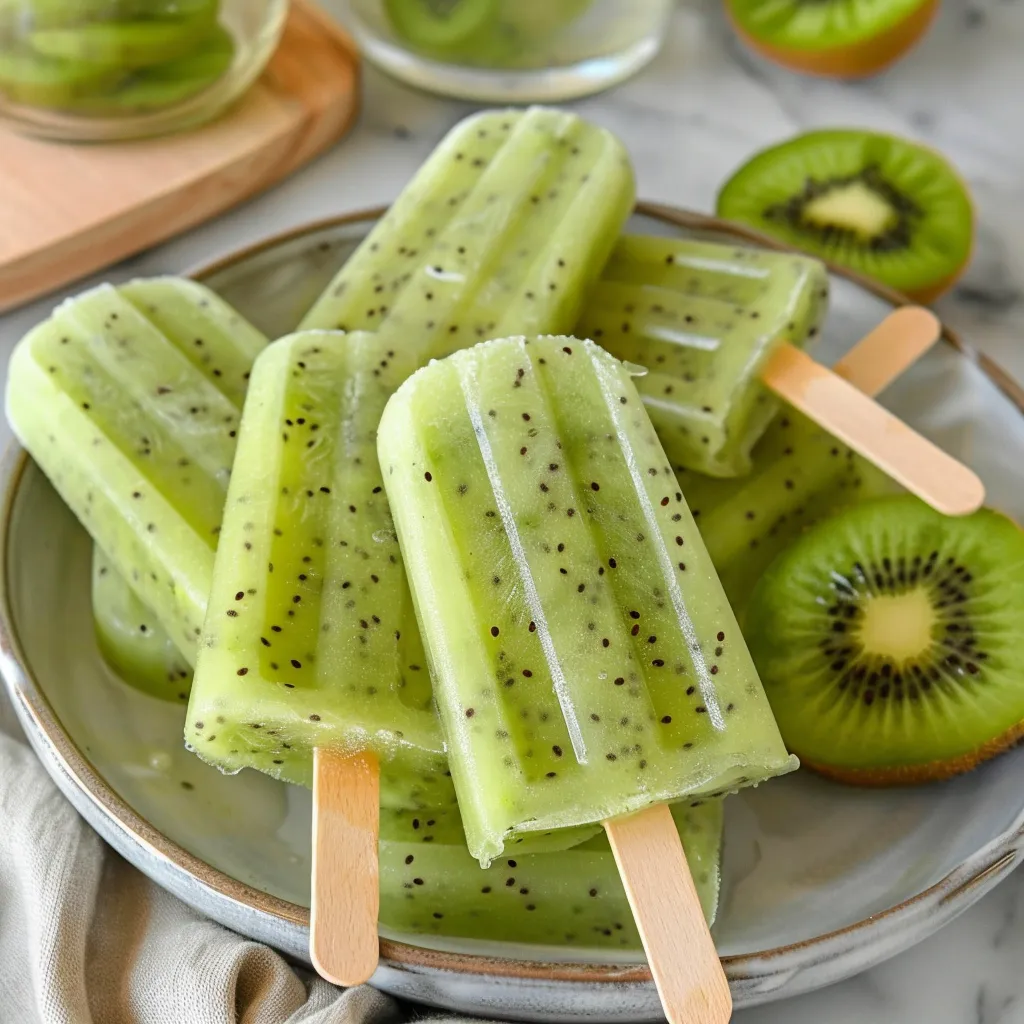
This kiwi popsicle recipe shines for several reasons. Firstly, it’s incredibly simple, requiring just a handful of fresh ingredients that you probably already have at home. No elaborate cooking techniques are needed, making it a great choice for kids and adults alike. The vibrant green color of the popsicles is visually stunning, making them an exciting treat for any gathering.
The natural sweetness of the kiwis combined with a splash of lime juice creates a refreshingly tangy flavor profile that dances on your palate. Plus, they are a healthier alternative to many desserts out there, allowing you to satisfy your sweet cravings without the guilt. This popsicle recipe guarantees a delightful time in the kitchen and a refreshing indulgence when chilled.
What Does the Recipe Taste Like
Imagine biting into a kiwi popsicle: the first sensation is the icy chill, quickly followed by the sweet-tart flavor of freshly blended kiwis. Each lick reveals the vibrant essence of the fruit, providing a perfect balance of sweetness with a hint of tanginess. The freshness of the kiwis gives these popsicles a natural flavor that is both refreshing and invigorating, making each bite reminiscent of summer’s best fruits. With the addition of lime juice, you’ll experience an added layer of brightness that complements the kiwis perfectly, creating a tropical essence that transports you to a sunny paradise.
Ingredients You’ll Need
- Fresh Kiwis (4-5 medium, peeled and chopped): The star of the show! Kiwis bring their sweet, tangy flavor and vibrant color to the popsicles.
- Lime Juice (2 tablespoons): A splash of lime juice adds a refreshing zing that brightens the flavor of the kiwis.
- Honey or Maple Syrup (2-3 tablespoons, to taste): This natural sweetener enhances the sweetness of the kiwis without overpowering their flavor.
- Water (1/2 cup): Helps to blend the ingredients smoothly and adjust the consistency of the mixture.
Optional Additions
If you’re feeling creative, consider adding a few optional ingredients to customize your popsicles:
- Fresh Mint Leaves: Blend in some mint for a refreshing twist.
- Yogurt: For a creamier texture, combine kiwi puree with a bit of yogurt before freezing.
- Other Fruits: Mix in some chopped strawberries or bananas for a fruity fusion.
Special Garnishes
To elevate the presentation of these popsicles, consider garnishing with:
- Chopped Nuts: Sprinkle some finely chopped pistachios or almonds on top for a delightful crunch.
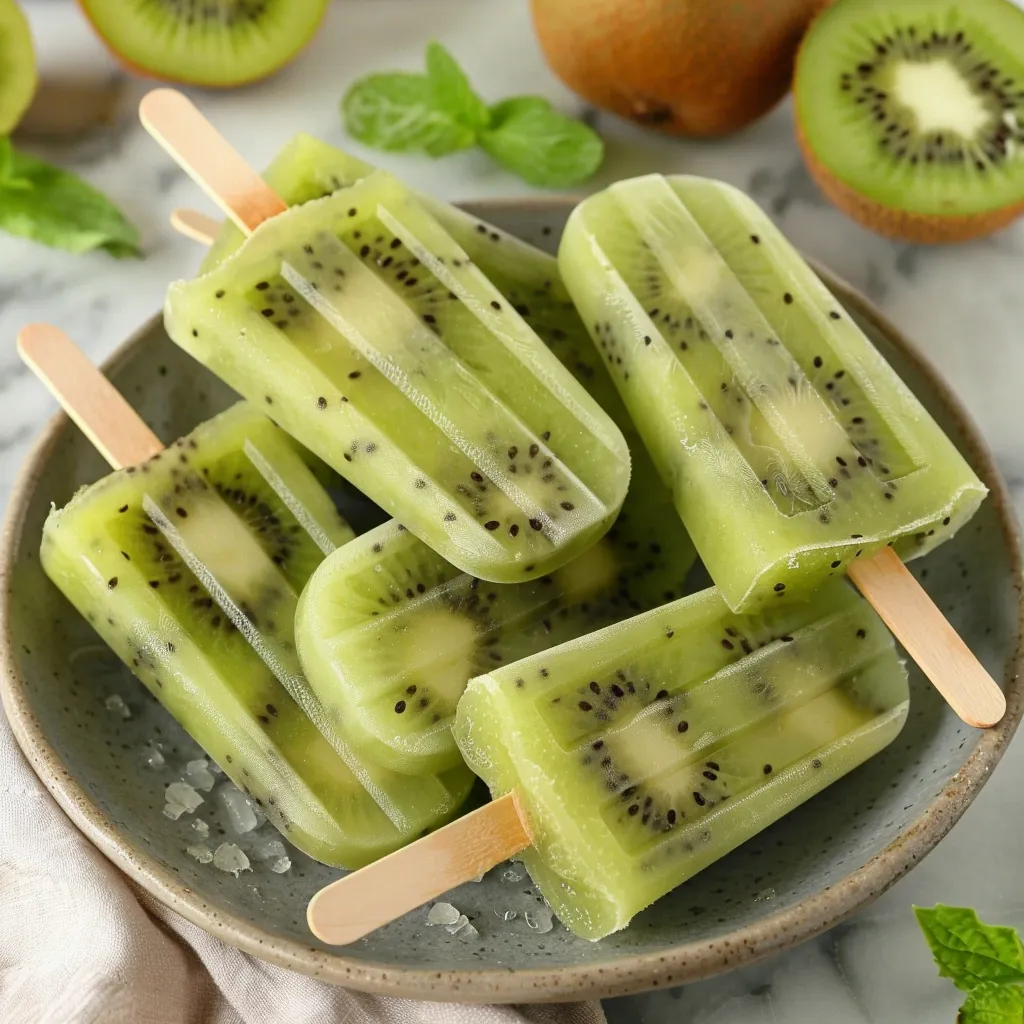
- Fresh Kiwi Slices: Place a slice on each popsicle for a stunning visual appeal.
Step-by-Step Instructions
- Prepare the Fruit: Begin by peeling and chopping your kiwis into small pieces. This makes them easier to blend and ensures a smooth consistency.
- Blend the Mixture: In a blender, combine the chopped kiwis, lime juice, honey or maple syrup, and water. Blend until you achieve a smooth mixture with no large chunks remaining. Taste the mixture and adjust the sweetness if needed.
- Pour into Molds: Carefully pour the kiwi mixture into your popsicle molds, filling each one to about 3/4 full to allow for expansion when freezing.
- Add Sticks: If your molds have removable sticks, insert them now. If not, cover the top of the molds with foil and poke sticks through the center of each popsicle.
- Freeze: Place the filled molds in the freezer for at least 4-6 hours, or until completely solid.
- Unmold and Serve: Once frozen, run warm water over the outsides of the molds for a few seconds to help release the popsicles. Gently pull them out and enjoy immediately!
Recipe Variations
If you’re looking to mix things up, here are a few variations to try:
- Tropical Kiwi Popsicles: Blend kiwis with fresh pineapple or mango for a tropical flair.
- Kiwi and Coconut Popsicles: Add coconut milk to the mixture for a creamy, dreamy texture.
- Spicy Kiwi Popsicles: For those who like a kick, add a pinch of chili powder or cayenne pepper to the mix.
Serving and Storage Tips
Once you’ve made these kiwi popsicles, serve them immediately for the best experience. They’re perfect for a hot day or as a fun dessert for gatherings. Store any leftovers in the freezer until you’re ready to enjoy them again. To prevent freezer burn, ensure to wrap the popsicles tightly in plastic wrap or aluminum foil. They can last for up to two months in the freezer, but trust me, they won’t last that long!
Helpful Tips
- Ripeness of Kiwis: The ripeness of your kiwis impacts the flavor, so choose ones that are firm yet slightly soft to the touch.
- Sweetness Preference: Feel free to adjust the amount of honey or maple syrup based on your sweetness preference.
- Kid-Friendly Pop: Get kids involved by letting them choose their mix-ins or garnishes, making it a fun family project.
Special Equipment
For this recipe, you’ll need a few essential items:
- Popsicle Molds: You can find various shapes and sizes to fit your style. Silicone molds are especially handy as they allow for easier removal of popsicles.
- Blender: A powerful blender is key to achieving that smooth consistency. A food processor can also work!
- Measuring Cups and Spoons: For accuracy in your ingredient measurements.
Frequently Asked Questions (FAQ)
Can I use frozen kiwis instead of fresh?
Yes, you can use frozen kiwis! Just make sure to thaw them slightly before blending for a smoother texture.
How long do these popsicles last in the freezer?
These kiwi popsicles can last up to two months in the freezer when stored properly. Just wrap them tightly to prevent freezer burn.
Can I substitute other fruits?
Absolutely! Feel free to experiment with other fruits like strawberries, mangoes, or peaches for different flavors. Just keep the proportion of sweetener in mind, as different fruits vary in sweetness.
What’s the best way to remove the popsicles from the mold?
To easily remove the popsicles, run warm water over the outside of the molds for a few seconds. This will help loosen them without melting them too much.
Conclusion
These kiwi popsicles are not just a dish; they’re a delightful experience that captures the essence of summer! Their vibrant flavor and refreshing nature make them a must-try for anyone looking to beat the heat. Plus, with easy preparation and the ability to customize them to your liking, they become a fun project for all ages.
Don’t hesitate to share your experiences or any adaptations you make in the comments! Whether you’re enjoying them on a sunny day or at a family gathering, these popsicles are sure to create memorable moments with your loved ones. Get ready to savor summer with these delightful kiwi popsicles—your taste buds will thank you!
Print
Delicious Kiwi Popsicles Refreshing Healthy Easy Treats
- Total Time: 6 hours 10 minutes
- Yield: 6 popsicles 1x
Description
Enjoy refreshing healthy Kiwi Popsicles that are easy to make Perfect for hot days these delicious treats will satisfy your cravings
Ingredients
Instructions
- Prep Time: 10 minutes
- hours: 4-6
- Cook Time: 0 minutes
- Category: Dessert
- Method: Freezing
- Cuisine: American
Nutrition
- Calories: 50 calories
- Sugar: 9g
- Fat: 0g
- Carbohydrates: 13g
- Fiber: 2g
- Protein: 0.5g


