Picture this: a sun-soaked afternoon, the sound of laughter ringing in the air as my friends and I lounge in my backyard, ice cream melting in our hands and faces beaming with joy. This is the memory that floods my mind every time I whip up a batch of chocolate chip cookie ice cream sandwiches. As a child, summer meant two things: ice cream and those delightful cookies you could smell wafting from every corner of the neighborhood. Now, I get to live that nostalgia by creating an easy and delicious dessert that makes anyone’s face light up.
This recipe is close to my heart, not only for its simplicity but for the sheer joy of combining those two classic treats we all love. Who doesn’t love warm cookies with a cold creamy center? It’s like a sweet, indulgent hug on a plate. You’ll find that once you make these, they’ll become a staple in your dessert repertoire. So, grab some friends or family and let’s get to work!
Why You’ll Love This Recipe
Alright, let’s talk about why these ice cream sandwiches are worth your time. First off, they’re like a taste of summer, even in the depths of winter. They bring those warm, cozy feelings regardless of the weather outside. You can whip them up in under an hour, and here’s a little secret: they save time for those busy weeknights when you need a sweet fix without busting out a five-course meal.
But wait, it gets better! The combination of warm, gooey cookies juxtaposed against the cool and creamy ice cream creates a balance that’s downright magical. Each bite is a little piece of heaven, taking you back to carefree days, perhaps with a sprinkle of nostalgia. Trust me, once you serve these at a gathering, your friends will be begging for the recipe.
What It Tastes Like
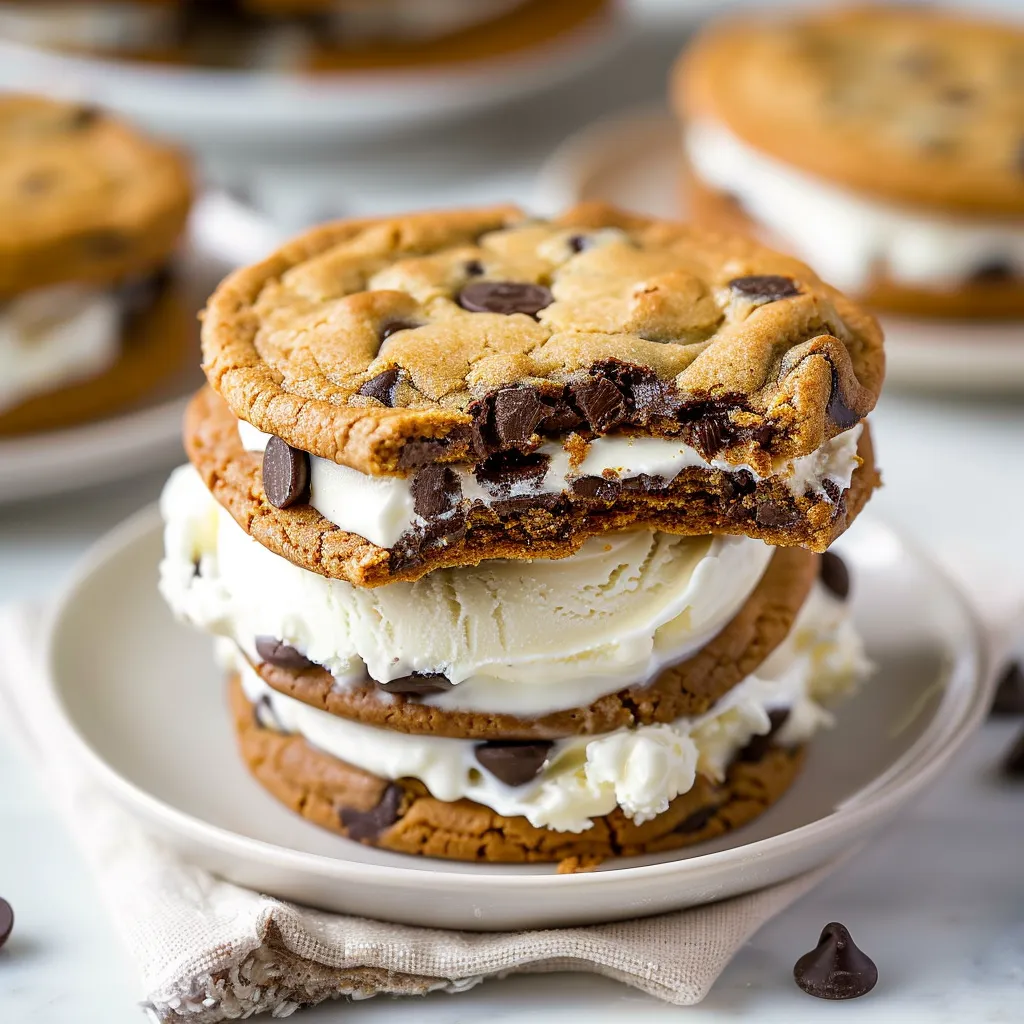
Imagine the moment you bite into these delights—first, you sink your teeth into that chewy chocolate chip cookie, slightly crisp on the outside but softened just enough to melt in your mouth. It’s rich, buttery, and studded with semi-sweet chocolate chips that slowly ooze warmth. Then, you hit the coolness of the ice cream, which contrasts beautifully with the warm cookie—a perfect harmony of textures and temperatures. It’s like standing on a beach at golden hour, feeling the cool breeze against your skin and the sun’s warmth on your face. Pure joy.
Ingredients You’ll Need
- 1 cup unsalted butter (softened): This adds richness and creates that perfect chewy texture in your cookies.
- 1 cup granulated sugar: Sweetens the deal and gives the cookies a lovely golden color.
- 1 cup brown sugar: Adds moisture and a hint of caramel flavor that’s hard to resist.
- 2 large eggs: Acts as the binding agent so everything stays deliciously together.
- 2 teaspoons vanilla extract: A must-have for that warm, inviting flavor.
- 3 cups all-purpose flour: The backbone of your cookies, giving them that wonderful structure.
- 1 teaspoon baking soda: Helps create that perfect rise, making the cookies soft and fluffy.
- 1/2 teaspoon salt: Balances the sweetness and brings out all those lovely flavors.
- 2 cups semi-sweet chocolate chips: The star of the show! They melt gloriously in the oven.
- 1 quart ice cream (your choice of flavor): This is your dream filling—vanilla, chocolate, or something more adventurous?
Optional Additions:
- Chopped nuts: A handful of walnuts or pecans can add a delightful crunch.
- Different flavors of ice cream: Don’t hesitate to experiment—mint chocolate chip or cookie dough would be divine!
Special Garnishes:
- Sprinkles or crushed nuts on the edges of the ice cream can make these sandwiches even more whimsical and enjoyable.
Step-by-Step Instructions
Ready to get your hands a little bit messy? Let’s dive into the simple steps to create these yummy creations!
- Preheat your oven to 350°F (175°C). This step is crucial for that perfect cookie texture, so don’t rush it!
- Mix the butter and sugars: In a large bowl, cream together the softened butter, granulated sugar, and brown sugar until light and fluffy—about 2-3 minutes is ideal. It should look inviting, almost like a soft cloud!
- Add the eggs and vanilla: Beat in the eggs one at a time, then stir in the vanilla extract. This is where that warm aroma starts wafting through your kitchen!
- Combine the dry ingredients: In a separate bowl, whisk together the flour, baking soda, and salt. Gradually add this to the creamed mixture, mixing just until incorporated. Be careful not to overmix; we’re looking for cookie magic here!
- Stir in chocolate chips: Fold in those chocolate chips with love. Make sure they’re evenly distributed; no one likes a cookie without chips!
- Shape and bake: Drop spoonfuls of dough onto ungreased baking sheets, spacing them about 2 inches apart. Bake for 10-12 minutes or until the edges are golden. Don’t forget to keep an eye on them; they can go from perfect to overdone in a snap!
- Cool completely: Allow the cookies to cool on the baking sheet for a few minutes, then transfer them to wire racks to cool completely. I know it’s tempting, but patience is key here!
- Assemble the sandwiches: Once cooled, take a generous scoop of ice cream and place it between two cookies. Gently press them together and, if you like, roll the edges in sprinkles or crushed nuts for that extra pizzazz!
Recipe Variations
Feeling a bit adventurous? Here are some simple twists to keep things exciting:
- Flavored Cookies: Try adding a teaspoon of peppermint extract for a festive flair or even some cocoa powder for a deeper chocolate flavor.
- Stuffed with Surprise: Add a layer of peanut butter or Nutella for a fun surprise filling. Oh, the bliss!
Serving & Storage Tips
These sandwich treats do best when freshly made, but who says you can’t have a few leftovers? Store any remaining sandwiches in an airtight container in the freezer. Just remember to separate layers with parchment paper to keep them from sticking together. They can last up to two weeks, though I doubt they’ll last that long.
If you want to serve them later, give them a few minutes to soften at room temperature—this way, you’ll recapture that dreamy chewiness! For a breakfast surprise, try layering some crumbled cookie and ice cream into your morning yogurt. Your taste buds will thank you!
Helpful Tips
Now, let me share some wisdom I gathered from my own cooking adventures:
- Don’t rush to bake. Let your dough chill in the fridge for at least 30 minutes if you want thicker cookies that don’t spread too much. Trust me, this little step is golden.
- When it comes to ice cream, slightly soften it before scooping. It makes the whole assembly process less tricky!
- Feel free to experiment with baking times—the perfect cookie is all about your oven and preference. Keep notes, and you’ll become a cookie scientist!
Special Equipment
While you don’t need anything fancy, a few tools can make your life easier:
- Silicone baking mats: These help prevent cookies from sticking, making cleanup a breeze and ensuring even baking.
- Ice cream scoop: An essential tool that makes portioning ice cream a cinch. Trust me, your hands will appreciate it!
- Wire cooling rack: Perfect for maximizing airflow and getting those cookies cool without soggy bottoms.

Frequently Asked Questions
Can I use gluten-free flour?
Absolutely! Gluten-free baking flour will work well. I recommend checking the package for one-to-one measurements for best results.
How do I prevent the cookie from being too hard?
Don’t overbake them! Remove them when the edges are lightly golden; they will continue to firm up as they cool.
Can I make the dough in advance?
Yes! You can prepare the dough and store it in the fridge for up to three days or freeze it for up to a month. Just let it thaw in the fridge before baking.
What ice cream flavors work best?
Classic vanilla is always a hit, but don’t shy away from creative flavors like coffee, mint chocolate chip, or even fruit sorbets for a refreshing twist!
How do I prevent the cookies from spreading too much?
Chilling the dough before baking helps a lot. Also, make sure that your butter is just softened, and not melting. Too warm butter leads to flatter cookies!
Conclusion
So, there you have it! Chocolate chip cookie ice cream sandwiches that are sure to bring back warm memories and create new ones. I often think of doing these for special occasions or just on a whim to brighten up a regular day. Whether you’re hosting a get-together or simply enjoying a quiet night on your couch, these treats are perfect for any scenario.
As you craft these sandwiches, I hope you feel the love that went into each step and share that joy with your nearest and dearest. And remember, I’d love to hear about your own flavor combinations and stories. So, feel free to share them in the comments below. Happy baking!
Print
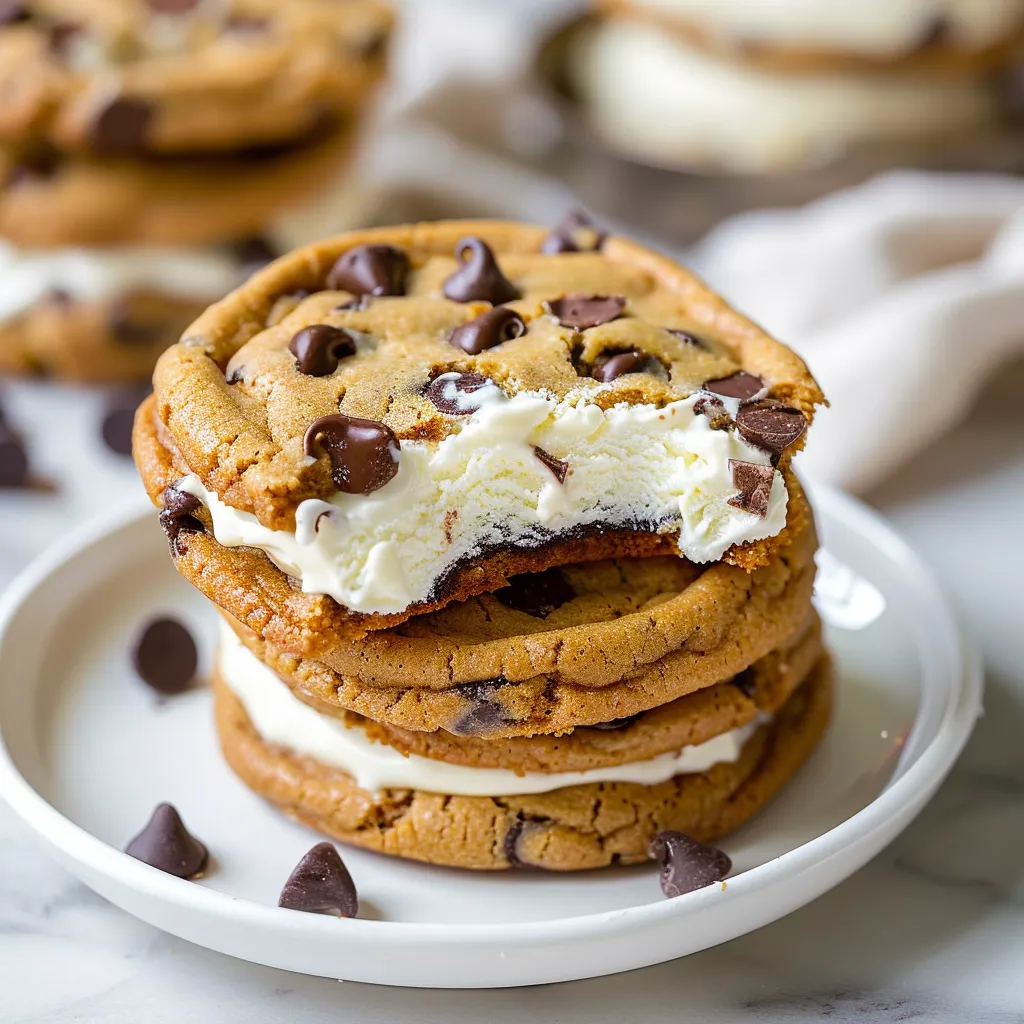
Chocolate Chip Cookie Ice Cream Sandwiches
- Total Time: 42 minutes
- Yield: 12 sandwiches 1x
Description
Delicious cookie ice cream sandwiches made with chocolate chips are a perfect treat. Try this easy recipe for a sweet dessert that’ll impress everyone.
Ingredients
Instructions
Notes
Delightful chocolate chip cookie ice cream sandwiches that bring joy and nostalgia, perfect for summer or any occasion.
- Prep Time: 30 minutes
- Cook Time: 12 minutes
- Category: Dessert
- Cuisine: American
Nutrition
- Serving Size: 12 sandwiches
- Calories: 320
- Sugar: 22g
- Fat: 18g
- Carbohydrates: 40g
- Fiber: 1g
- Protein: 4g