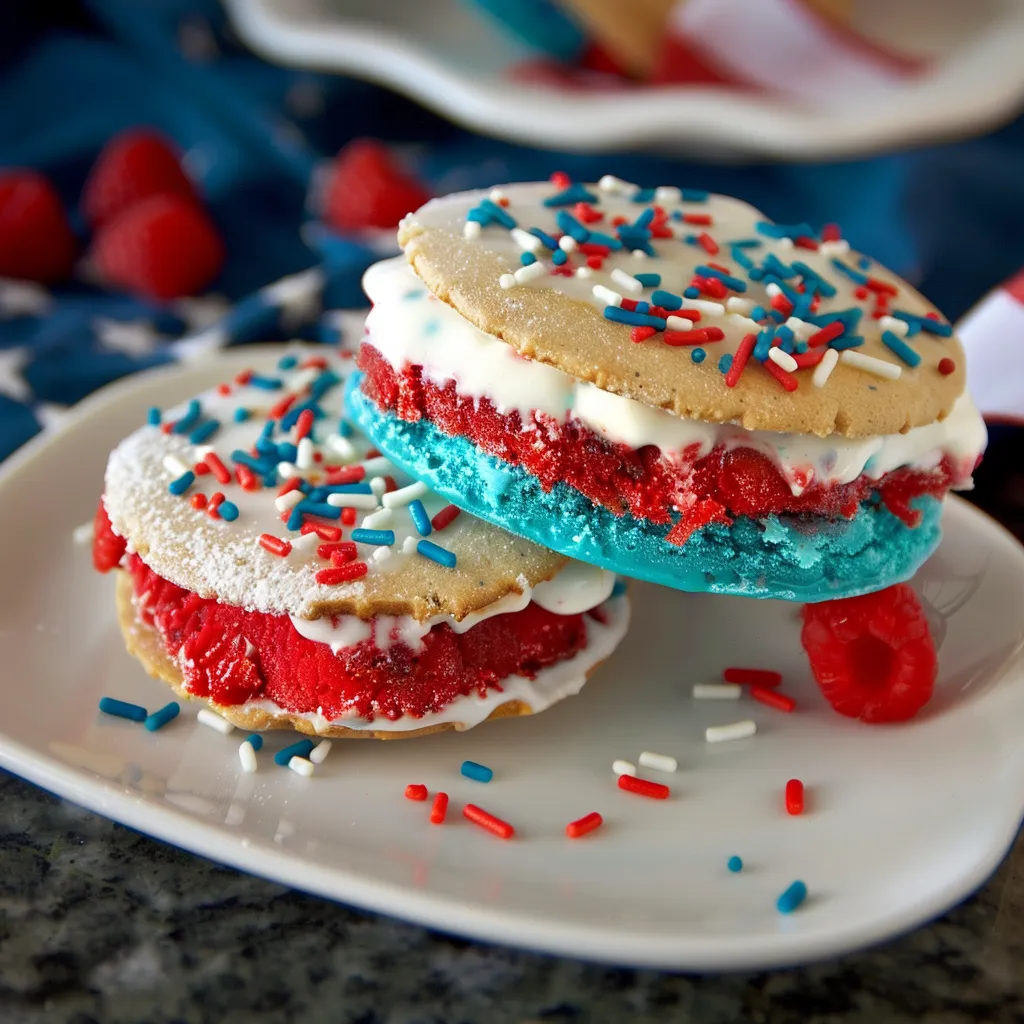
Ah, summer! A time when life slows down just a bit and the sun beckons us outside with open arms. I can still recall those golden afternoons when my siblings and I would race our bikes down the street, stopping only to enjoy the sweet relief of a cold treat from the ice cream truck. There’s something magical about summer treats, and one of my all-time favorites is the iconic ice cream sandwich. Today, I’m sharing my take on this classic with a little flair: Red, White & Blue Ice Cream Sandwiches! Perfect for celebrations, barbecues, or just a warm afternoon on the porch, these sandwiches charm you with every creamy, crunchy bite. Let’s dive into this colorful summer delight!
Why You’ll Love This Recipe
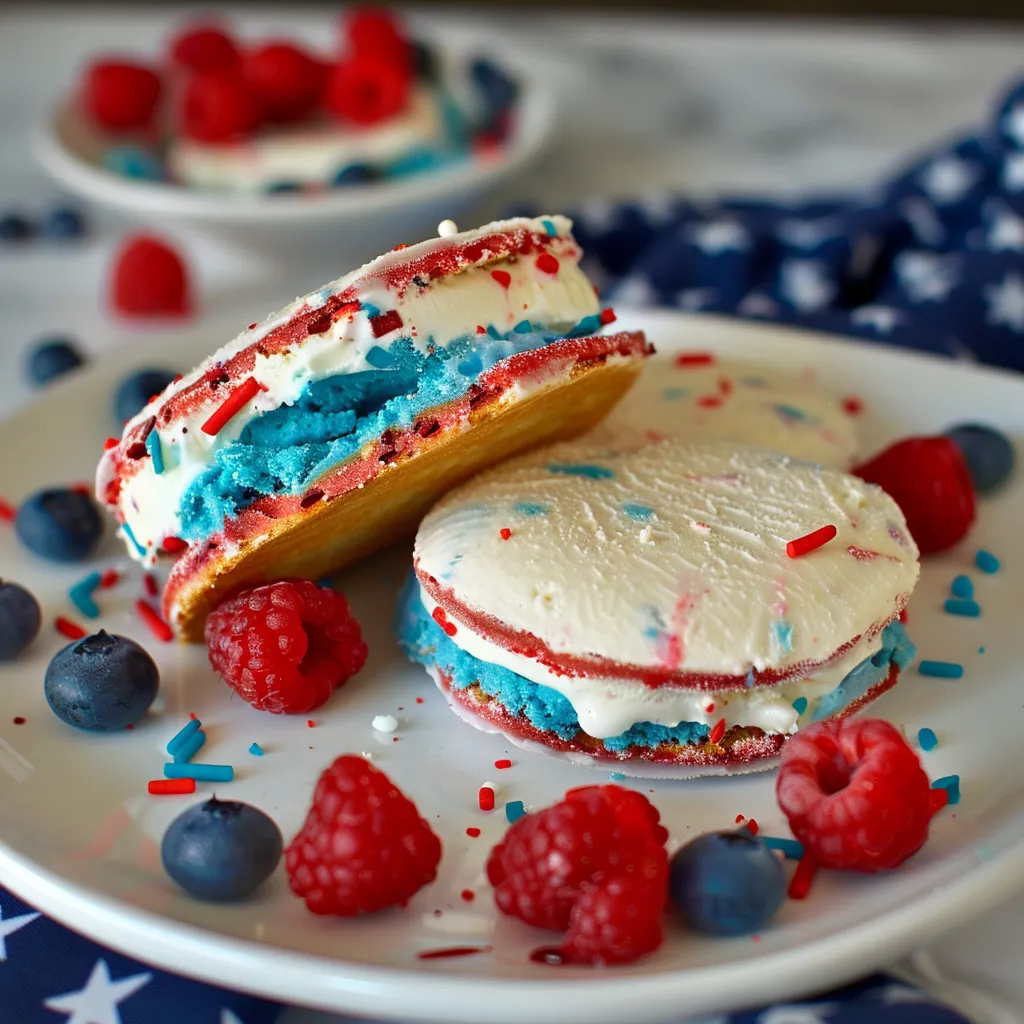
Picture this: a chewy, freshly baked cookie cradling a generous scoop of vibrant ice cream, draped in the hues of red, white, and blue. Just imagining it makes my heart skip a beat! Not only are these ice cream sandwiches a feast for the eyes, but they’re also incredibly satisfying to make and eat. They offer an element of fun and creativity, giving you the freedom to mix flavors and colors based on your family’s preferences or whatever’s available in your pantry. Plus, let’s be honest: who doesn’t love the nostalgia that comes with an ice cream sandwich? It’s like a warm hug on a plate, reminding us of simpler times and sweet summer memories.
What It Tastes Like
Imagine the moment when you take your first bite: the crispness of the cookie gives way to the refreshing coolness of the ice cream, and it’s pure joy! The cookies are sturdy yet chewy, the perfect canvas to cradle your choice of ice cream. Depending on your flavor combination, you might find a burst of fruity sweetness mingling with creamy notes that dance together like a summer breeze. It’s the sweet taste of freedom, of carefree days spent outdoors. The red strawberries offer a zingy tartness, the white vanilla has that nostalgic familiar touch, and if you opt for blue raspberry or blueberry, oh my, that burst of flavor will take you right back to childhood. It’s delightful, refreshing, and just the right amount of messy—which, let’s be real, is part of the charm!
Ingredients You’ll Need
- 2 cups all-purpose flour: This gives the cookies structure, ensuring they hold up to the ice cream without crumbling.
- 1 teaspoon baking soda: Helps the cookies rise beautifully while keeping them soft and chewy.
- 1/2 teaspoon salt: Enhances all the flavors, making the sweetness pop!
- 3/4 cup unsalted butter, softened: Adds richness and helps create that desirable chewy texture.
- 1 cup brown sugar: This deepens the flavor and gives the cookies a wonderful caramel-like taste.
- 1/2 cup granulated sugar: Sweetness, of course! A bit of extra crunch and sweetness from this.
- 1 large egg: Binds the ingredients together, making for a tender cookie.
- 1 teaspoon vanilla extract: The key ingredient for that warm, comforting cookie flavor.
- 1 cup chocolate chips (optional): Because, if you’re like me, there’s no such thing as too much chocolate!
- Ice cream of your choice (red, white, and blue): Think strawberry, vanilla, and blueberry, or whatever flavors speak to you.
Optional Additions
- Sprinkles: A fun way to decorate that will definitely elevate the festivities!
- Chopped nuts: For a little crunch and extra flavor.
- Different flavored ice creams: Don’t be shy! Try mint chocolate chip or cookies n’ cream for a twist!
Special Garnishes
- Fresh fruit slices: Strawberries and blueberry decorations can enhance presentation.
- Whipped cream: It’s a little added luxury!
Step-by-Step Instructions
- Preheat your oven: Start by preheating your oven to 350°F (175°C). This is key for those perfect cookies!
- Mix the dry ingredients: In a medium bowl, whisk together flour, baking soda, and salt. Set aside. This will help evenly distribute the dry elements and avoid any clumping.
- Cream the butter and sugars: In a large bowl, using a mixer (or some elbow grease if you’re feeling strong!), cream together the softened butter, brown sugar, and granulated sugar until light and fluffy. Don’t rush this step—it’s where the magic happens!
- Add the egg and vanilla: Beat in the egg and vanilla until fully incorporated. Now, the mixture should look glossy and inviting.
- Combine wet and dry: Gradually add the flour mixture to the wet ingredients, mixing just until combined. Don’t overmix, or your cookies may turn tough! If you’re using chocolate chips, fold them in gently at this stage.
- Form the cookies: Use a tablespoon or a cookie scoop to drop rounds of dough onto a lined baking sheet, leaving about 2 inches between each cookie. They’ll spread out as they bake, so don’t crowd them!
- Bake: Place the baking sheet in the preheated oven and bake for 10–12 minutes or until the edges are golden brown. The centers may look a little under-baked, but that’s perfect—trust me, they’ll set as they cool!
- Cool the cookies: Allow the cookies to cool on the baking sheet for about 5 minutes before transferring them to a wire rack to cool completely. This is seriously important—impatience leads to ice cream drips!
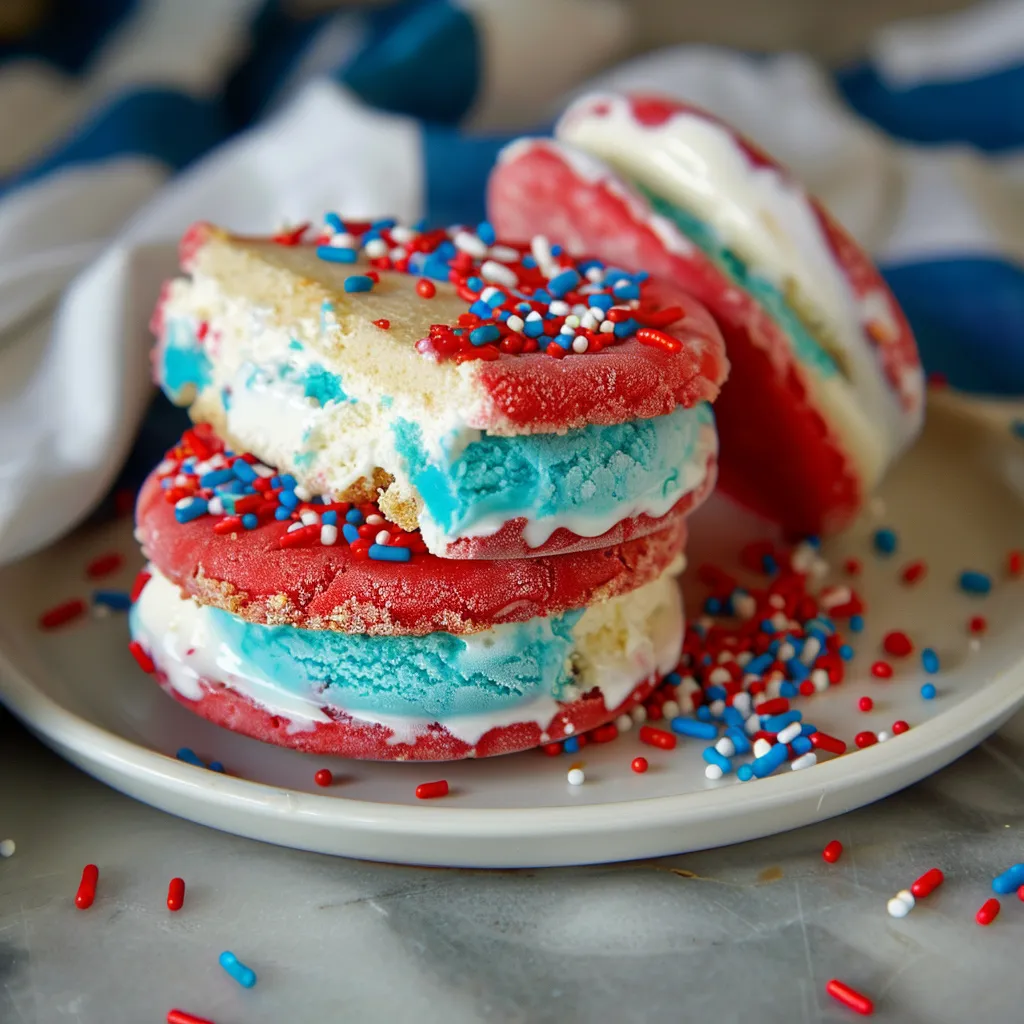
- Assemble your sandwiches: Once your cookies are cool, scoop your favorite ice cream flavor onto the flat side of one cookie, then top with another cookie. Gently press together for a delightful ice cream sandwich. You can roll the edges in sprinkles or crushed nuts if you want to fancy them up a bit!
- Freeze: Place the assembled sandwiches in the freezer on a plate or tray for about an hour to firm up before serving. This makes them much easier to eat.
Recipe Variations
Feeling adventurous? Switch things up by trying different cookie bases! Chocolate cookies are a delightful twist, or even snickerdoodles for a cinnamon kick. You can also experiment with different ice cream flavors! What about a rich chocolate ice cream with a peanut butter cookie? Or perhaps coconut ice cream sandwiched between ginger cookies? Trust your taste buds and have fun with combinations!
Serving & Storage Tips
Your Red, White & Blue Ice Cream Sandwiches will be best enjoyed the same day they’re made, but you can certainly store them. Wrap each sandwich in parchment paper or plastic wrap and place them in an airtight container in the freezer. They should keep well for about a week—if they last that long! You can also slice them into smaller pieces, making them perfect for serving at parties. Just think, a platter full of bite-sized delights—everyone will be racing to get their hands on those!
Helpful Tips
Let’s talk about mistakes to avoid. Overmixing the dough can lead to tough cookies, and, believe me – you want these to be tender! It’s also crucial not to rush the cooling process—impatience could lead to a splattering of melting ice cream. And while we’re on that topic, if you notice it’s a hot day, you might want to scoop the ice cream out of the freezer first to let it soften a bit, making assembly easier.
A timing trick that I swear by: If you’re short on time, you can prepare the cookie dough in advance and store it in the refrigerator for a day or two. Just scoop and bake when you’re ready! You could even form dough balls, freeze them, and throw them straight into the oven—fresh cookies at a moment’s notice!
Special Equipment
While you don’t need fancy gadgets, a few tools can make life easier:
- Cookie scoop: This makes for evenly sized cookies, which means consistent baking. Plus, it takes away all the guesswork!
- Silicone baking mats or parchment paper: Help prevent sticking and make cleanup a breeze. I can’t recommend these enough!
- Mixing bowls: Having a good set allows for easy mixing and measuring—a kitchen must-have!
Frequently Asked Questions
Can I use store-bought cookies for this recipe?
Absolutely! If you’re short on time or want to simplify things, using store-bought cookies can be a great shortcut. Just make sure they’re sturdy enough to hold the ice cream.
What ice cream flavors work best?
While strawberry, vanilla, and blueberry are classic choices for a red, white, and blue theme, feel free to get creative! Any flavor you love can work, so don’t hesitate to mix and match!
How do I prevent the ice cream from melting while assembling?
To avoid a melting mess, make sure your ice cream is slightly softened but not overly gooey. Work quickly, and if it’s a particularly hot day, consider chilling your cookies in the freezer before assembly as well.
Can these sandwiches be made in advance?
You can certainly prepare the cookies ahead of time and store them in an airtight container. Assemble the sandwiches the same day you plan on serving them to keep the cookies fresh and the ice cream delightful!
Conclusion
There you have it, my dear friend! Red, White & Blue Ice Cream Sandwiches are not just a dish; they’re a delightful journey back to those sun-soaked days of youth. They symbolize celebration, joy, and connection—perfect for any summer gathering or a simple evening treat with loved ones. I love making these during family barbecues or just when the sun feels particularly inviting. When you take that first bite, you’ll feel that warm, summer embrace, no matter the season. I can’t wait to hear how yours turn out! Share your stories, your flavor combinations, and let’s swap ice cream sandwich tales in the comments below!
Print
Red, White & Blue Ice Cream Sandwiches
- Total Time: 27 minutes
- Yield: 12 sandwiches 1x
Description
Satisfy your cravings with these delicious Red, White & Blue ice cream sandwiches. A festive treat perfect for your summer gatherings and BBQs!
Ingredients
Instructions
Notes
Enjoy a delightful summer treat with these Red, White & Blue Ice Cream Sandwiches, perfect for any celebration or warm afternoon.
- Prep Time: 15 minutes
- Cook Time: 12 minutes
- Category: Dessert
- Cuisine: American
Nutrition
- Serving Size: 12 sandwiches
- Calories: 200
- Sugar: 15g
- Fat: 10g
- Carbohydrates: 28g
- Fiber: 1g
- Protein: 3g